Connecting Genius Chat to Sunco
This guide applies only to chat version 2 and above.
DigitalGenius Chat integrates with with Sunshine Conversations, allowing end users to speak to agents on Zendesk.
If you are migrating from v1, skip to the Migration Guide to Chat Widget V3
In order to setup a connection between DG chat and Sunco for the first time please follow these steps:
SunCo Implementation Guide
Step 1 - Update Chat Widget Configuration
Below is a complete example of all configurations relevant to SunCo:
  window.DG_CHAT_WIDGET_CONFIG = {
    crmSDKPlatform: 'sunco', // Required
    generalSettings: {
      enableCrmUserAttachments: true,
    },
    csat: {
      type: 'thumbs', // Required
      commentsCharacterLimit: 128, // Required
    },
    lang: {
      userClosedChatMessageToAgent: '*** USER CLOSED CHAT. ***',
      csatLang: {
        ratingsText: ['Bad', 'Good'], // Required
      },
    },
  }
crmSDKPlatform - When set to sunco, the Sunco SDK script is injected into the customers page.
generalSettings -> enableCrmUserAttachments - Enables the user to upload attachments at any point after handing over to SunCo.
csat -> type - Sets the CSAT type to thumbs, bringing the DigitalGenius CSAT inline with Zendesks.
csat -> commentsCharacterLimit - Sets the character limit to 128, bringing the DigitalGenius CSAT comments inline with Zendesks.
lang -> csatLang -> ratingsText - The text displayed when the thumbs up / down CSAT icons are hovered over.
lang -> userClosedChatMessageToAgent - A message sent to the agent on the users behalf when the user ends chat before the agent has requested CSAT.
Step 2 - Create a Connection on DigitalGenius Dashboard
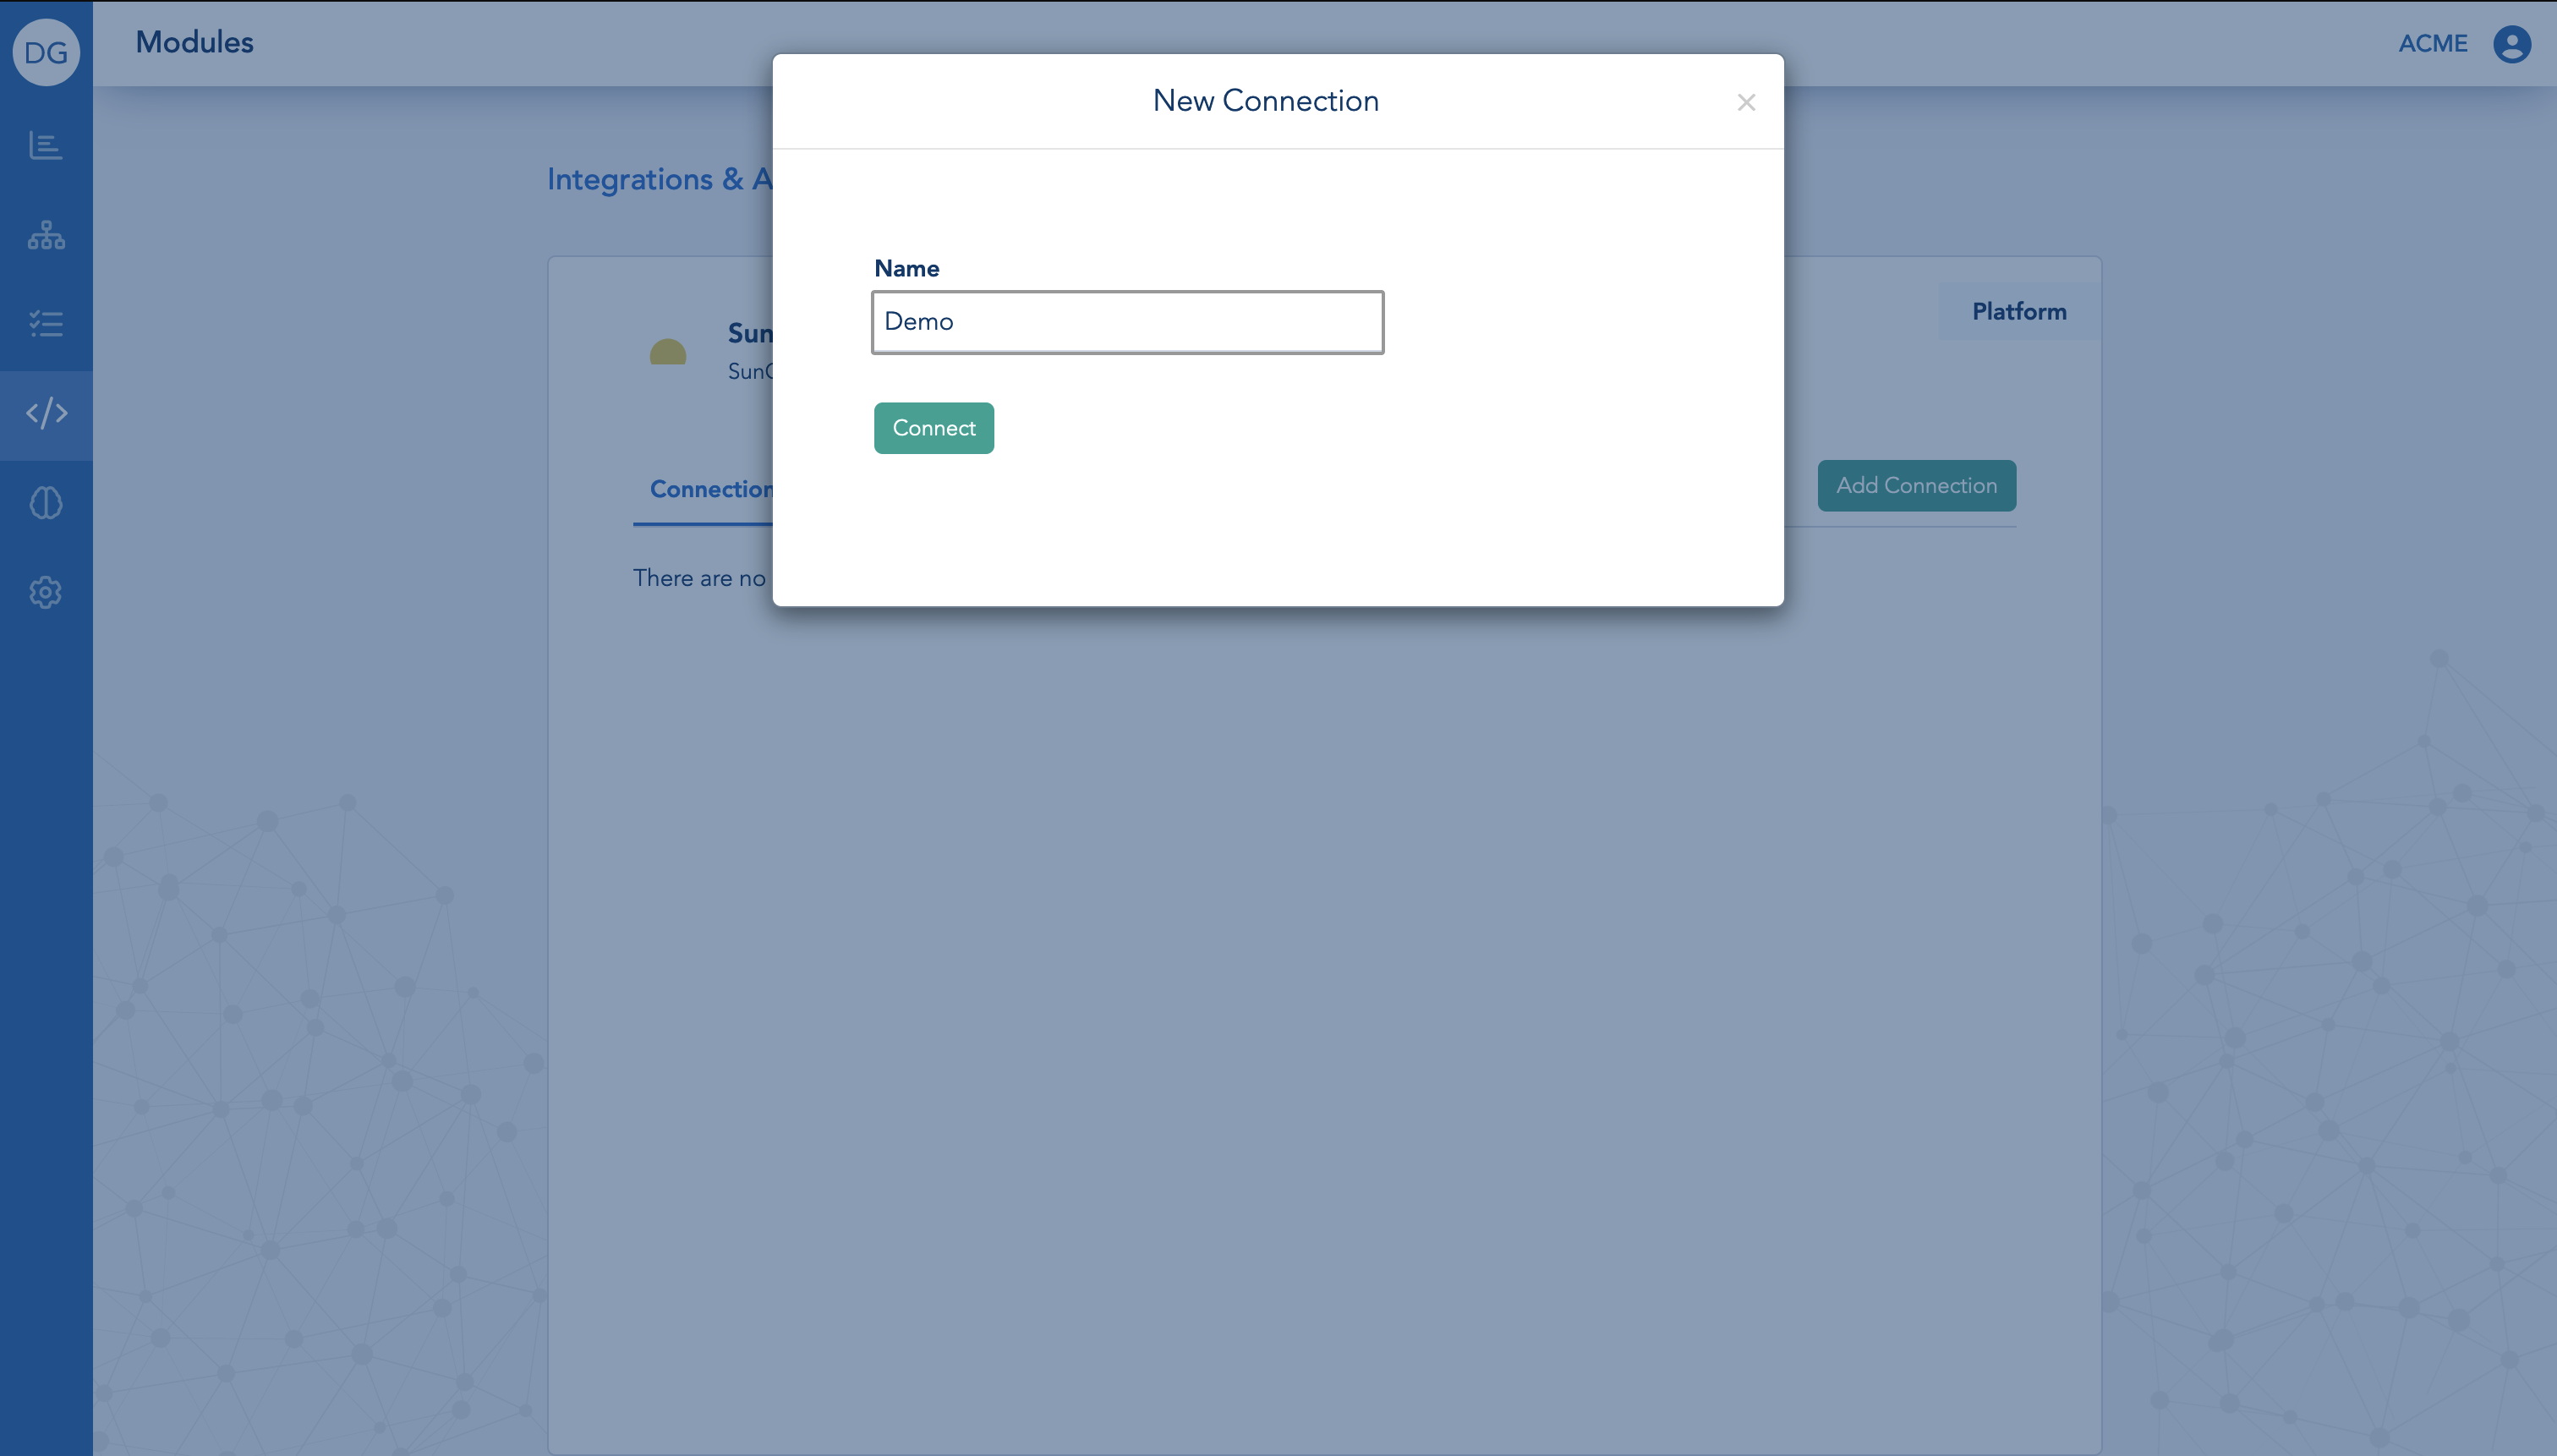
From your DigitalGenius dashboard go to the 'Modules' section and click on the 'Sunshine Conversations' module. Select 'Add Connection'

Provide a name for your new connection and click on the 'Connect' button.
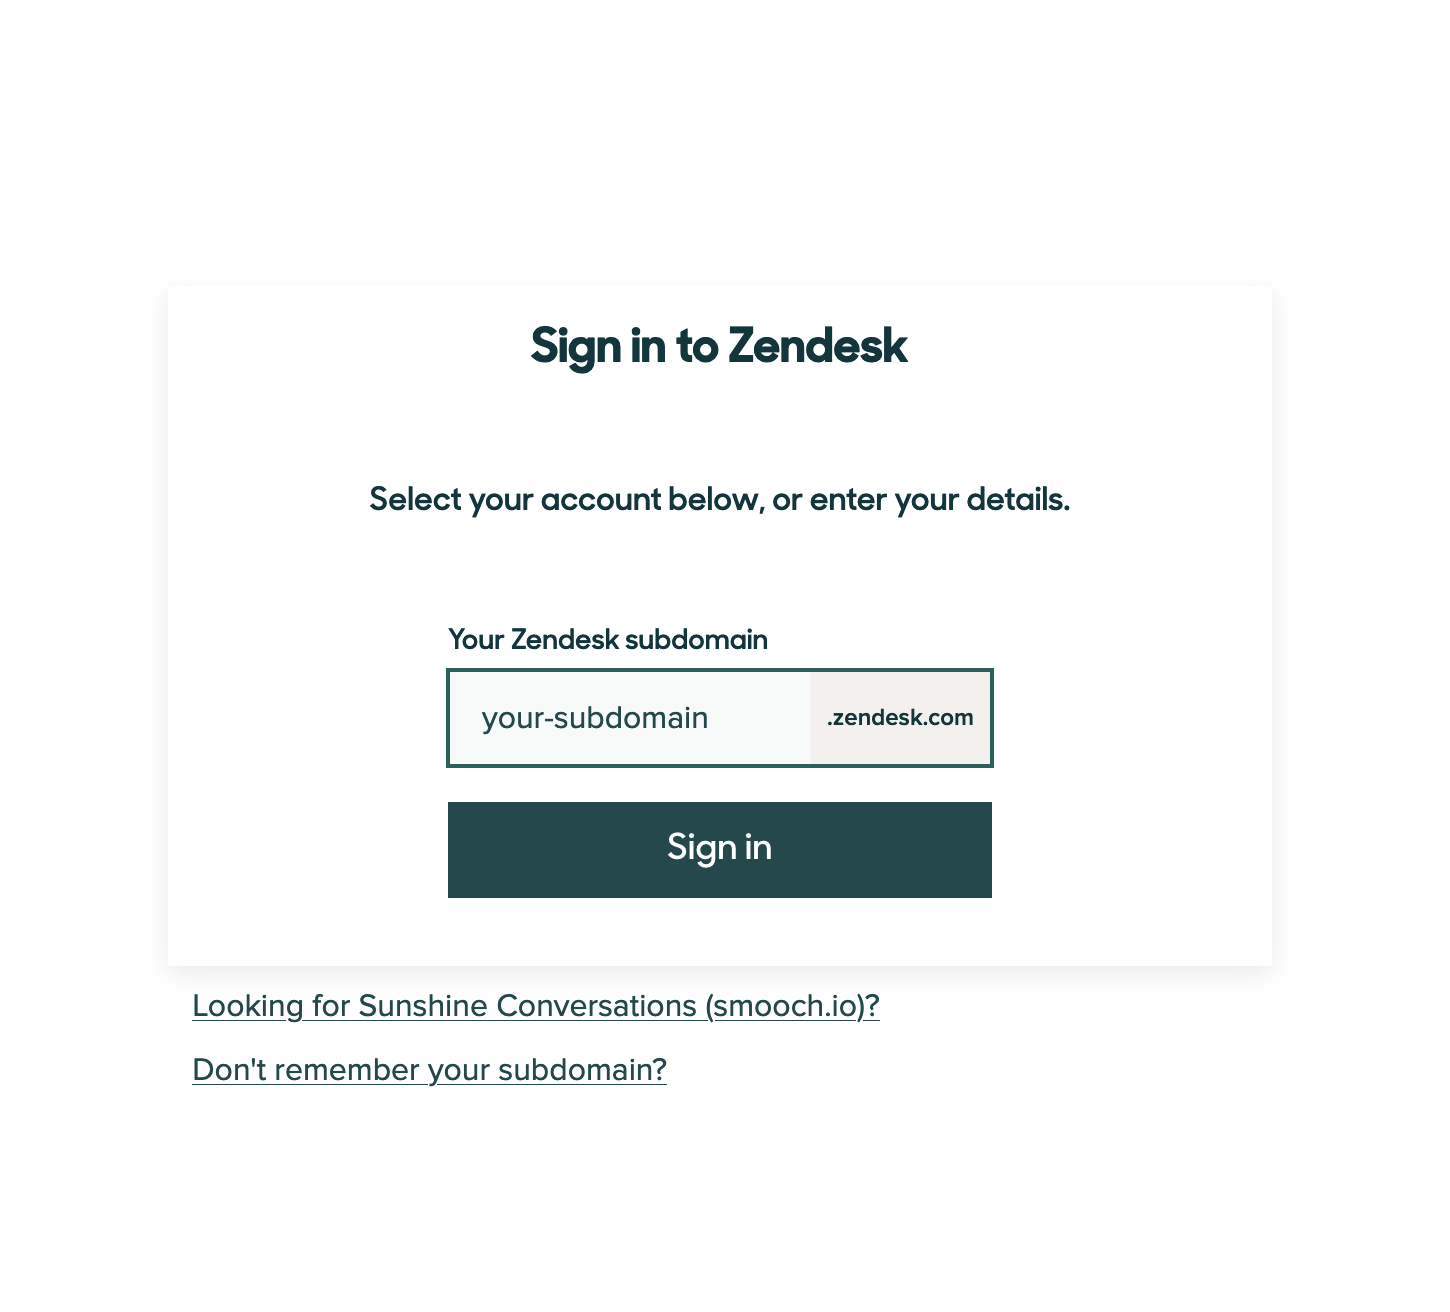
Next, you will need to specify your Zendesk subdomain and sign in.
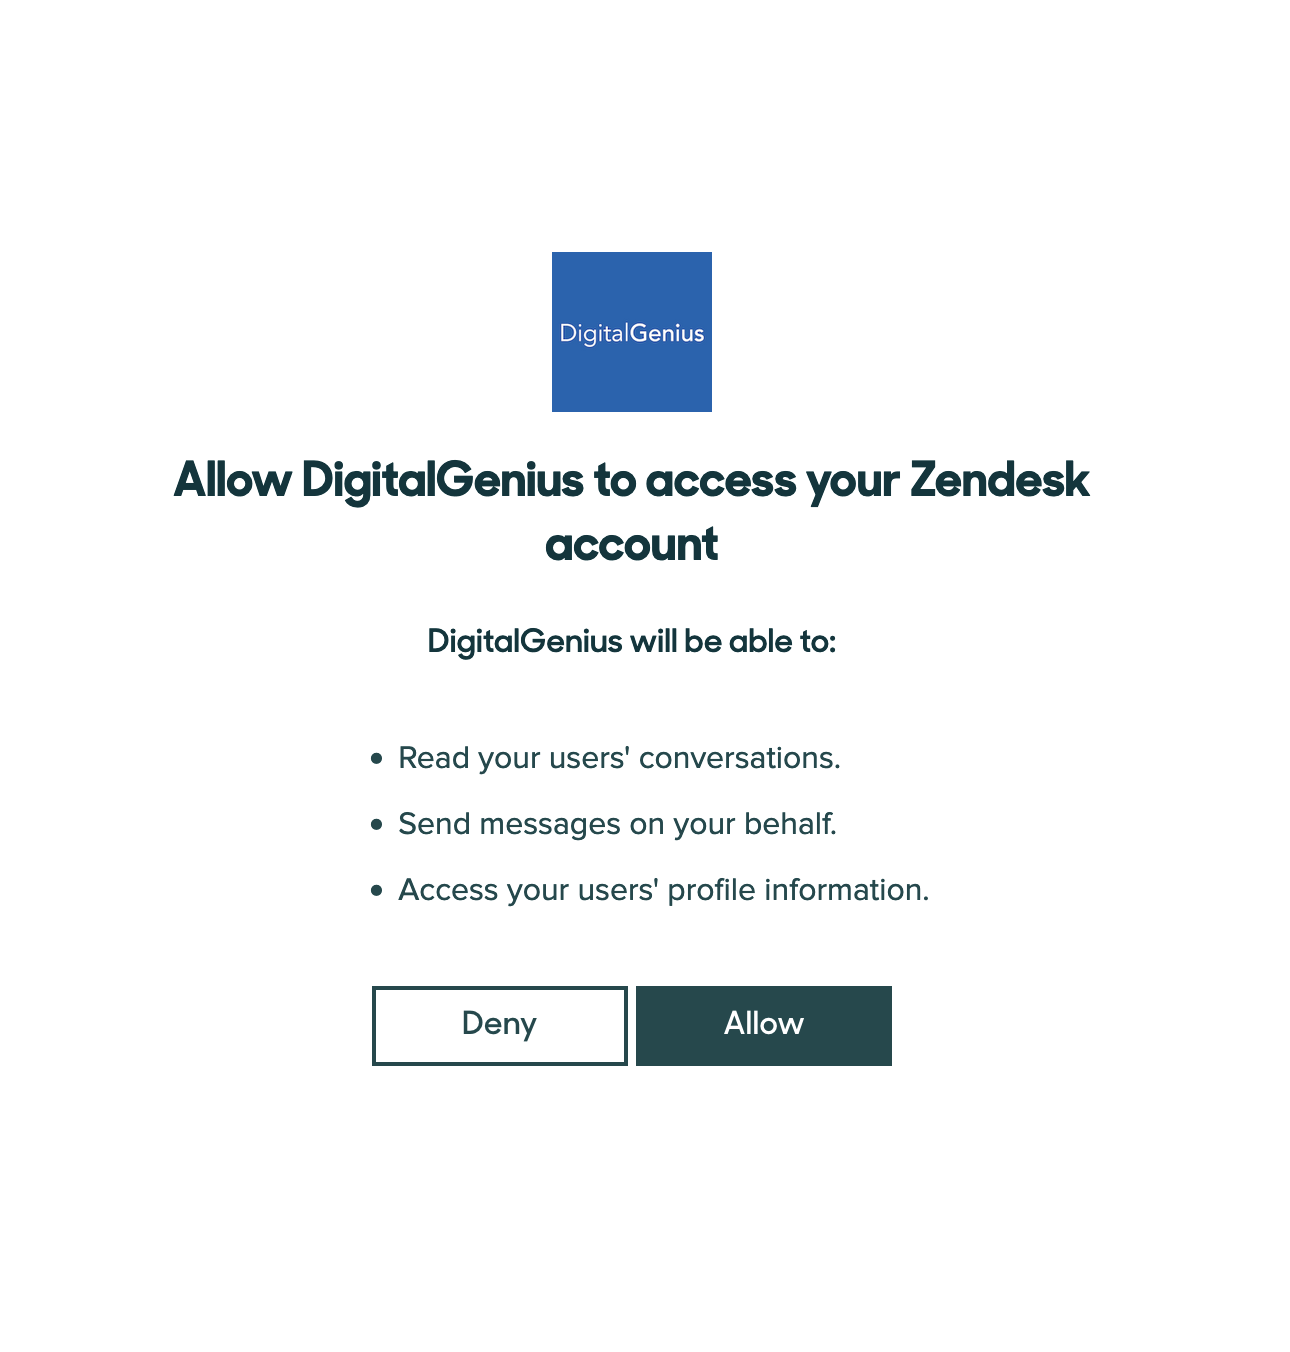
You will be asked to authorise the connection, select 'Allow'.
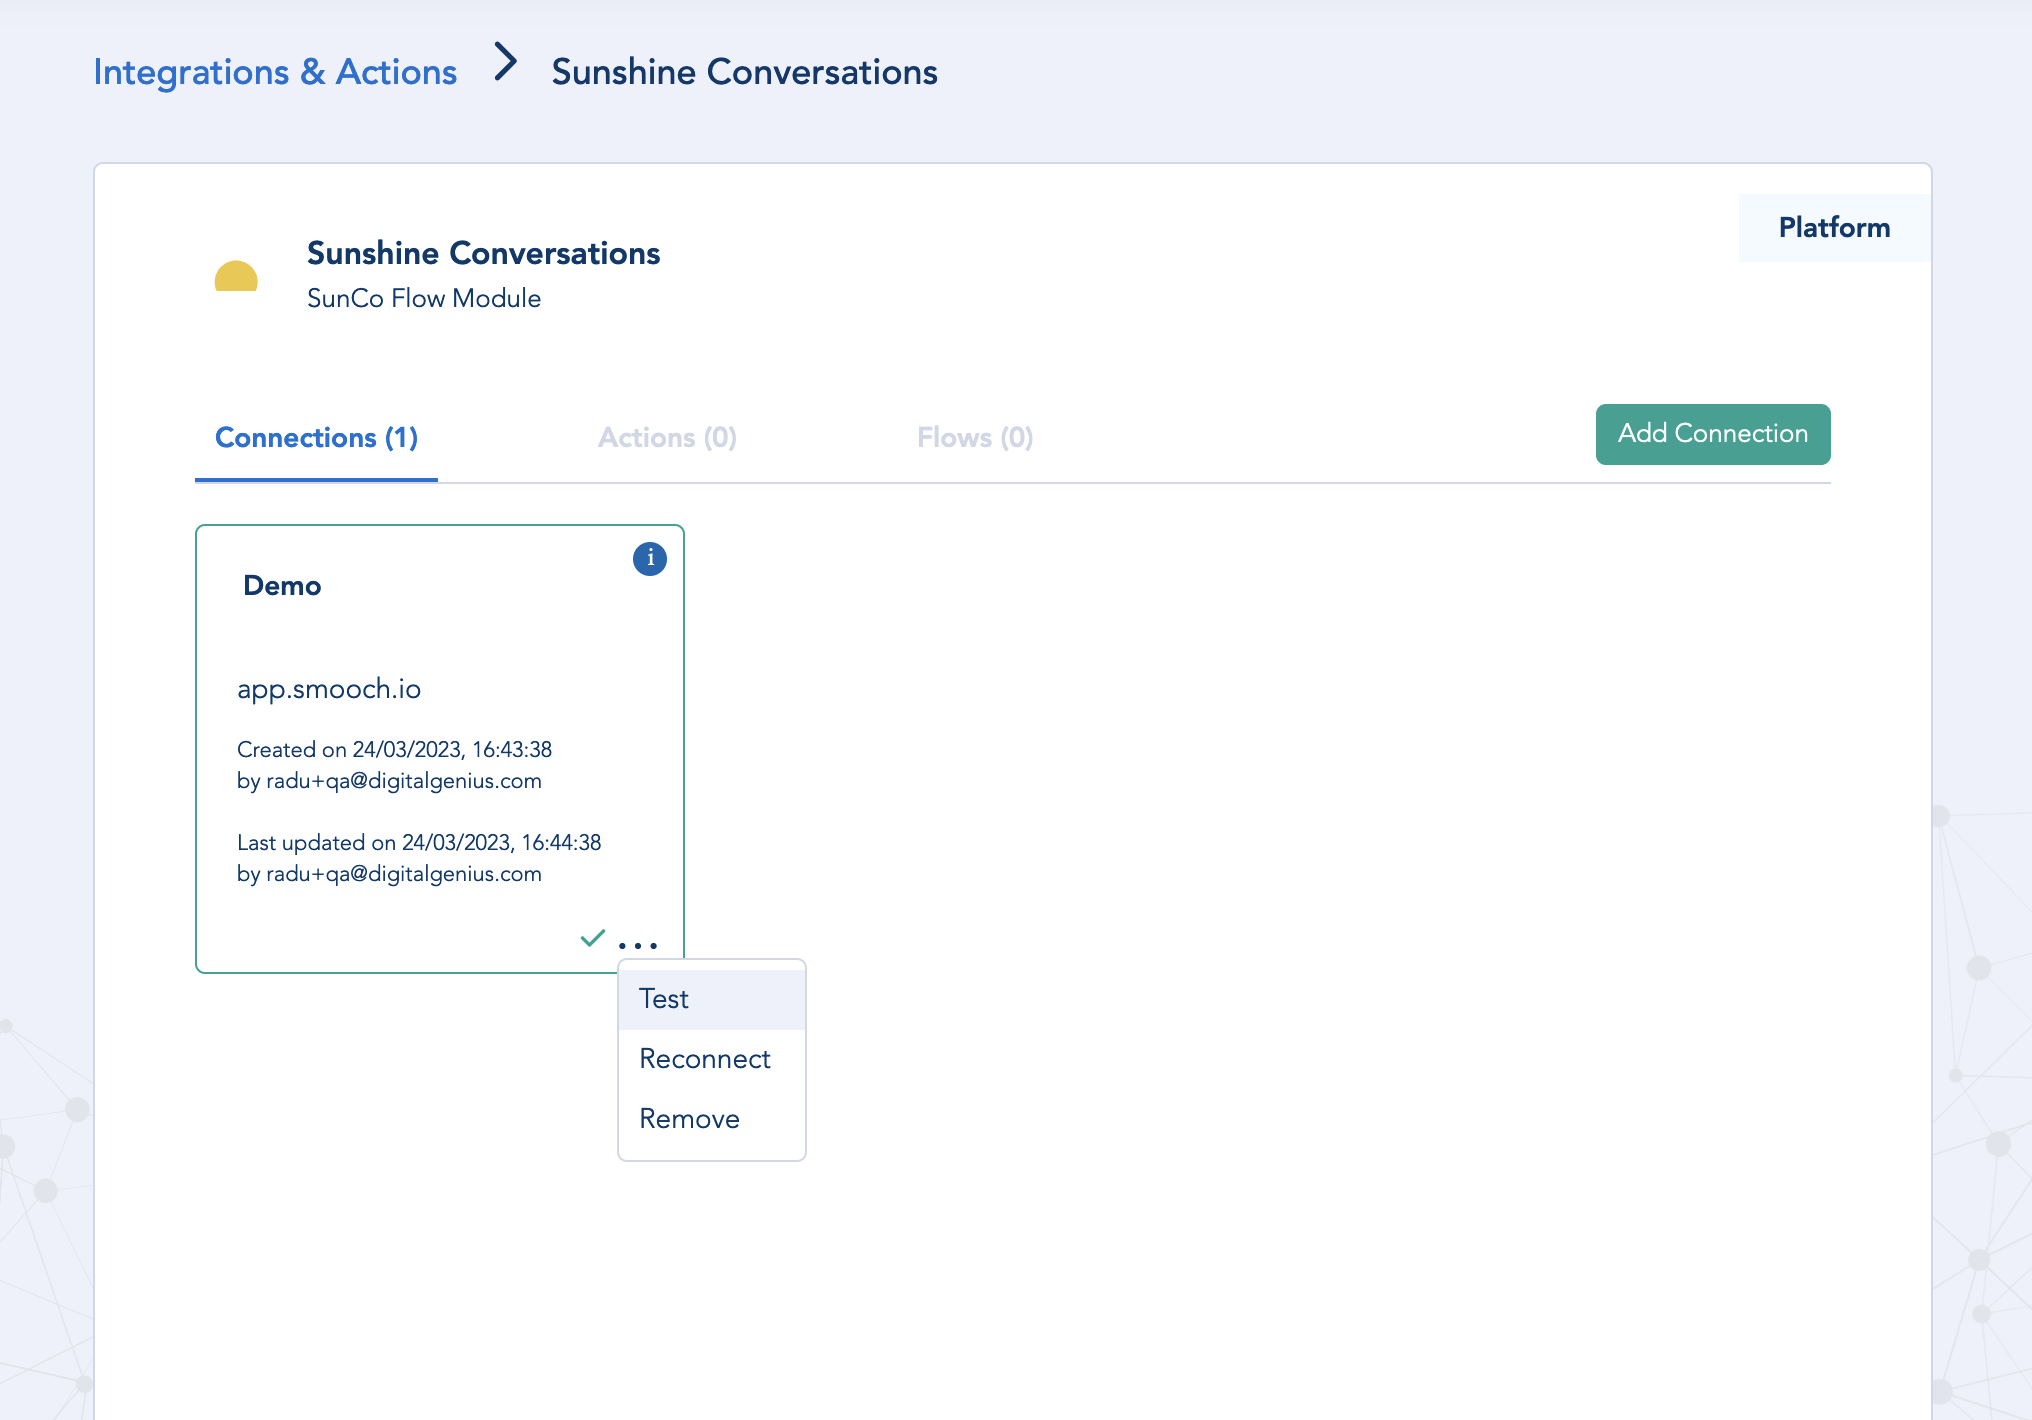
You will then be redirected back to the Sunshine Conversations Modules page where you can test your new DigitalGenius connection to Sunshine Conversations.
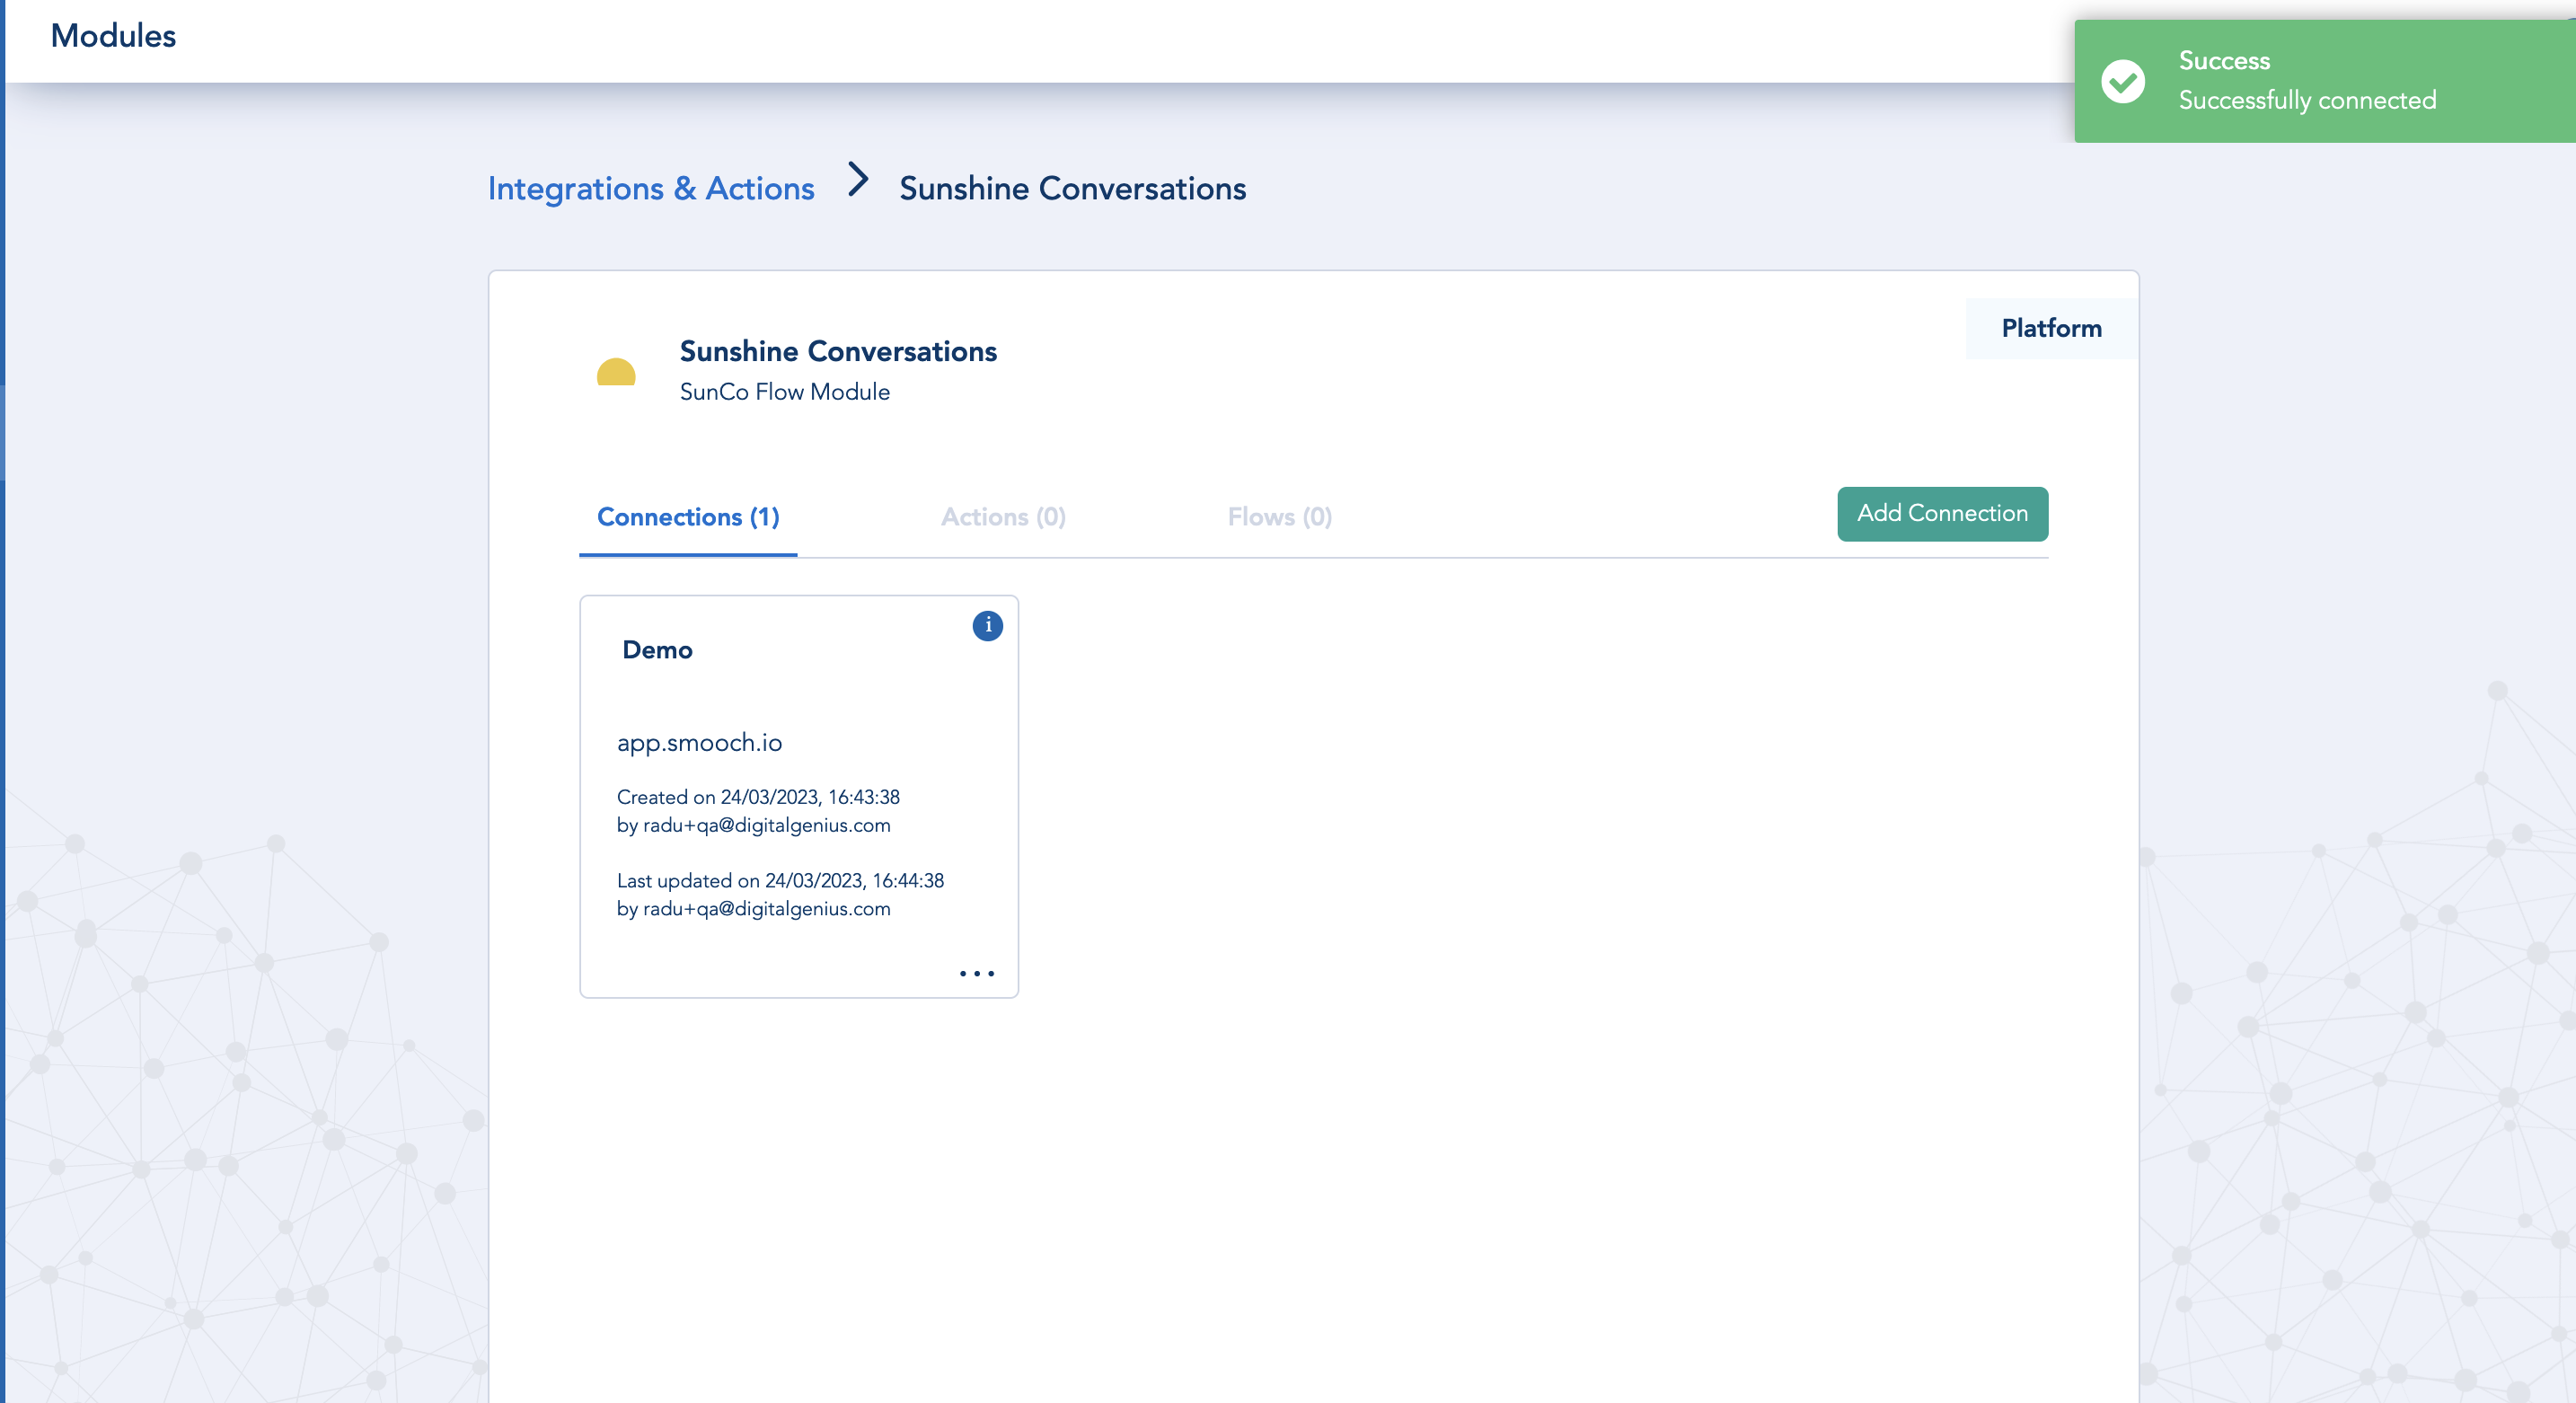
If everything was set up correctly you should see a green check mark.
Step 3 - Setup Connection with SunCo API
In the Zendesk admin center, navigate to Apps and Integrations -> APIs -> Conversations API.

Select 'Create API key' and give your key a name, then select 'Next'.
Copy the App ID, Key ID and Secret key values and copy them in to the DigitalGenius postman collection environment variables in the SunCo section (if you have the latest version of Postman you can use the filter at the top of the env variables modal to filter by sunco):
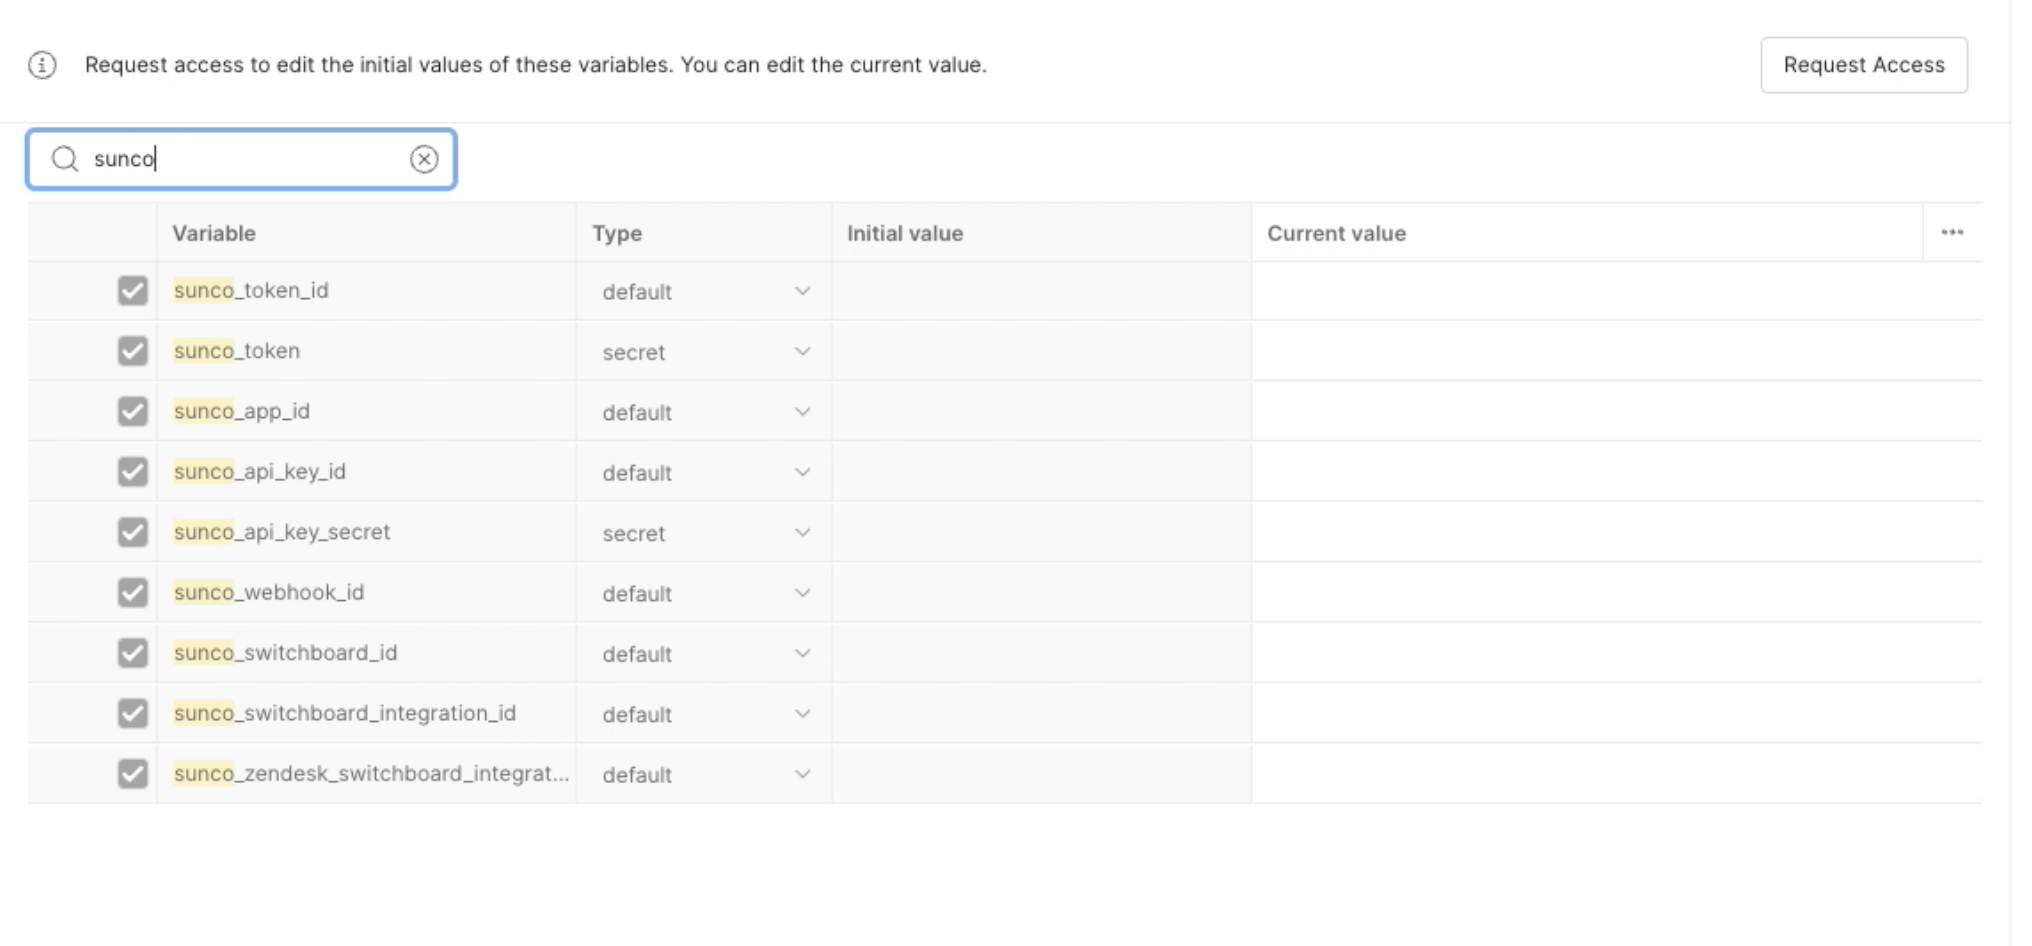
Put the App ID value in to the sunco_app_id field
Put the Key ID value in to the sunco_api_key_id field
Put the Secret key value in to the sunco_api_key_secret field
Click on the Save button
Go back to the Sunco admin and click on the Next button.
Step 4 - Get Web Integration ID
In Postman, navigate to Genius Flow API collection -> Integrations -> Sunshine Conversations -> SunCo Setup
Execute the GET Get Integrations endpoint, find the integration with "type": "web", copy it's ID and store it somewhere safe.
Step 5 - Get Switchboard Integration ID
In Postman, navigate to Genius Flow API collection -> Integrations -> Sunshine Conversations -> SunCo Setup
Execute the GET Get Switchboard Integrations endpoint, find the integration with "integrationType": "zd:agentWorkspace",, copy it's ID and store it somewhere safe.
Step 6 - Flow Agent Handover
In flow, add a new chat activity at the point where handover is required.
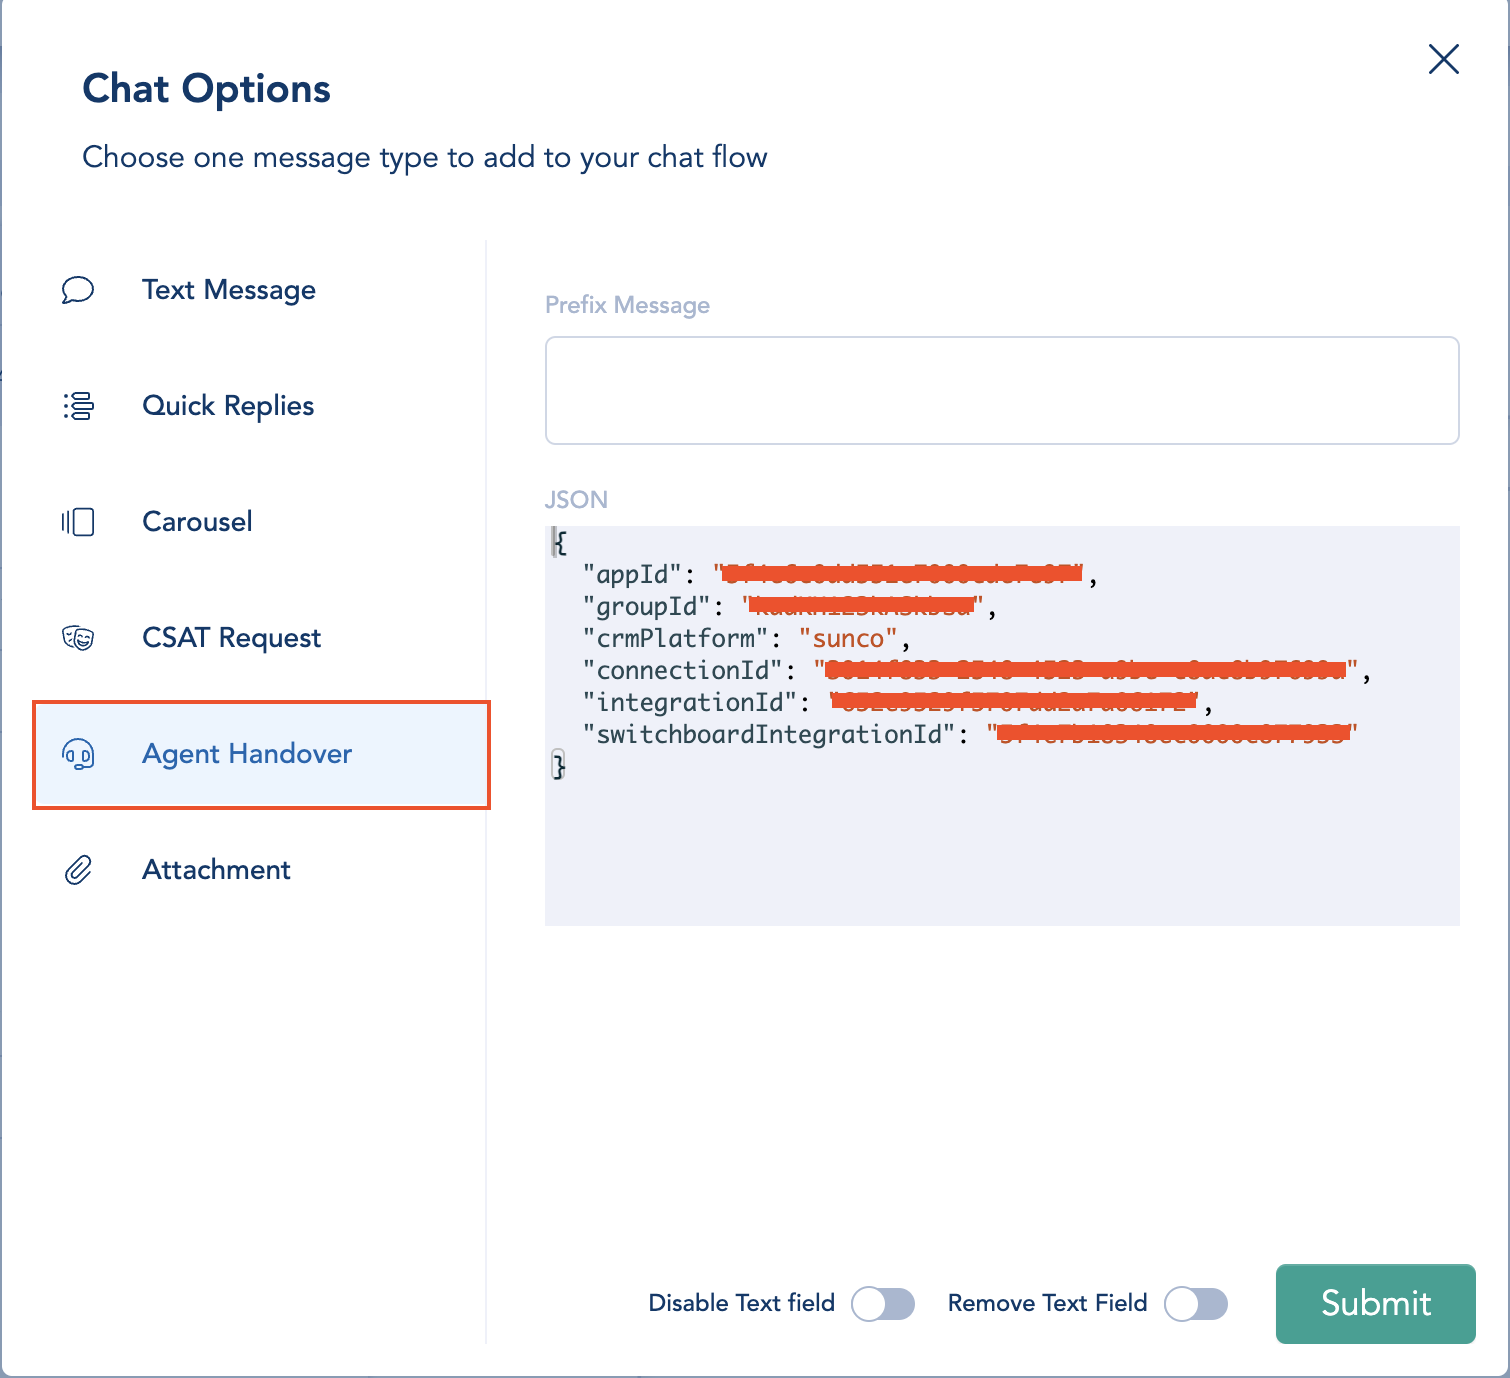
Select 'Agent Handover' and populate the JSON input with the following fields:
{
  "crmPlatform": "sunco",
  "connectionId": "*******************",
  "appId": "*******************",
  "integrationId": "*******************",
  "switchboardIntegrationId": "*******************",
  "groupId": "*******************",
  "tags": "tag1, tag2, tag3"
}
crmPlatform - Set to sunco.
connectionId - The ID of the connection created in Step 2.
appId - The 'App ID' which was generated in step 3.
integrationId - The ID of the SunCo web integration copied in step 4.
switchboardIntegrationId - The ID of the SunCo zd:agentWorkspace switchboard integration copied in Step 5.
groupId (Optional) - The ID of the Zendesk group tickets should be assigned to.
Migration Guide to Chat Widget V3
Step 1 - Update Chat Widget Config
Add the following to your chat widget config:
  window.DG_CHAT_WIDGET_CONFIG = {
    crmSDKPlatform: 'sunco', // Required
    generalSettings: {
      enableCrmUserAttachments: true,
    },
    csat: {
      type: 'thumbs', // Required
      commentsCharacterLimit: 128, // Required
    },
    lang: {
      userClosedChatMessageToAgent: '*** USER CLOSED CHAT. ***',
      csatLang: {
        ratingsText: ['Bad', 'Good'], // Required
      },
    },
  }
These options explained further in Step 1 of the Implementation Guide.
Step 2 - Get Web Integration ID
In Postman, navigate to Genius Flow API collection -> Integrations -> Sunshine Conversations -> SunCo Setup
Execute the GET Get Integrations endpoint. In the response, find the integration with "type": "web", copy it's ID and store it somewhere safe.
If you don't have credentials to make the request, you may need to create a new Conversation API key, detailed in Step 3 of the Implementation Guide.
Step 3 - Get Switchboard Integration ID
In Postman, navigate to Genius Flow API collection -> Integrations -> Sunshine Conversations -> SunCo Setup
Execute the GET Get Switchboard Integrations endpoint, find the integration with "integrationType": "zd:agentWorkspace",, copy it's ID and store it somewhere safe.
Step 4 - Update Agent Handover Object
In Flow, ensure the Agent Handover activity JSON object has the following properties:
{
  "crmPlatform": "sunco",
  "appId": "*******************",
  "integrationId": "*******************",
  "switchboardIntegrationId": "*******************",
  "connectionId": "*******************",
  "groupId": "*******************",
}
crmPlatform - Set to sunco.
appId - The 'App ID' which can be found in the Zendesk admin center (Apps and Integrations -> APIs -> Conversations API).
integrationId - The ID of the SunCo web integration copied in step 2.
switchboardIntegrationId - The ID of the SunCo zd:agentWorkspace switchboard integration copied in Step 3.
connectionId - The ID of the DigitalGenius 'Sunshine Conversations' connection.
groupId (Optional) - The ID of the Zendesk group tickets should be assigned to.
Step 5 - Disconnect DigitalGenius Bot
In the Zendesk admin center, navigate to Channels -> Bots -> Manage bots.
Under Marketplace bots, select 'Disconnect' next to the DigitalGenius bot, and again in the following popup.

This removes DigitalGenius from the switchboard and sets the default switchboard integration to zd:answerBot.
Step 6 - Remove CRM Object From Config
Now the migration is complete, you can safely remove the crm object from the chat widget config.
Updated about 1 month ago