Magento 1
Magento 1 API Access
DigitalGenius platform has a pre-built integration with Magento 1 to retrieve order information.
This guide walks you through the steps on how to enable Magento access for DigitalGenius Flows.
Time to Complete: 10 minutes
Create Role
First, we will be creating a role for DigitalGenius. Log in to your Magento admin panel, navigate to System > Web Services > SOAP/XML-RPC – Roles and tap Add New Role button.
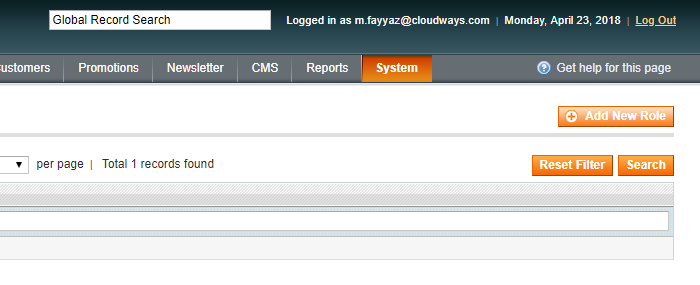
Now, enter the Role Name of your choice (for example, “DG API User”) and also enter the Current Admin Password of your admin panel.

Then, click on the Role Resources tab.
The Role Resources are defined in each Magento module. Choose the Role Resources you want DigitalGenius to access and click the Save Role button. We recommend to include resources for read access on orders and customers.
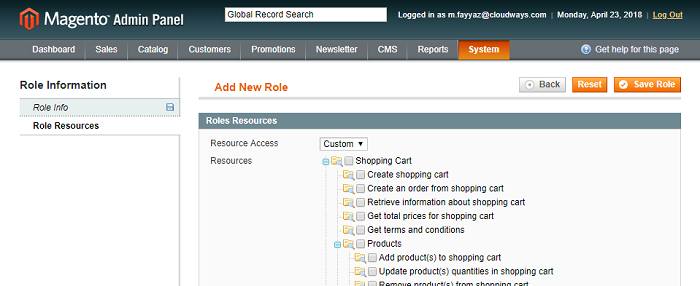
Save the new role.
Create User
After creating a Role, let’s create a User that will be used by DigitalGenius. Navigate to System > Web Services > SOAP/XML-RPC – Users and tap Add New User button.
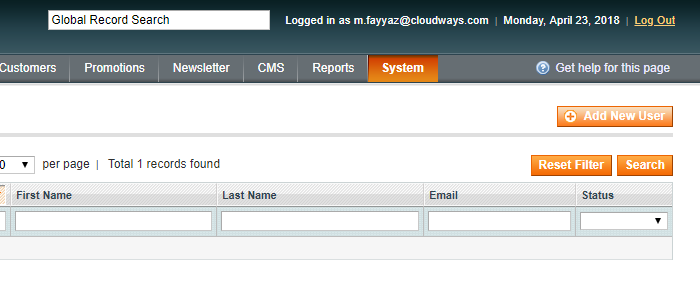
Enter the relevant information required in the User Info tab under the Account Information section. Keep in mind that UserName and API Key are the values that will be used on the DigitalGenius side to access the Magento API.

Once you have entered all the necessary information, click on the User Role tab and assign the role we created earlier to the user by clicking on the radio button.

Once done, click Save User.
Share the Username and API key
Now that the user is created, share the Username and API key with DigitalGenius through a secure channel like 1Password or enter these configurations directly into the DigitalGenius dashboard.
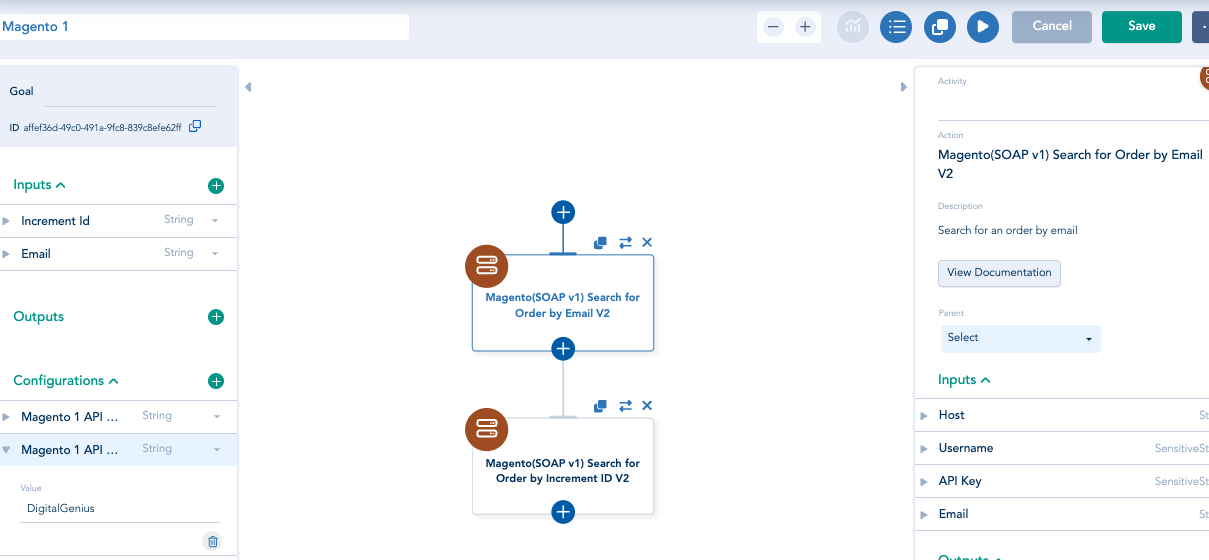
Important NoteThe Username and Email are different values. You need to share the username with DigitalGenius.
Congratulations!Now the Magento setup is complete and you can use Magento orders information inside DigitalGenius Flows.
Magento 2 API Access
In order for DigitalGenius to connect to your Magento 2 instance you will need to create an integration token in your Magento admin console.
In this guide, we will follow the steps from Magento documentation to create an access token based integration.
Time to Complete: 10 minutes
Navigate to Integrations
Login to your Magento Admin and click System.
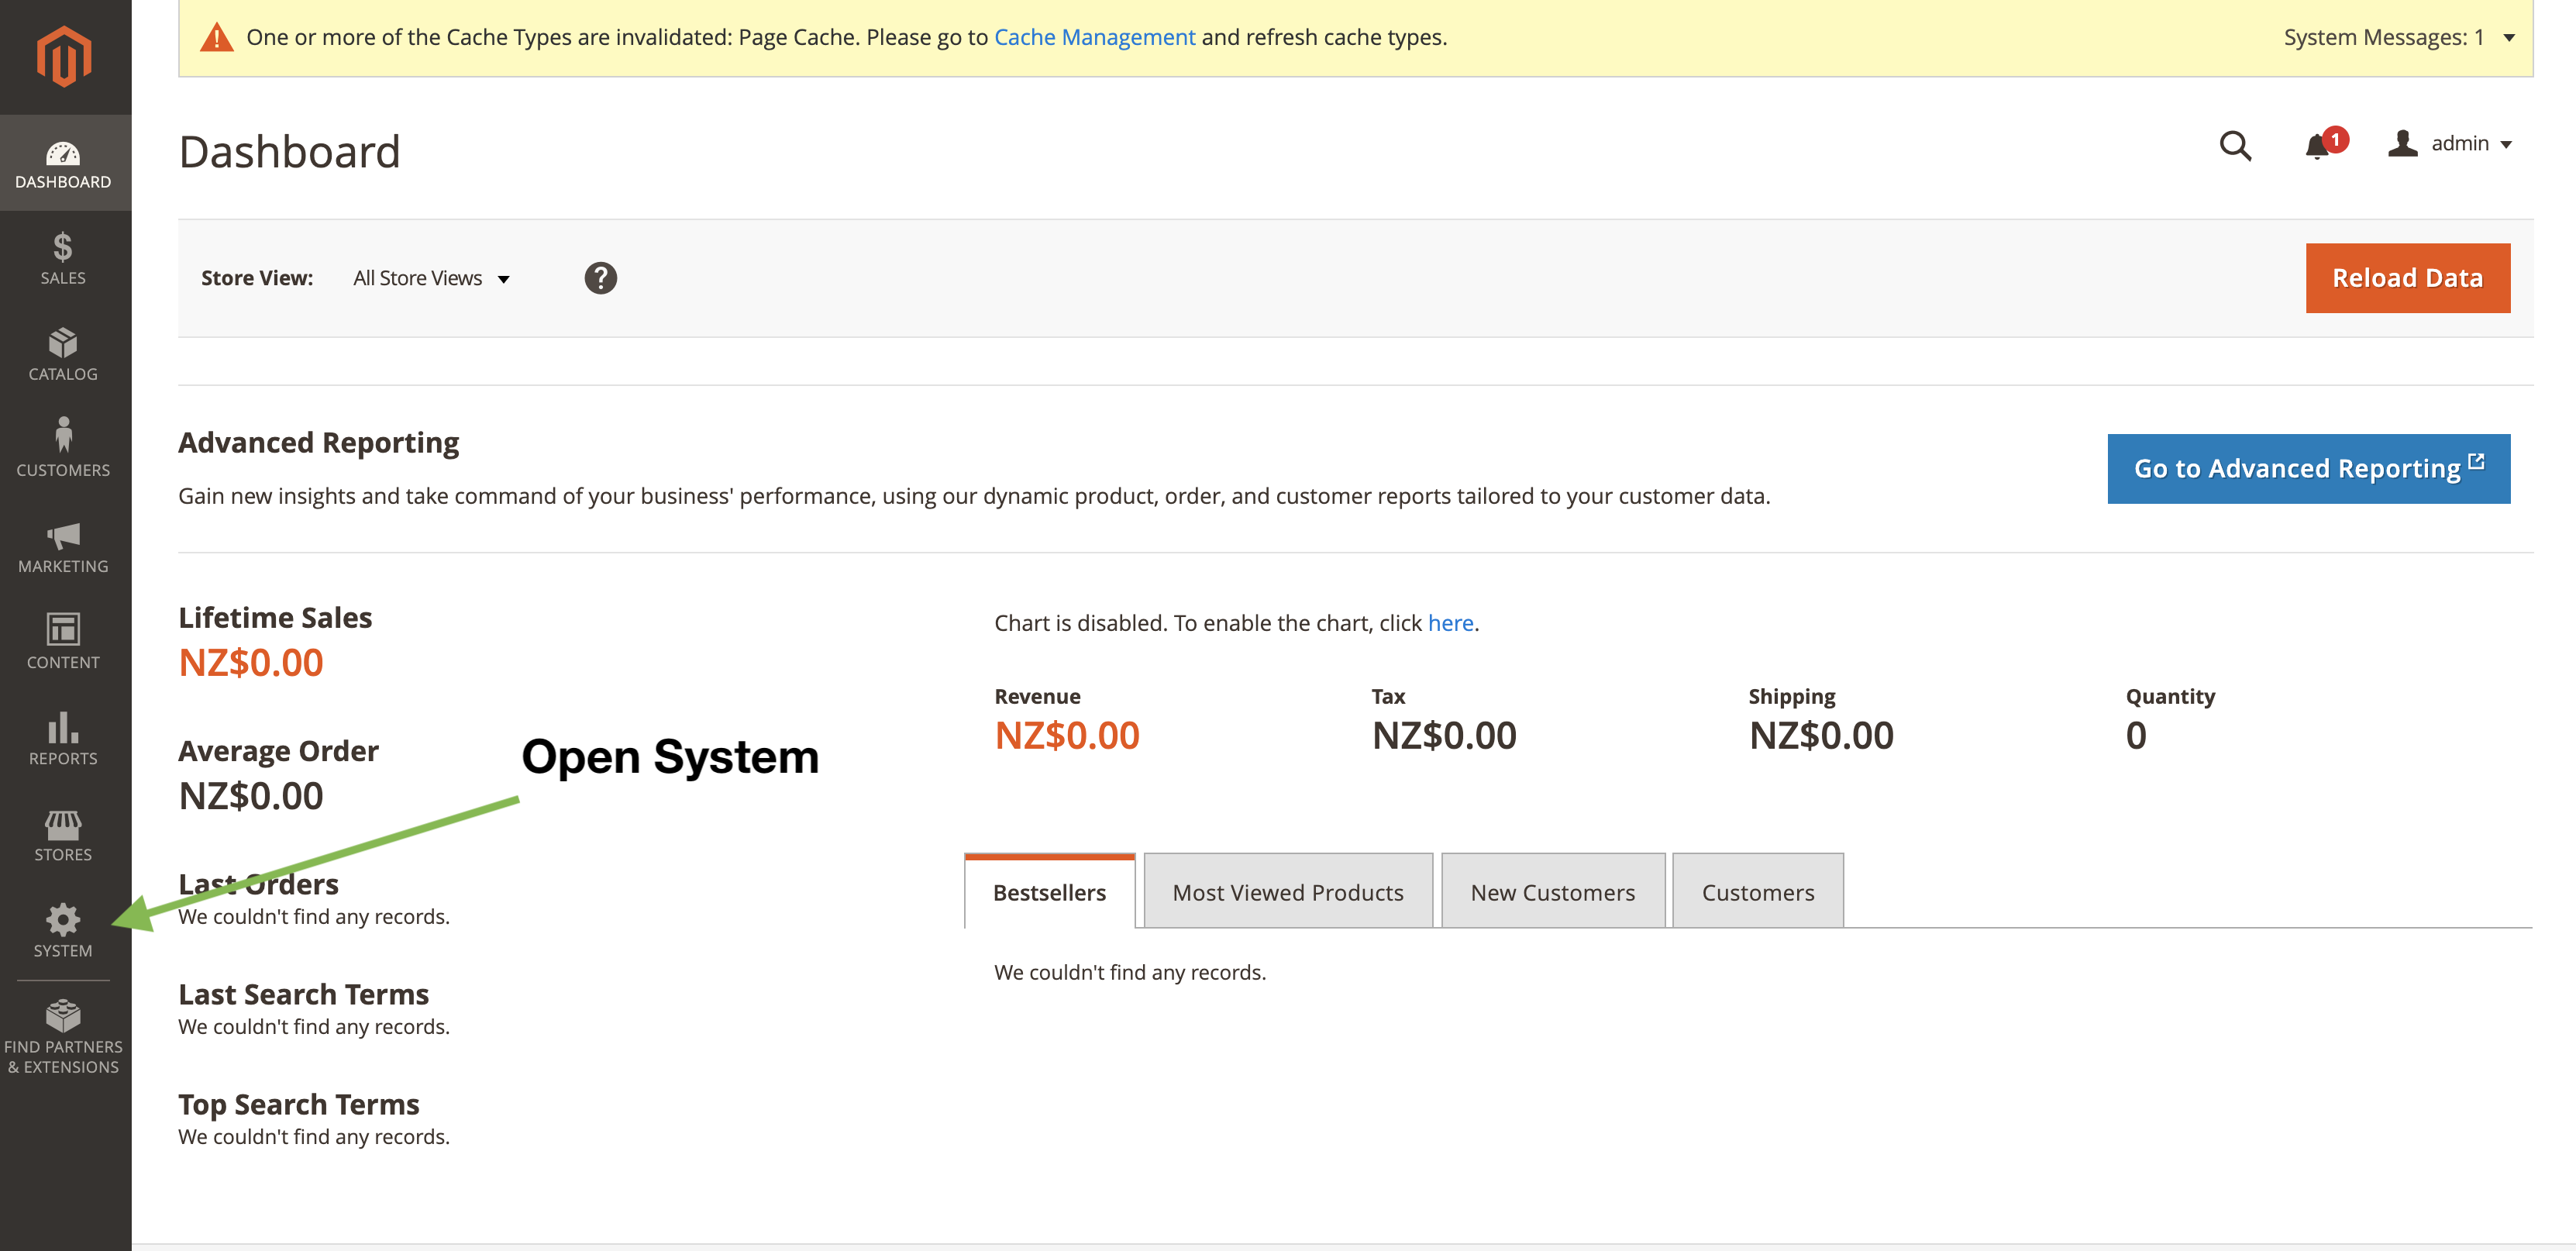
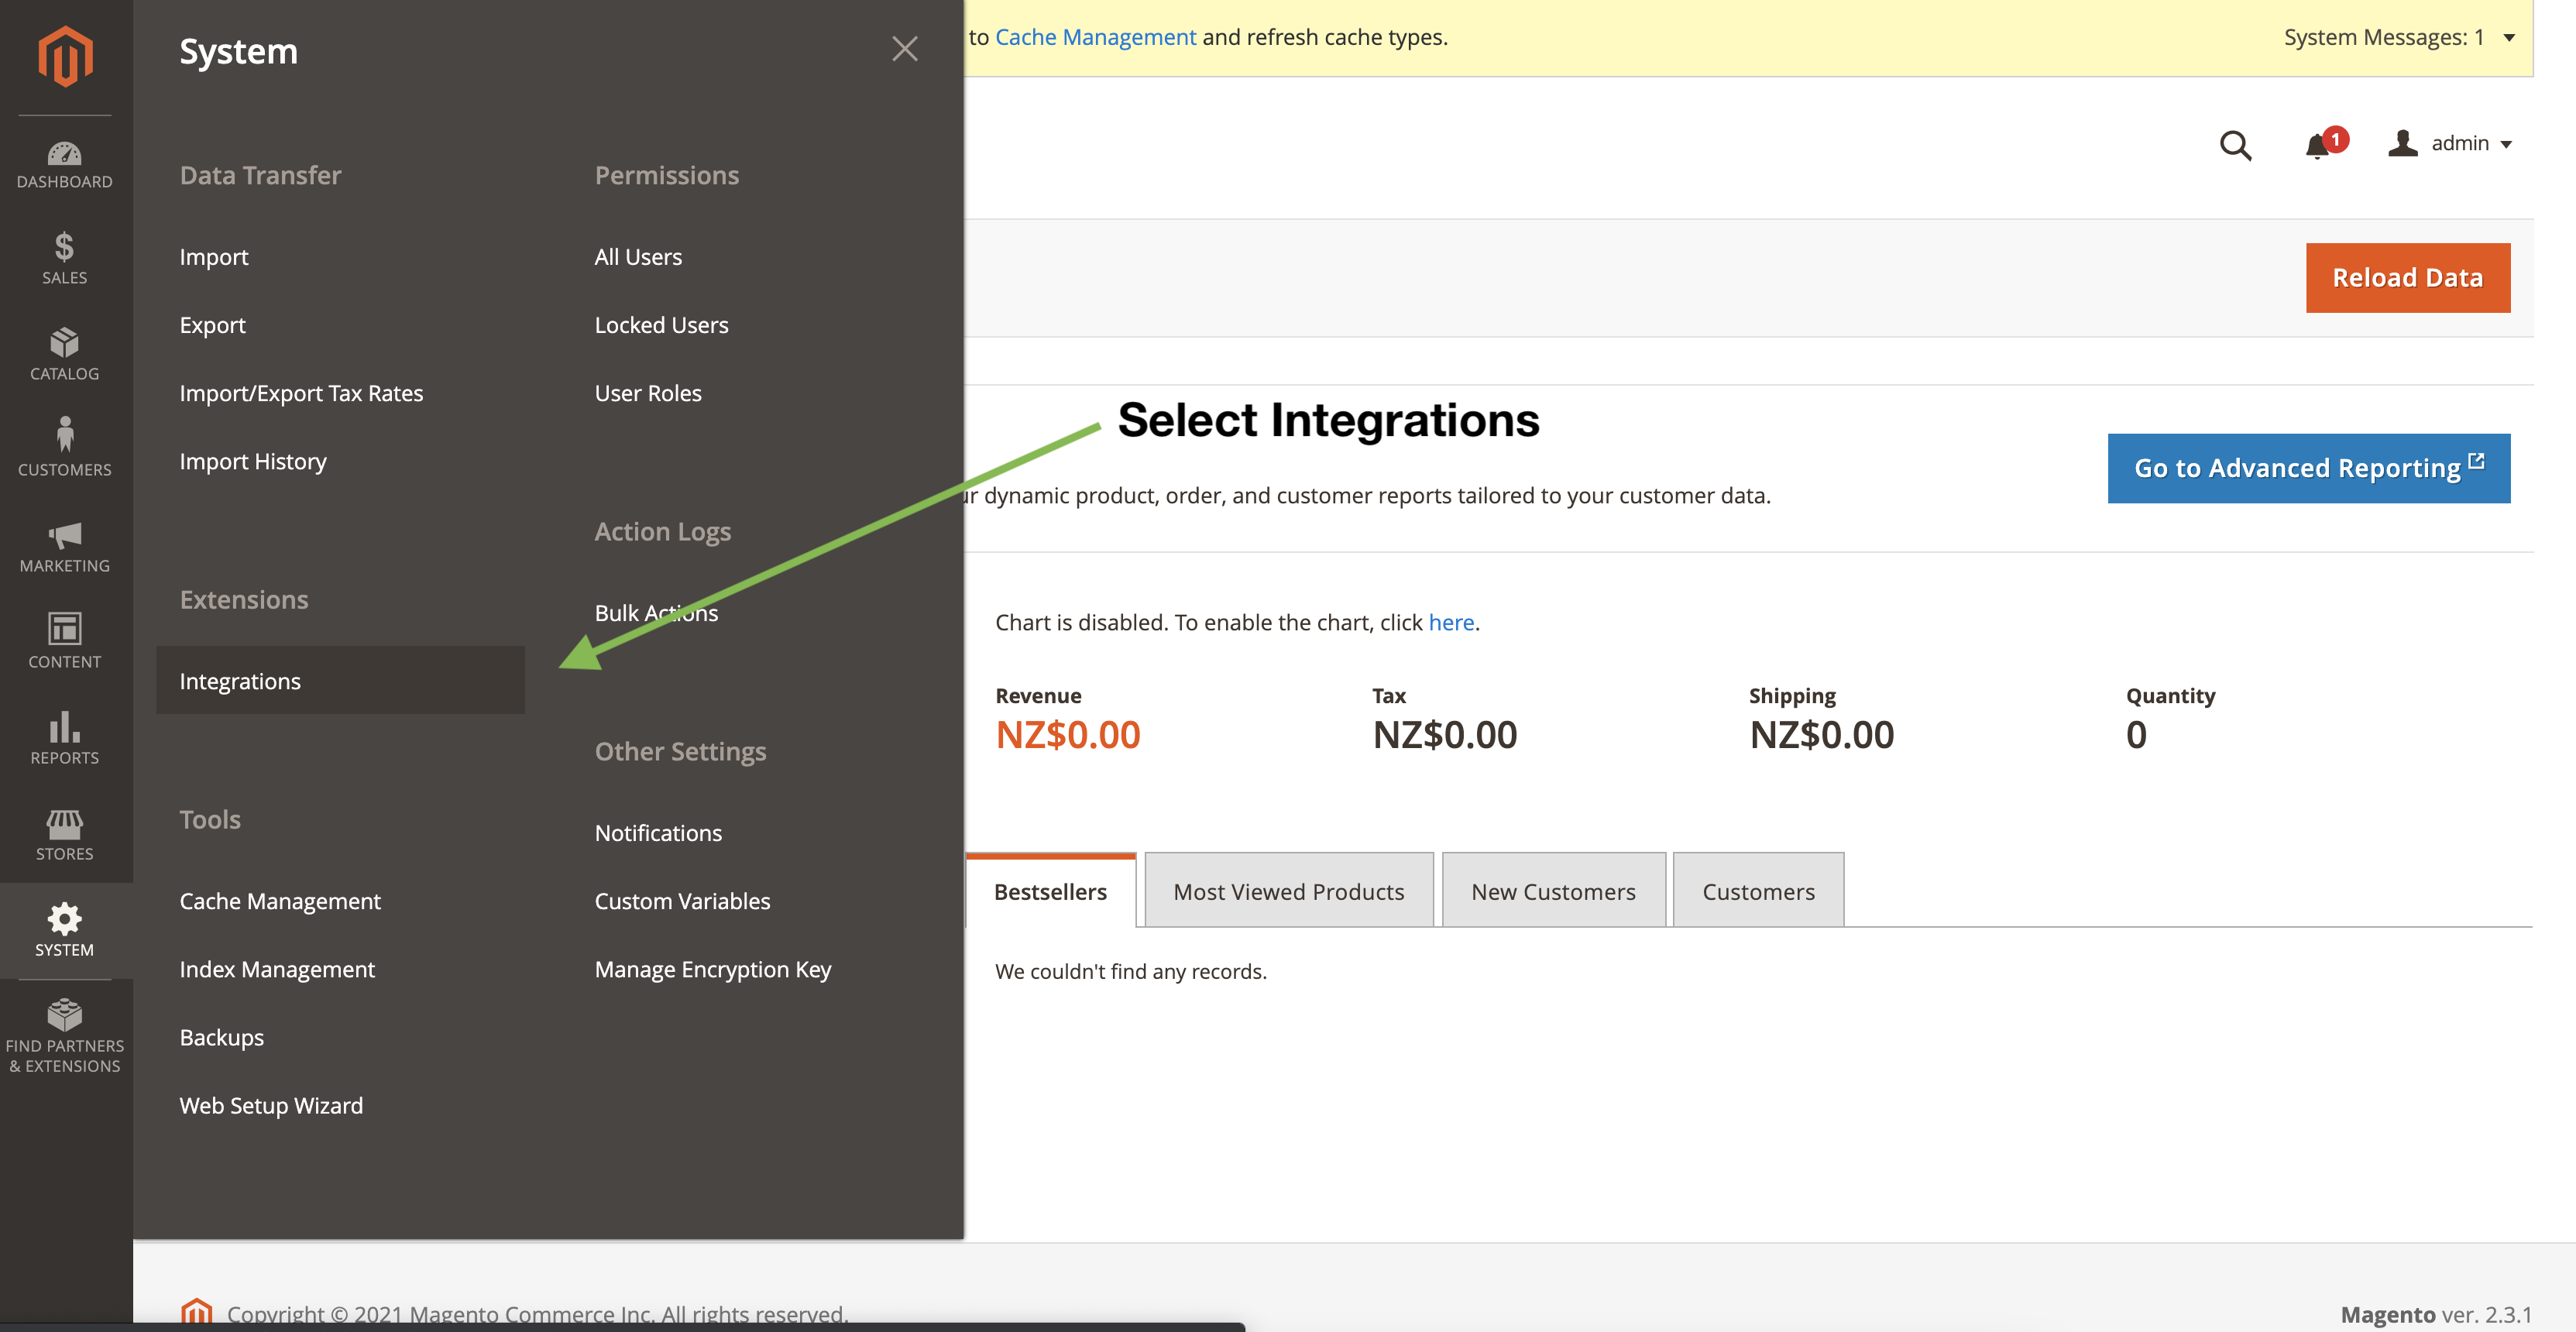
Under System select Integrations.
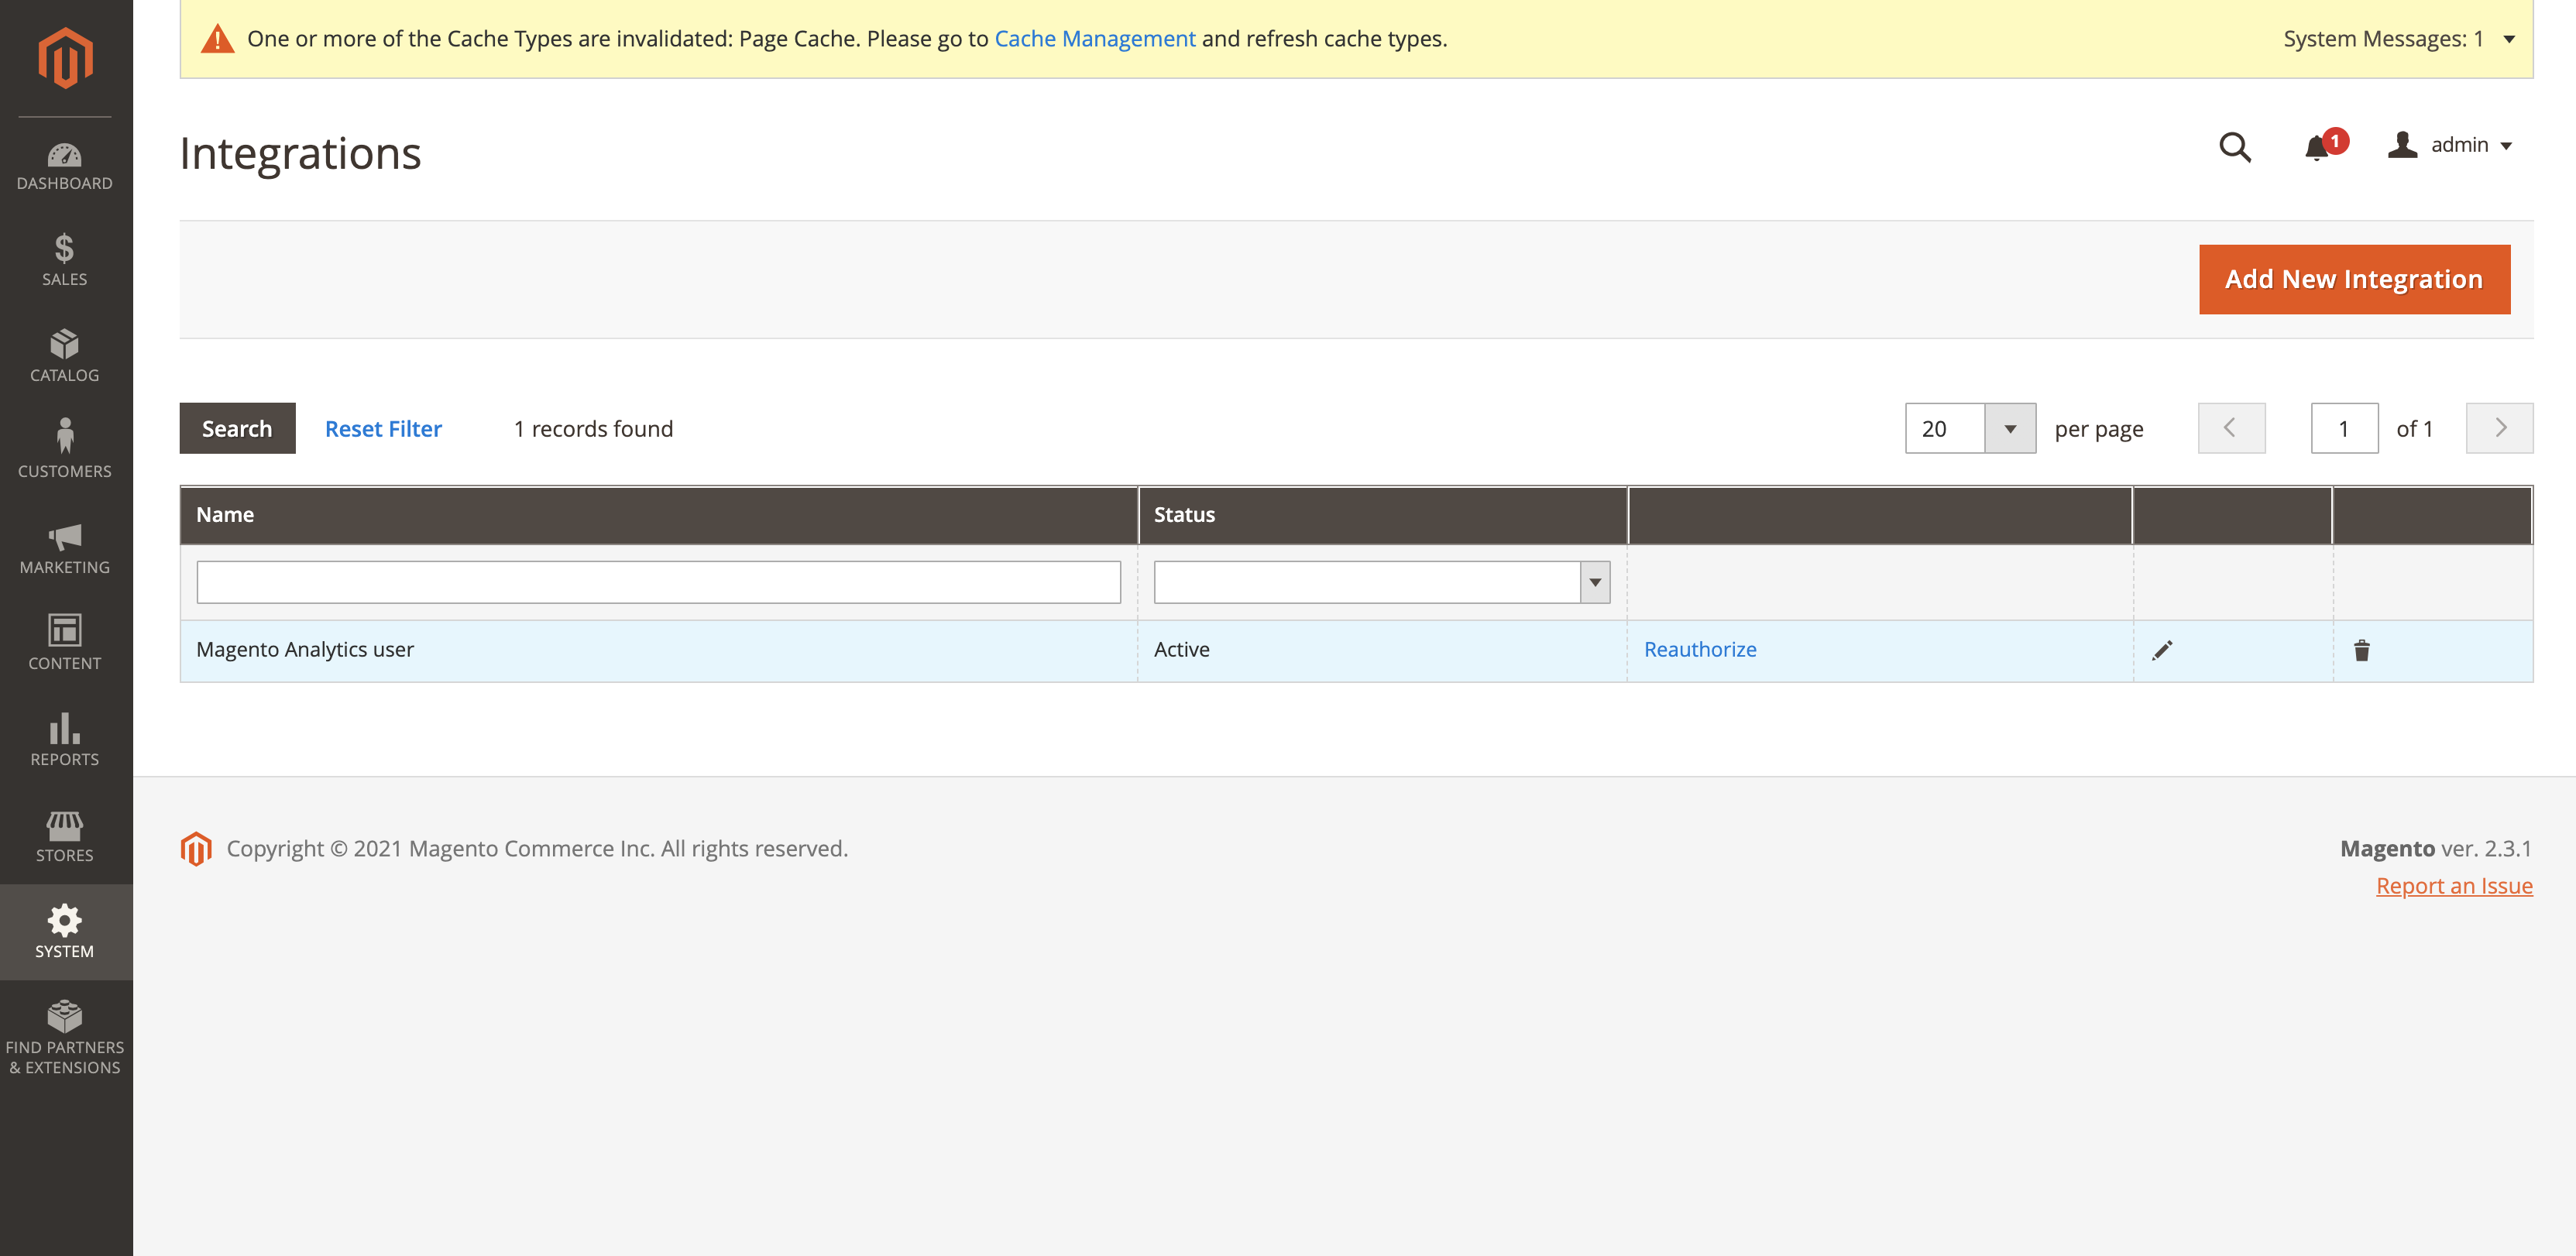
When the integrations load you should the following page with the list of your currently enabled integrations.
Add New Integration
Click on the Add New Integration button.

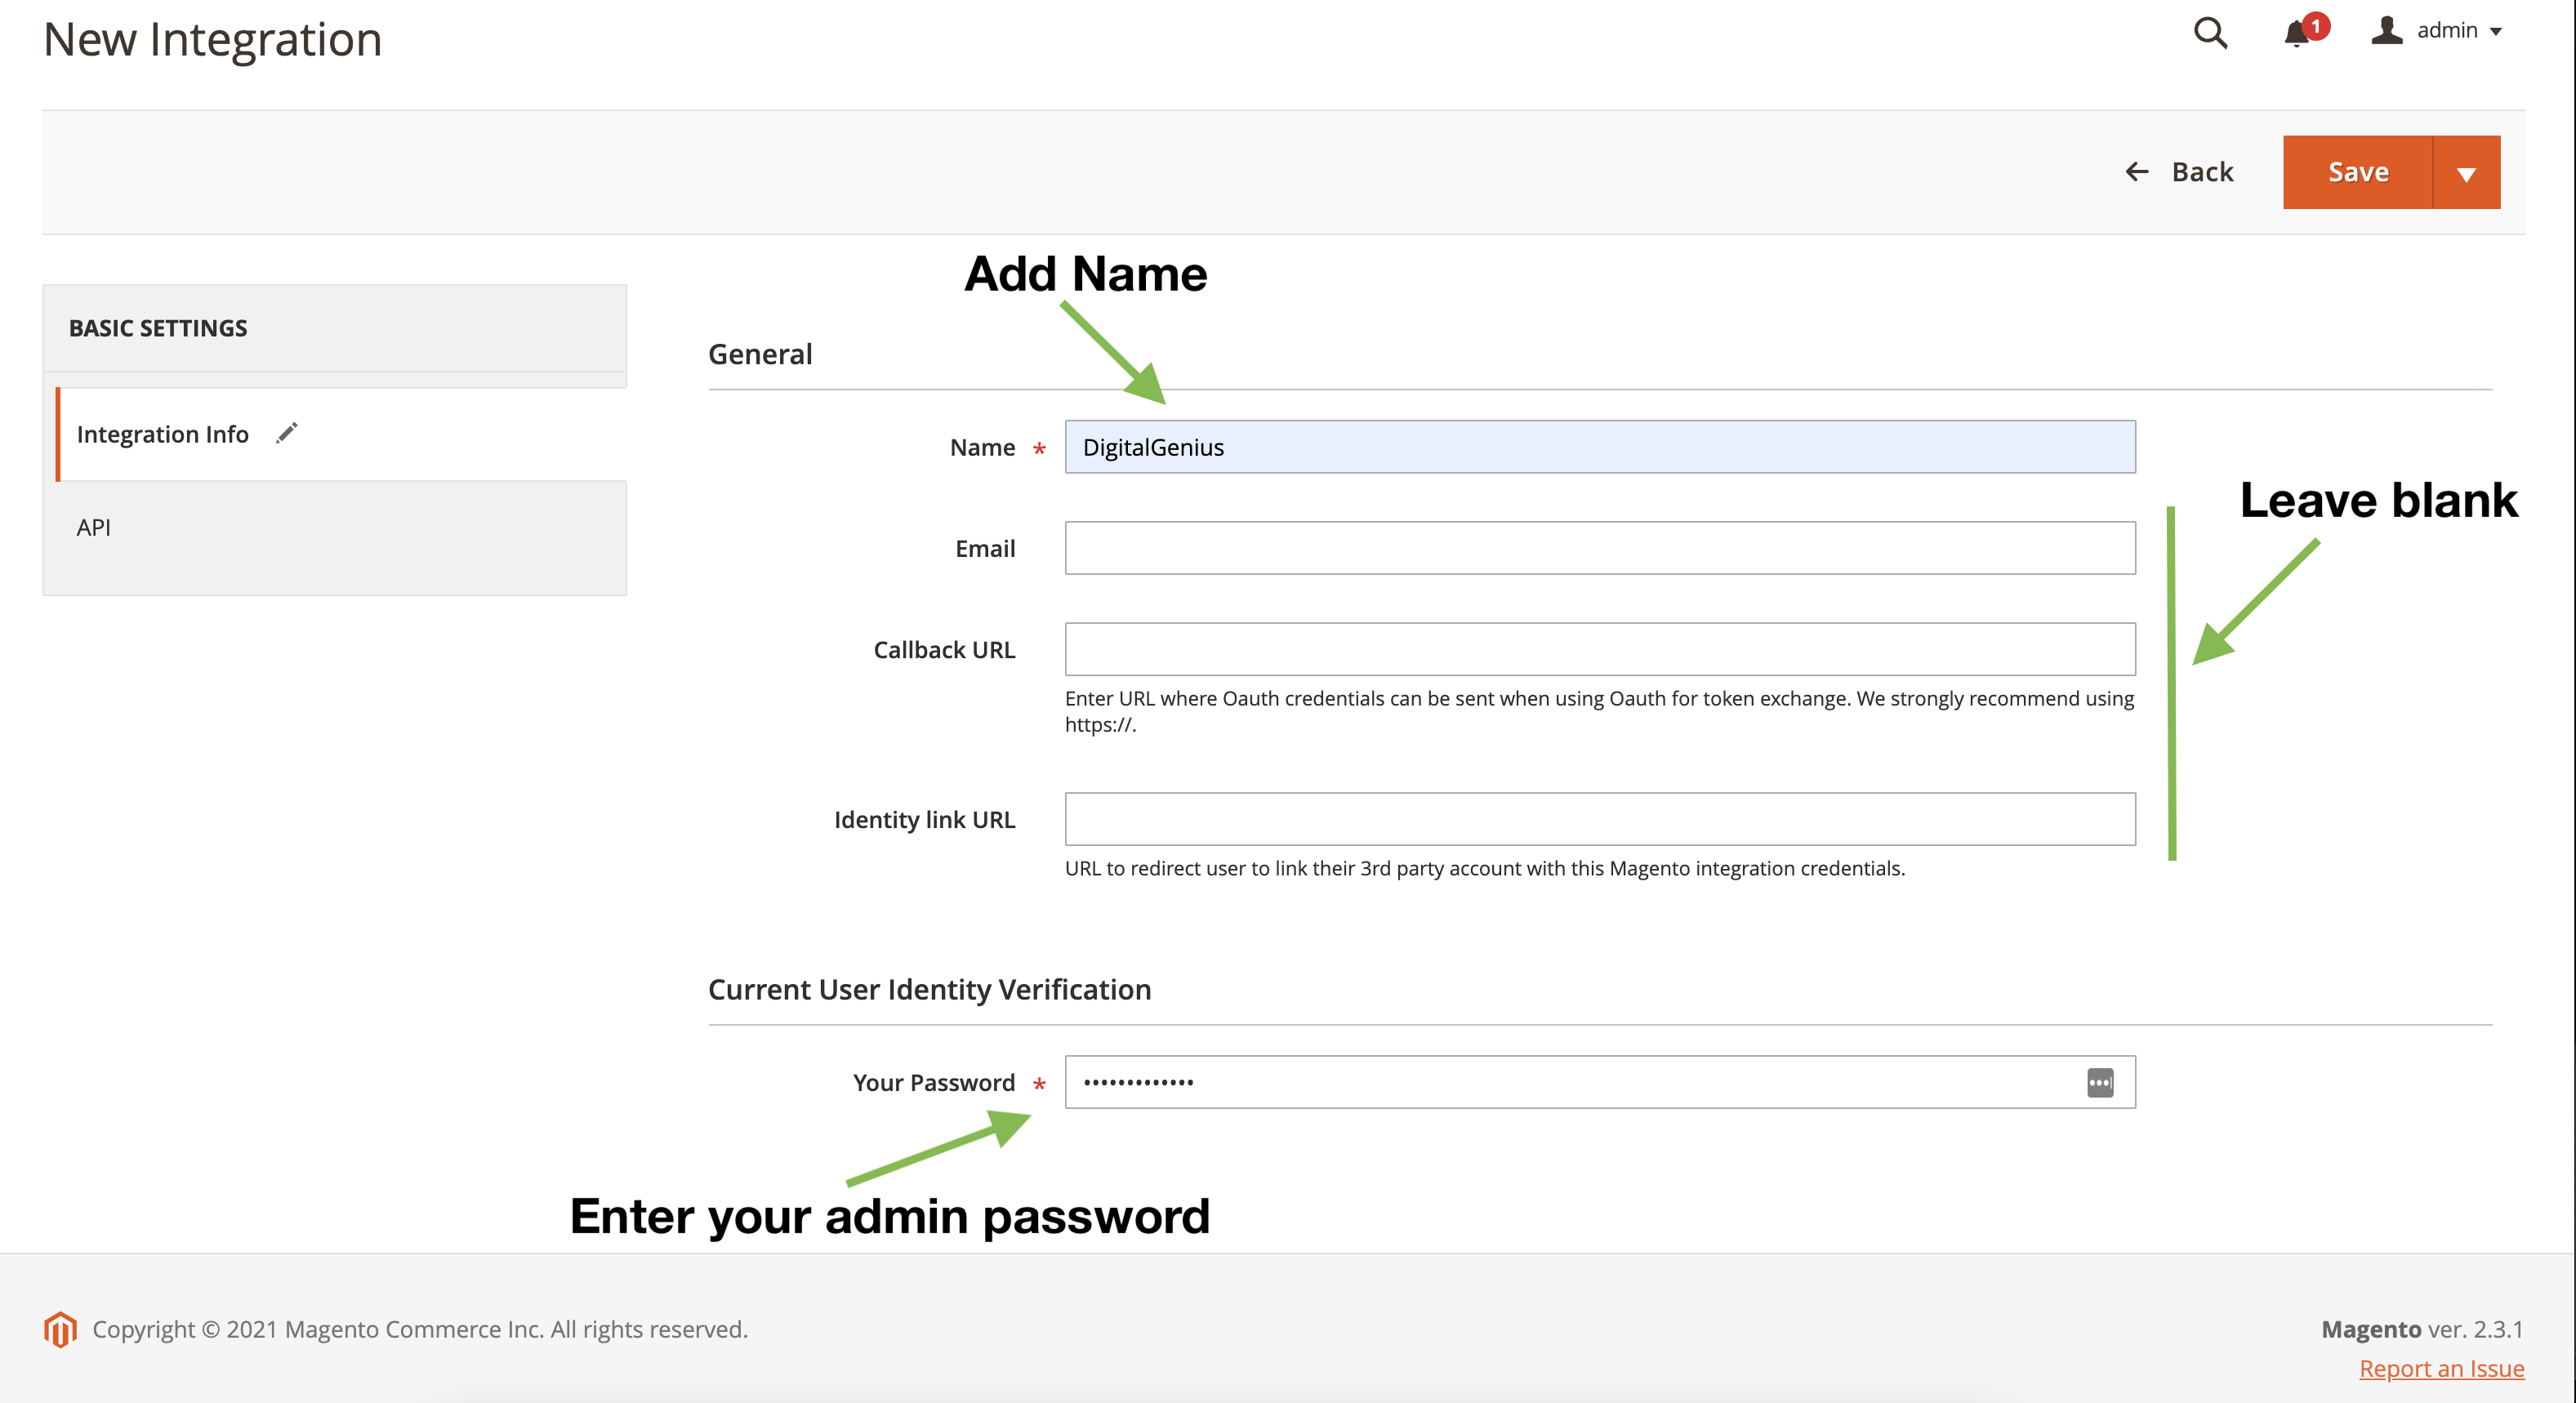
Next you should see the following New Integration form.

In the Name field enter DigitalGenius so it will be easy to identity this integration in the future. Leave Email, Callback URL, Identity link URL fields blank.
Enter your Magento admin password in the Your Password field.
Before clicking Save next open the API tab.

Keep the Resource Access as Custom and under Resources select the top level Sales and Customers.
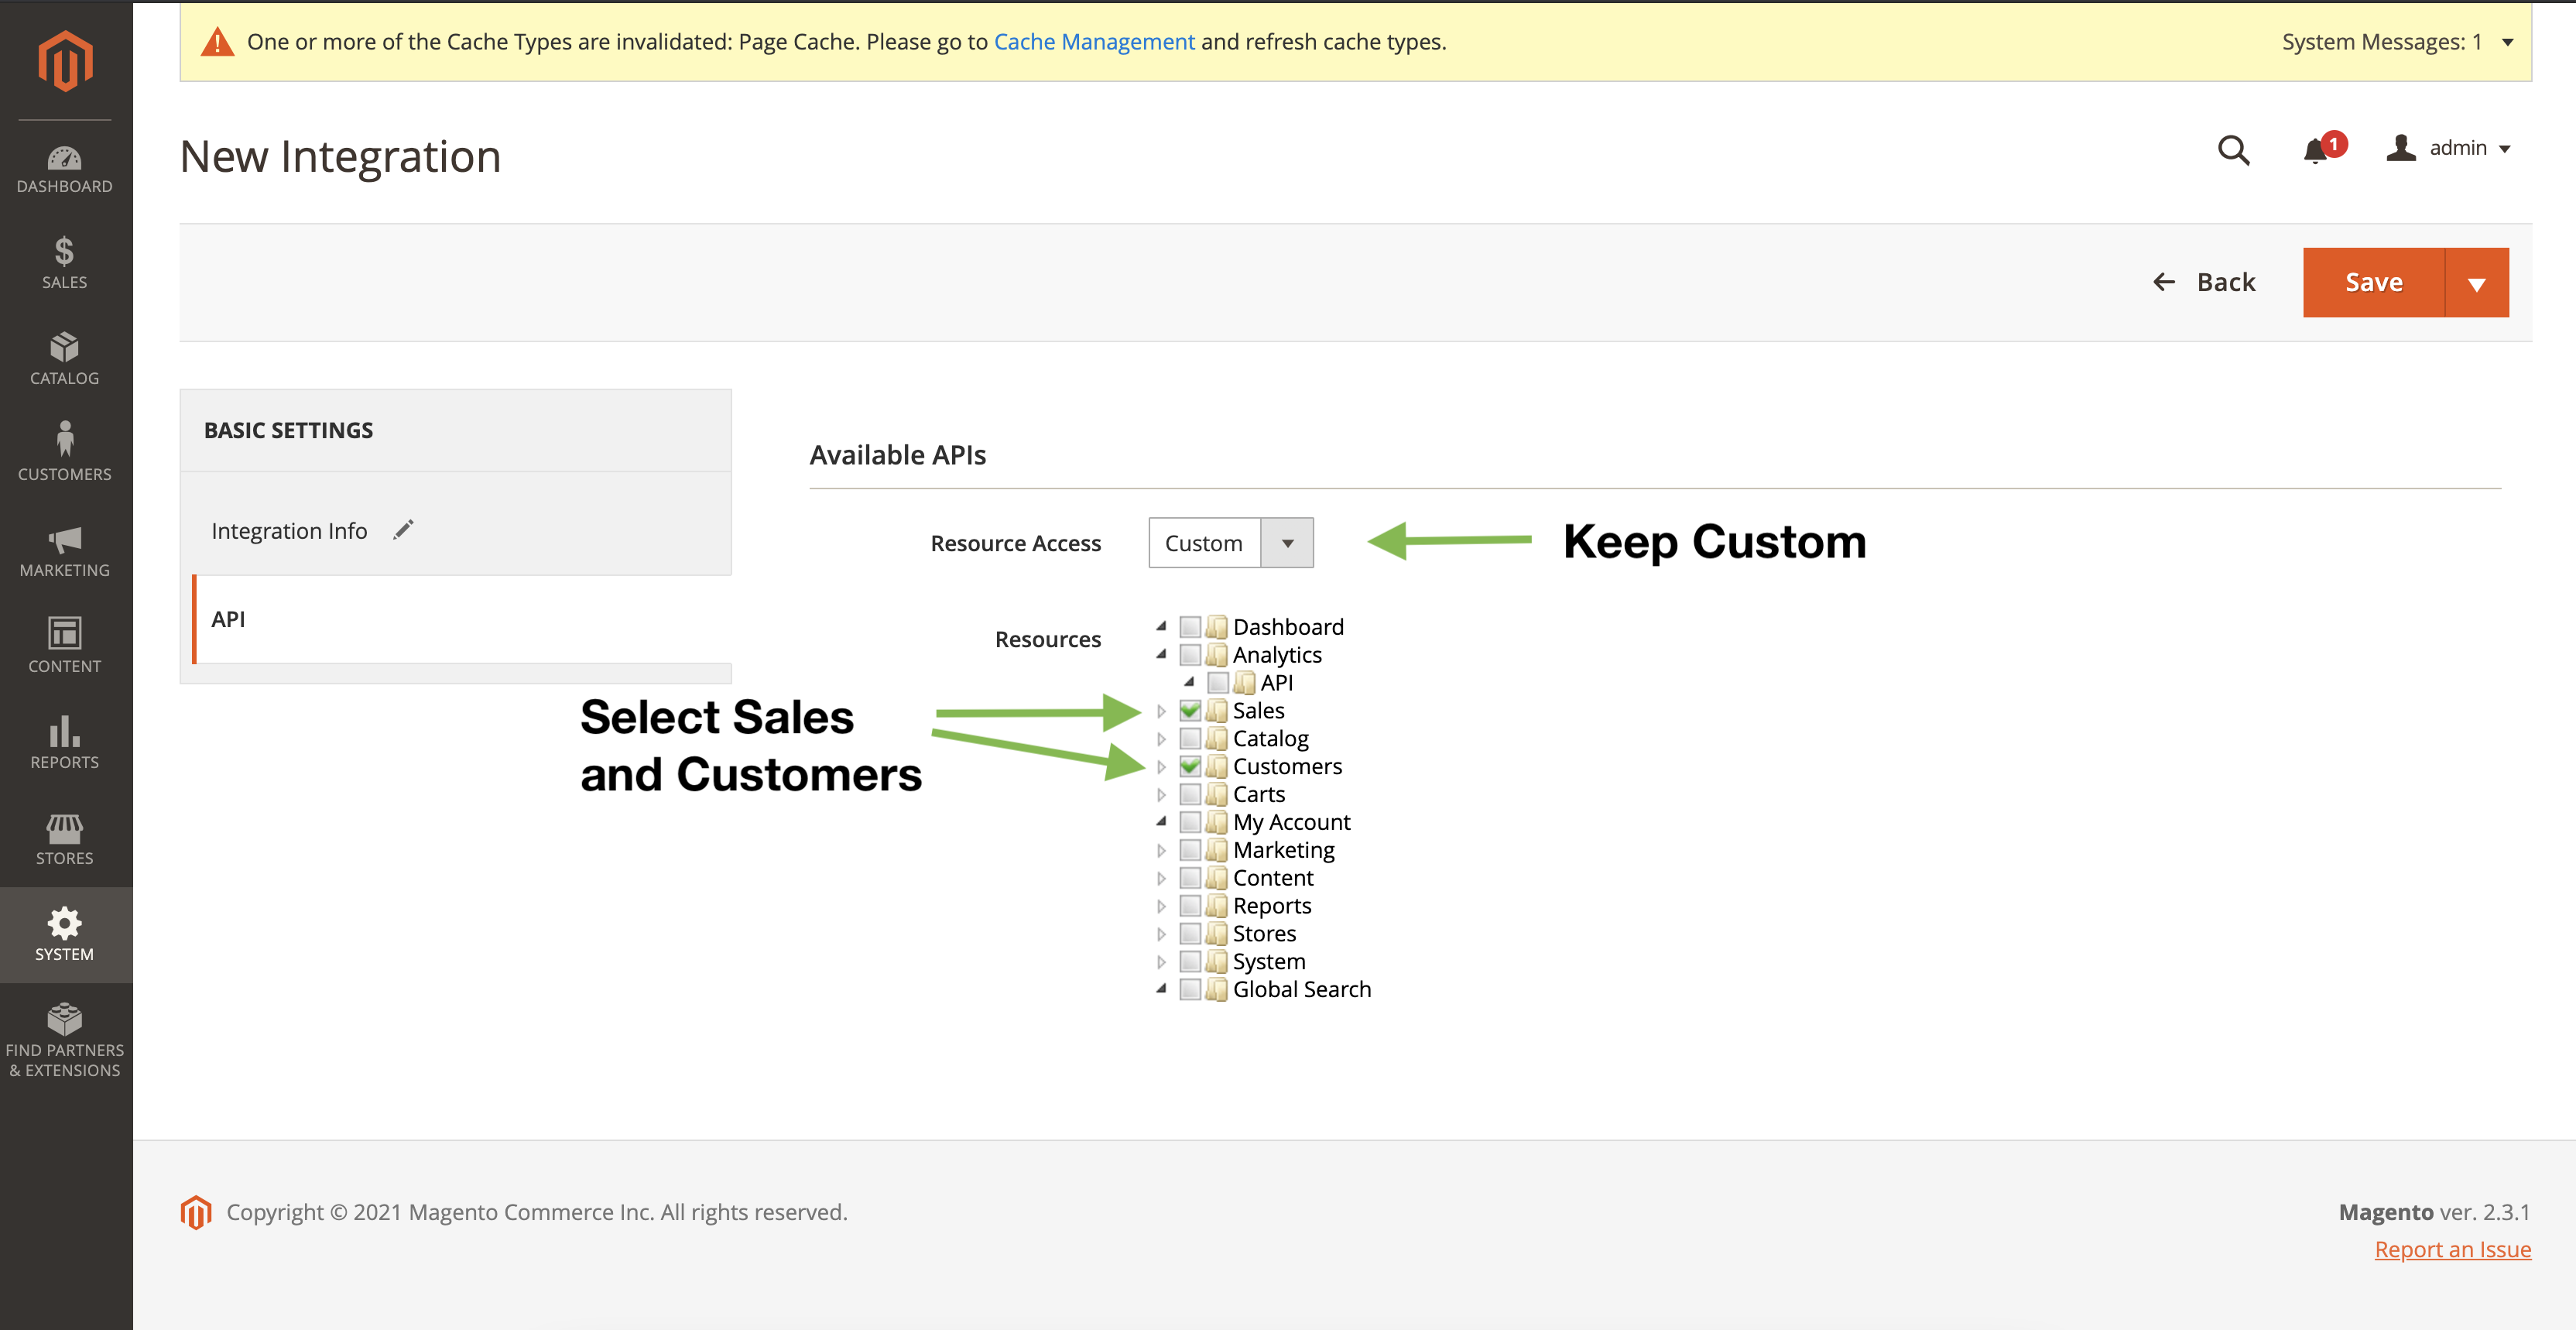
Click Save and you should see the newly added integration in the list of your integrations.

Activate Integration
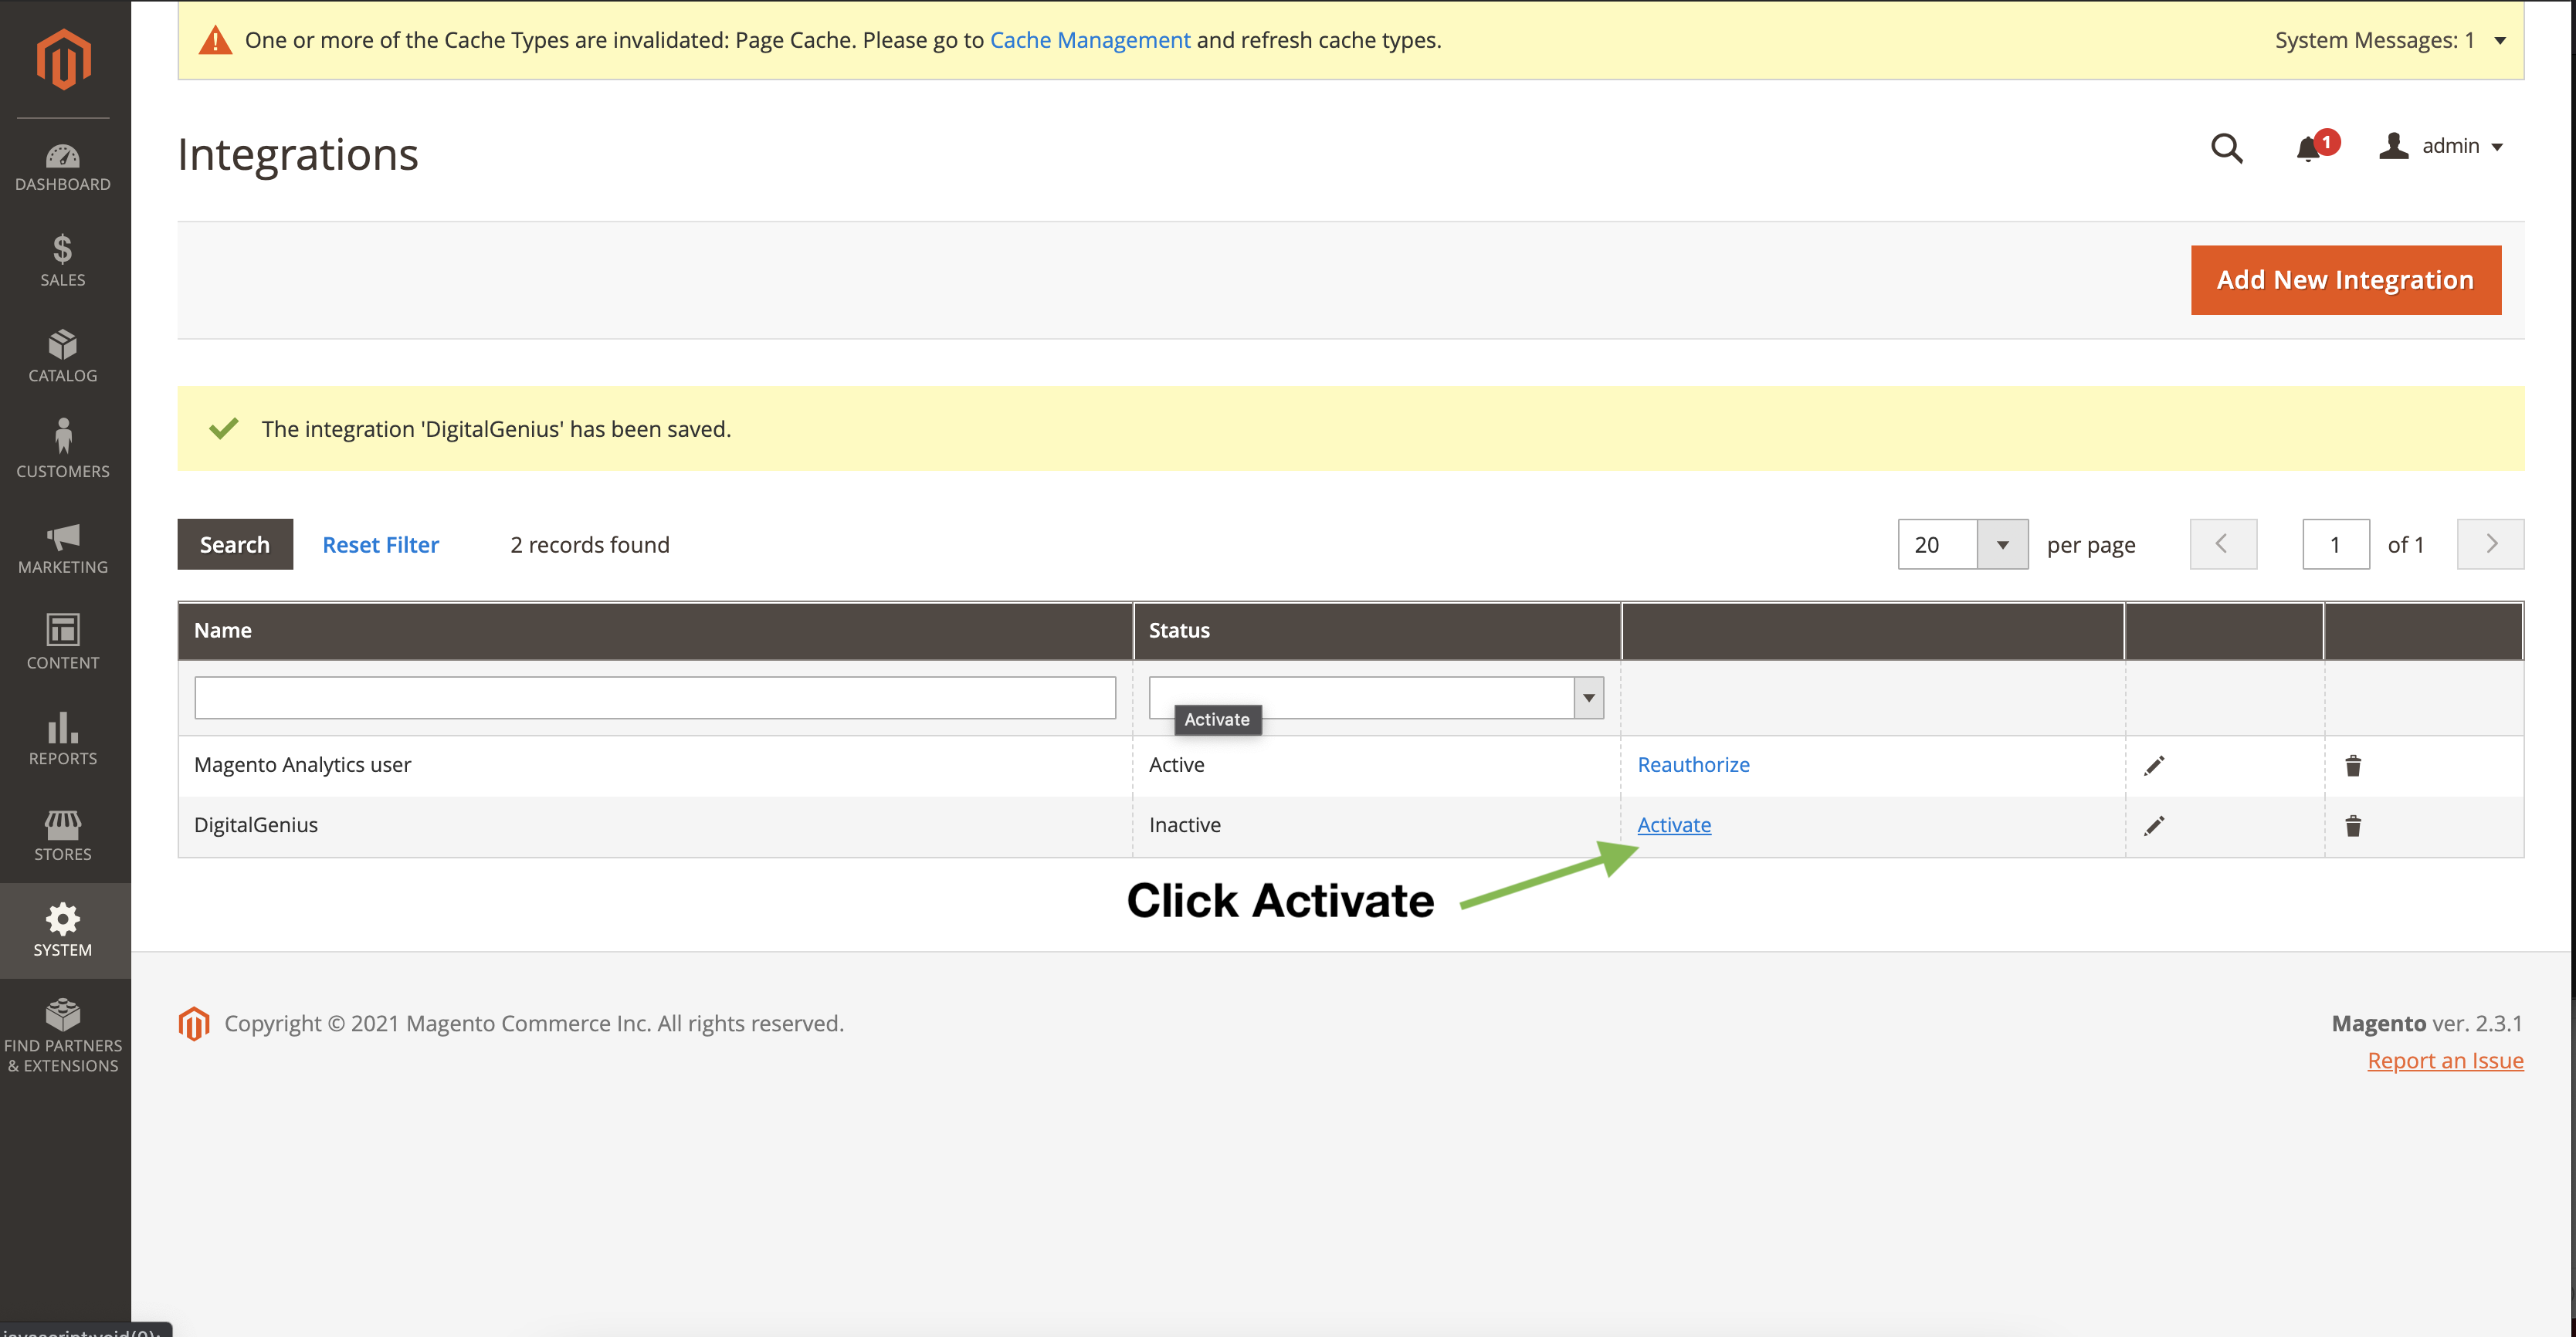
The integration we added still needs to be activated. Don't worry it's not going to start any automations, the activation will only make the connection between DigitalGenius and Magento active but nothing will be happening at this stage.
Find the DigitalGenius integration and click Activate.
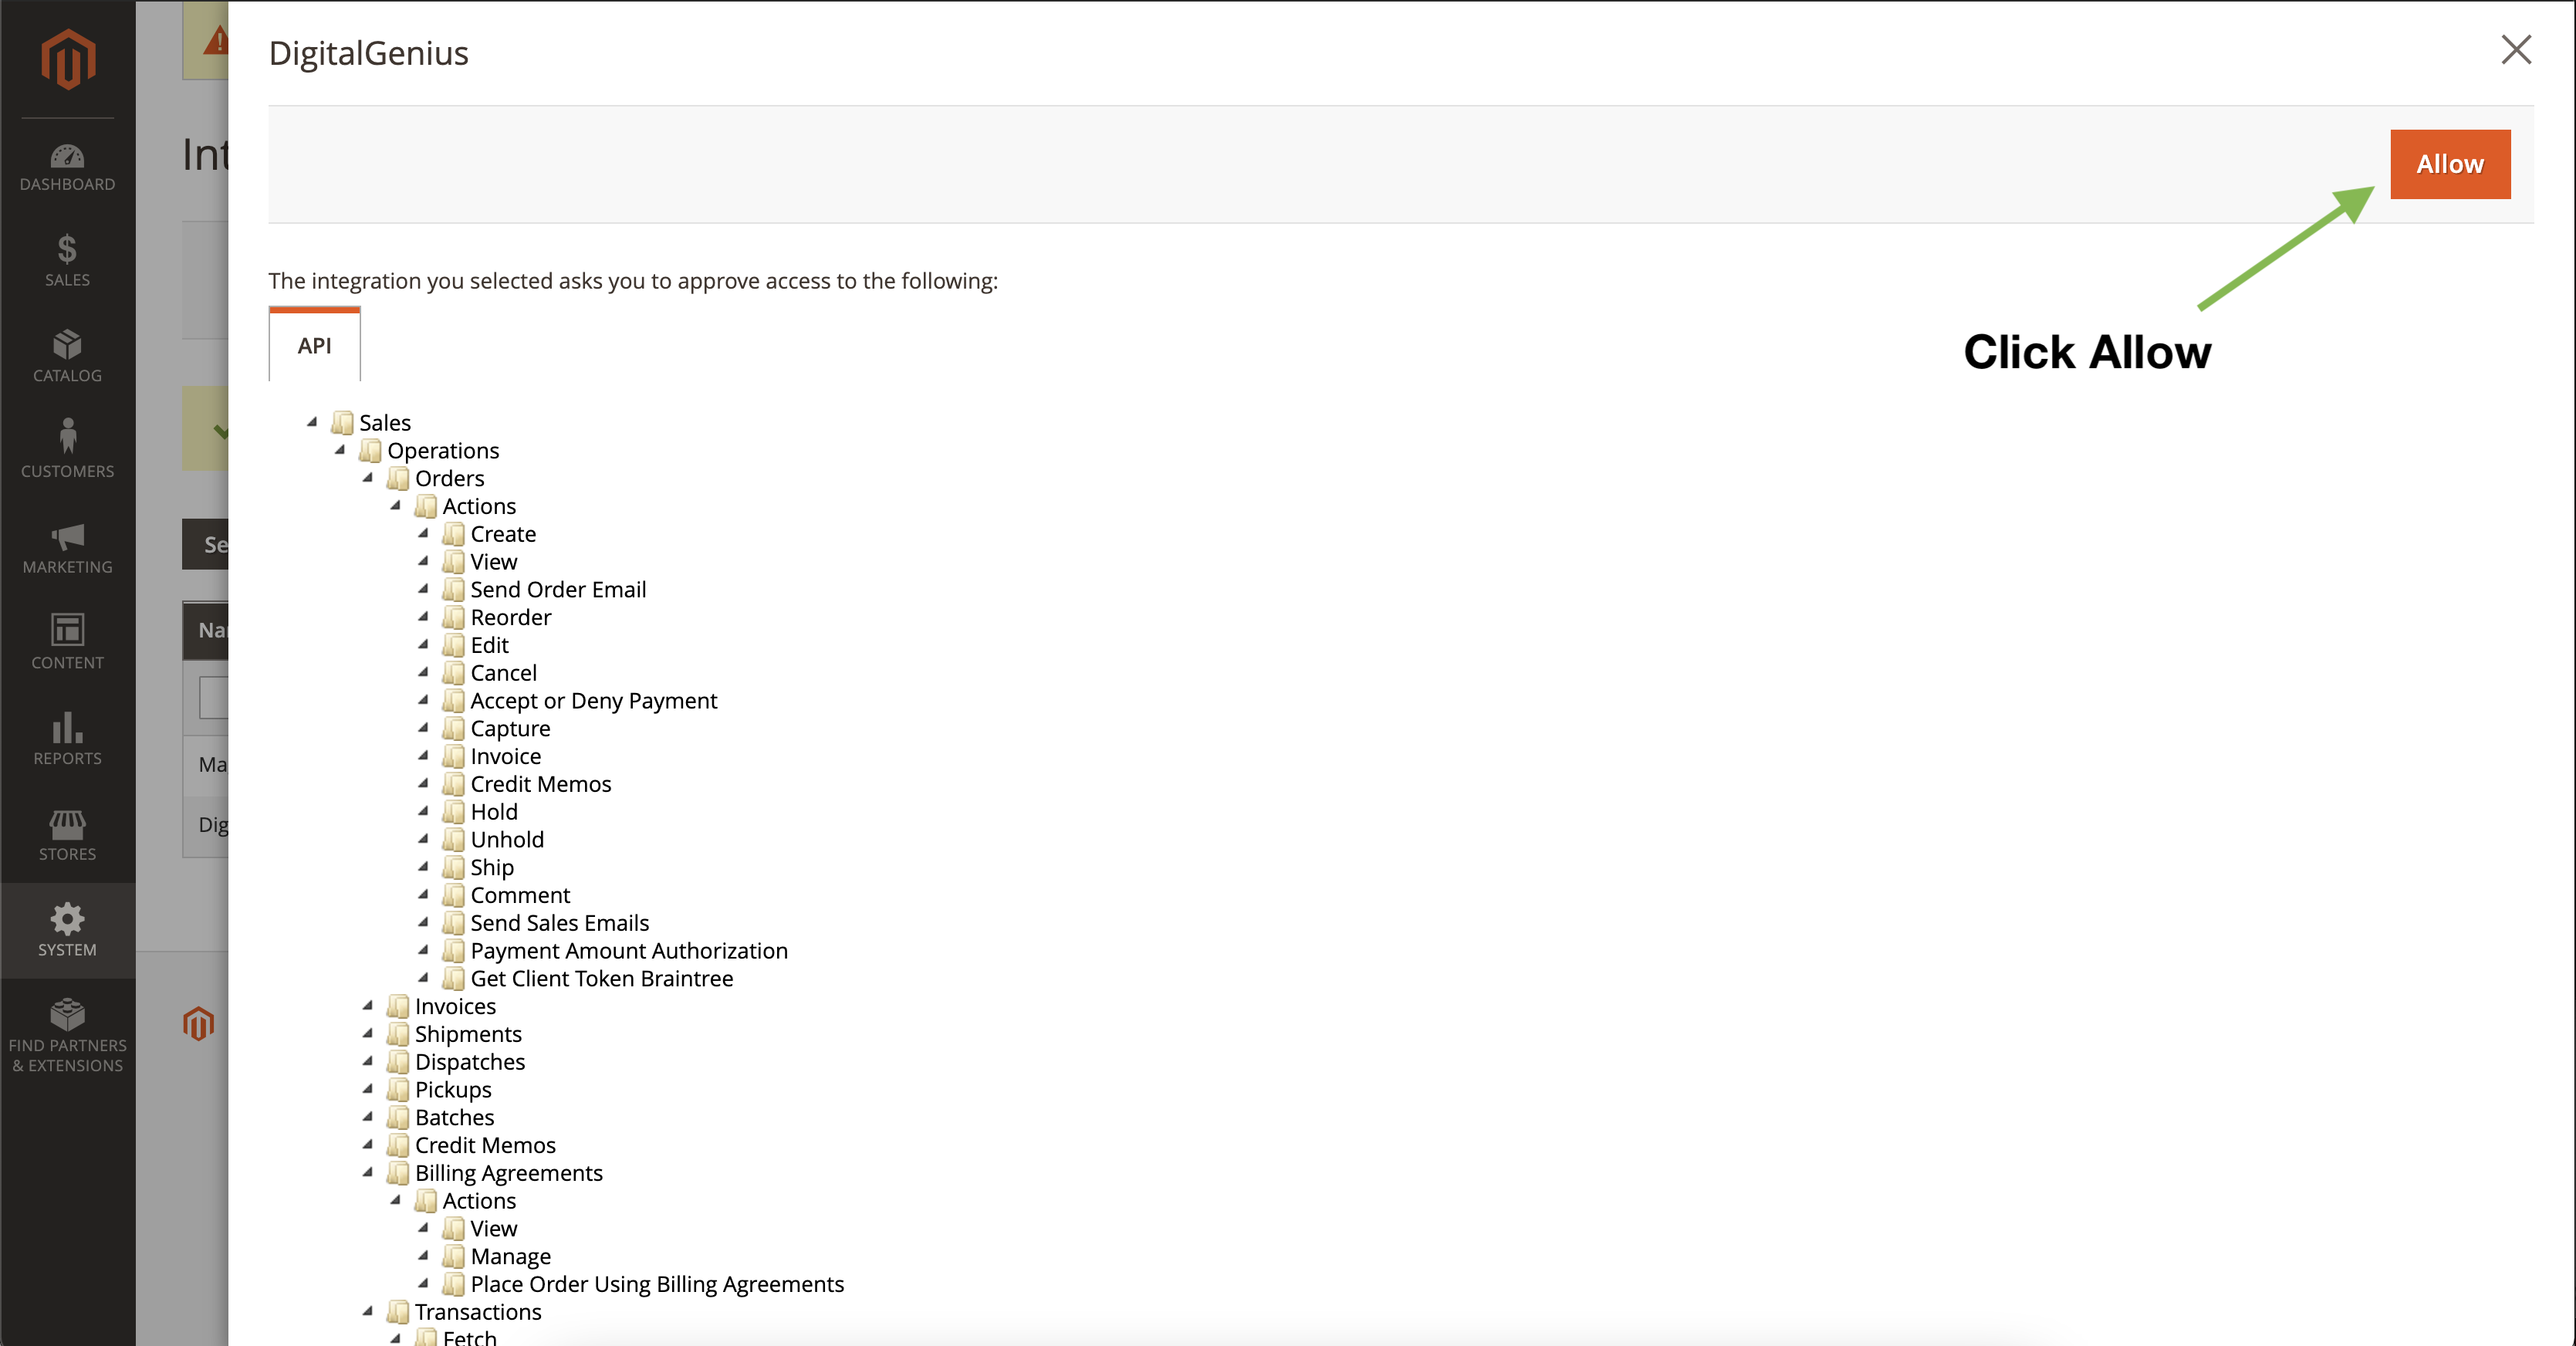
Next you will be presented with the following screen to confirm the permissions you will be giving to the integration. Review and click Allow.
After confirming the permissions you will be presented with all the tokens and secrets for this integration. We only need the Access Token. So copy and save the Access Token, you can ignore everything else.

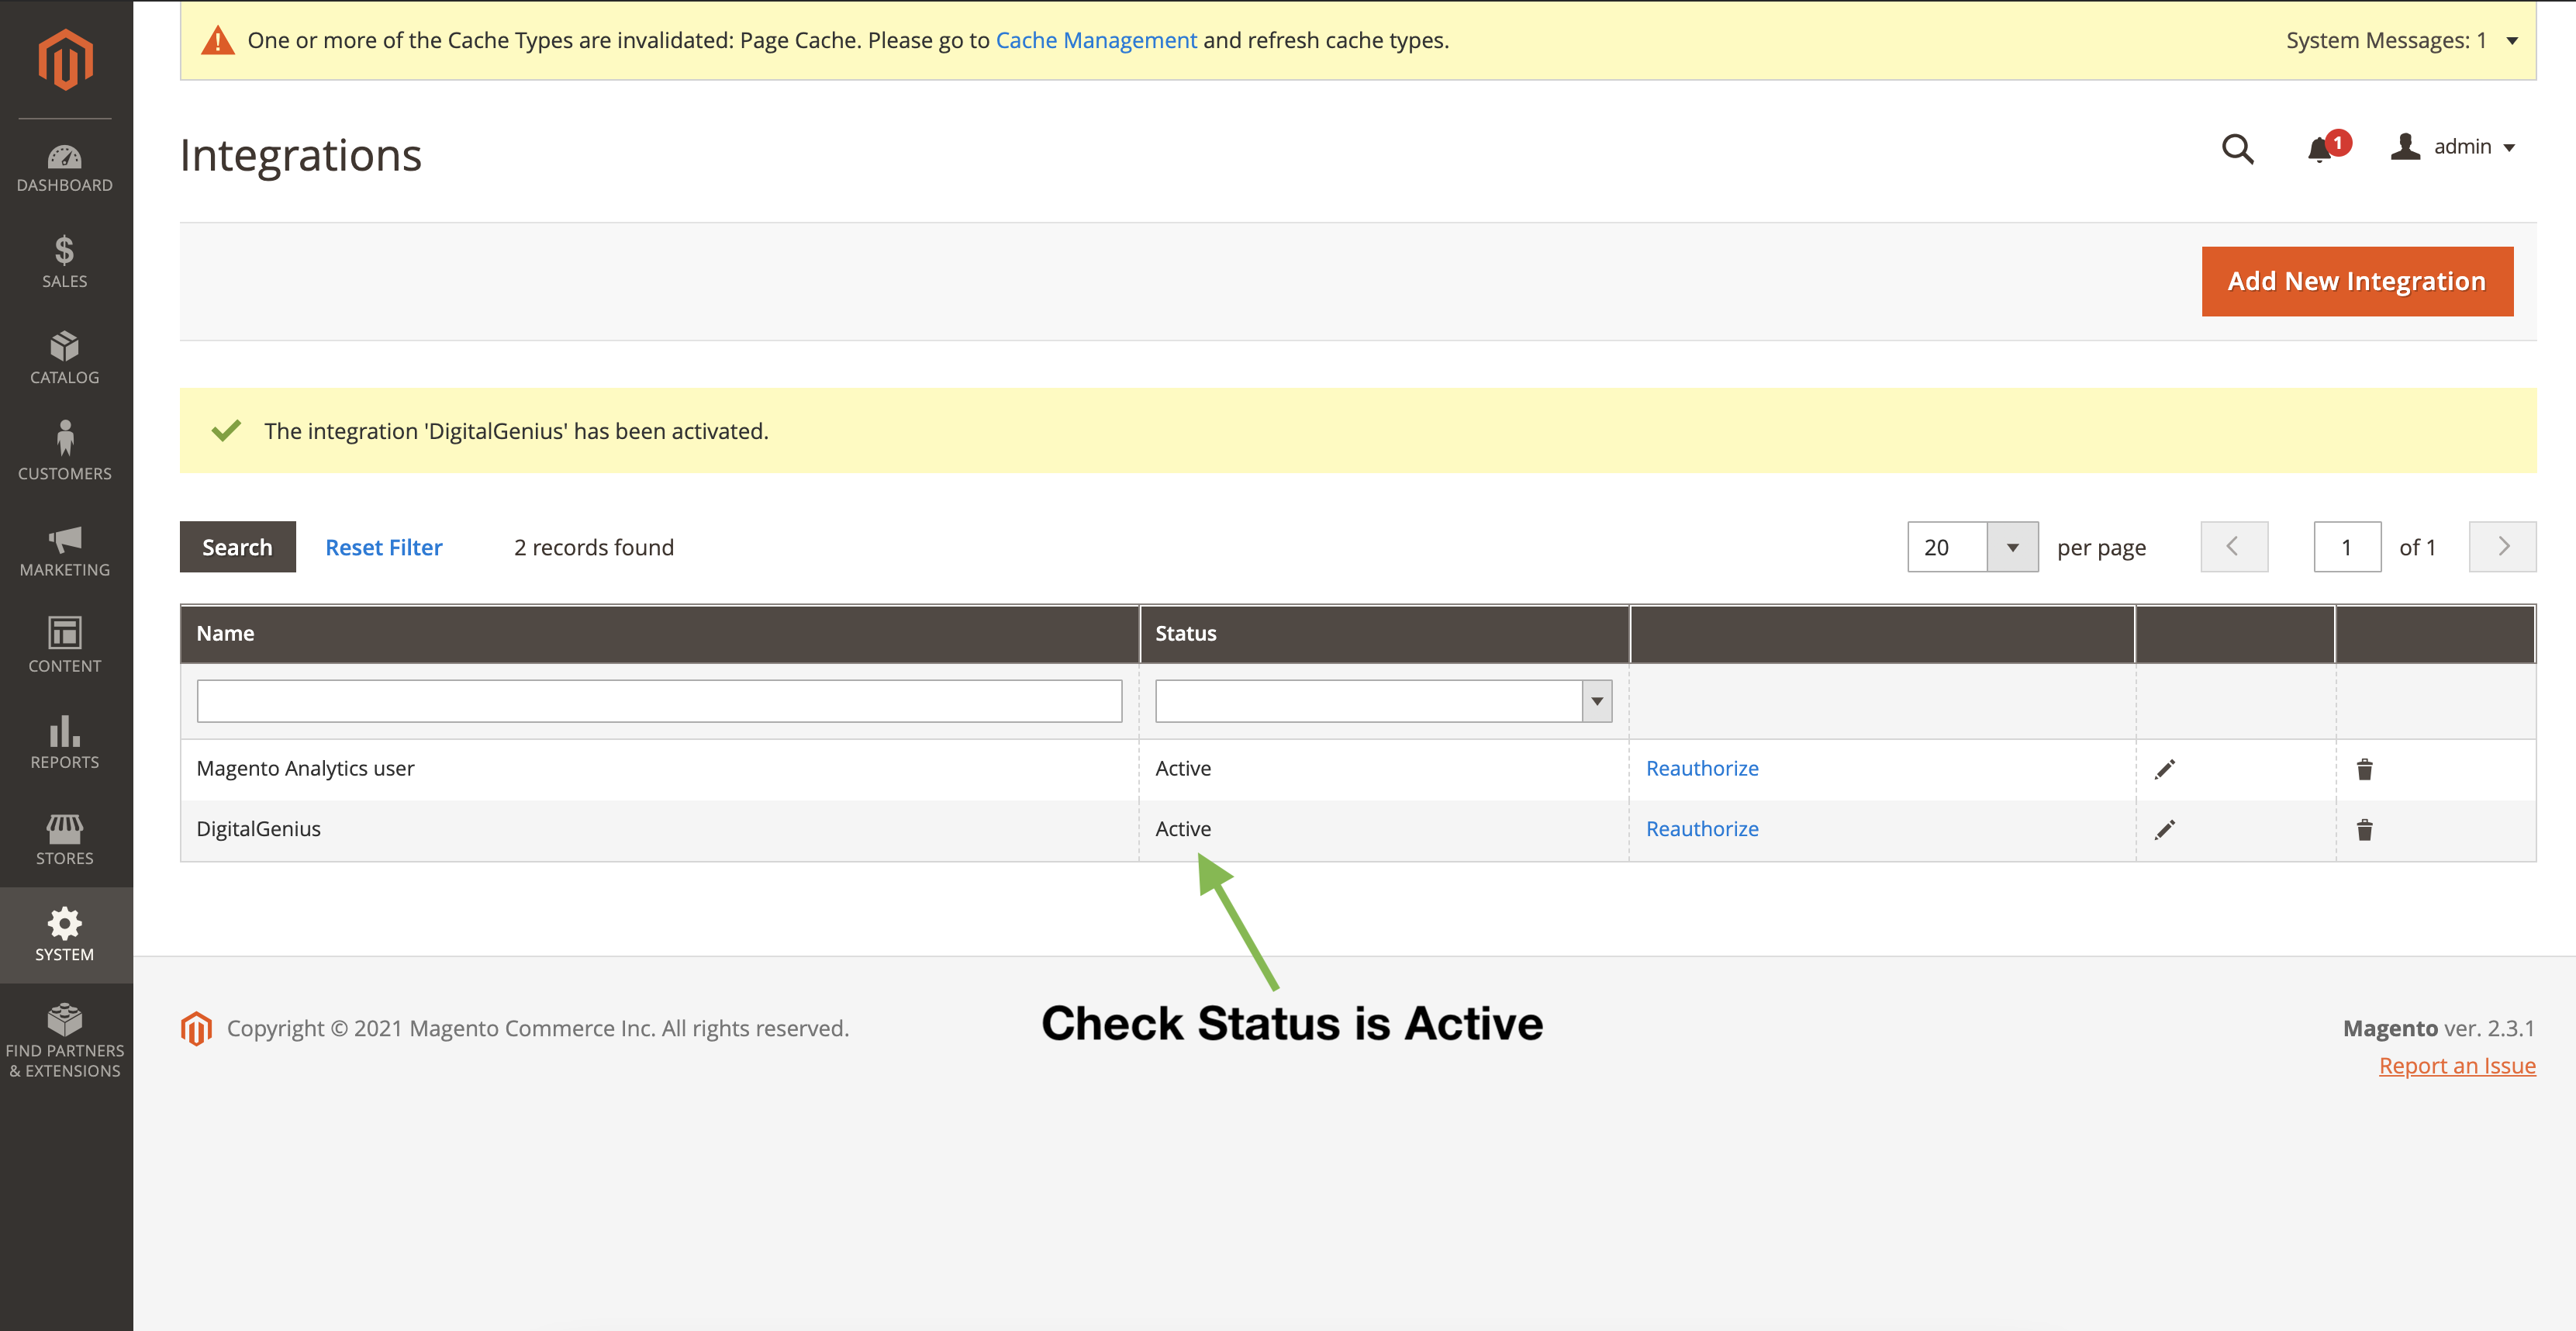
Click Done and you should be back at the Integrations list. Check that the DigitalGenius integration status is now active.
Save the Access Token in DG
Go back to the DigitalGenius dashboard and save the Access Token as a configuration in one of the Flows or share it securely with your DigitalGenius Solution Engineer.
Updated 3 months ago