Shopify connection - add a new store
Step by step guide explaining how to add a new store on your DG dashboard
-
Navigate to the Stores section on your Shopify Partners site. Select the store you wish to connect. The URL in your browser will change to reflect the store's unique identifier, following this structure: https://admin.shopify.com/store/{STORE_ID}
If you do not see your store listed, ensure you are logged into the correct Shopify Partners account. -
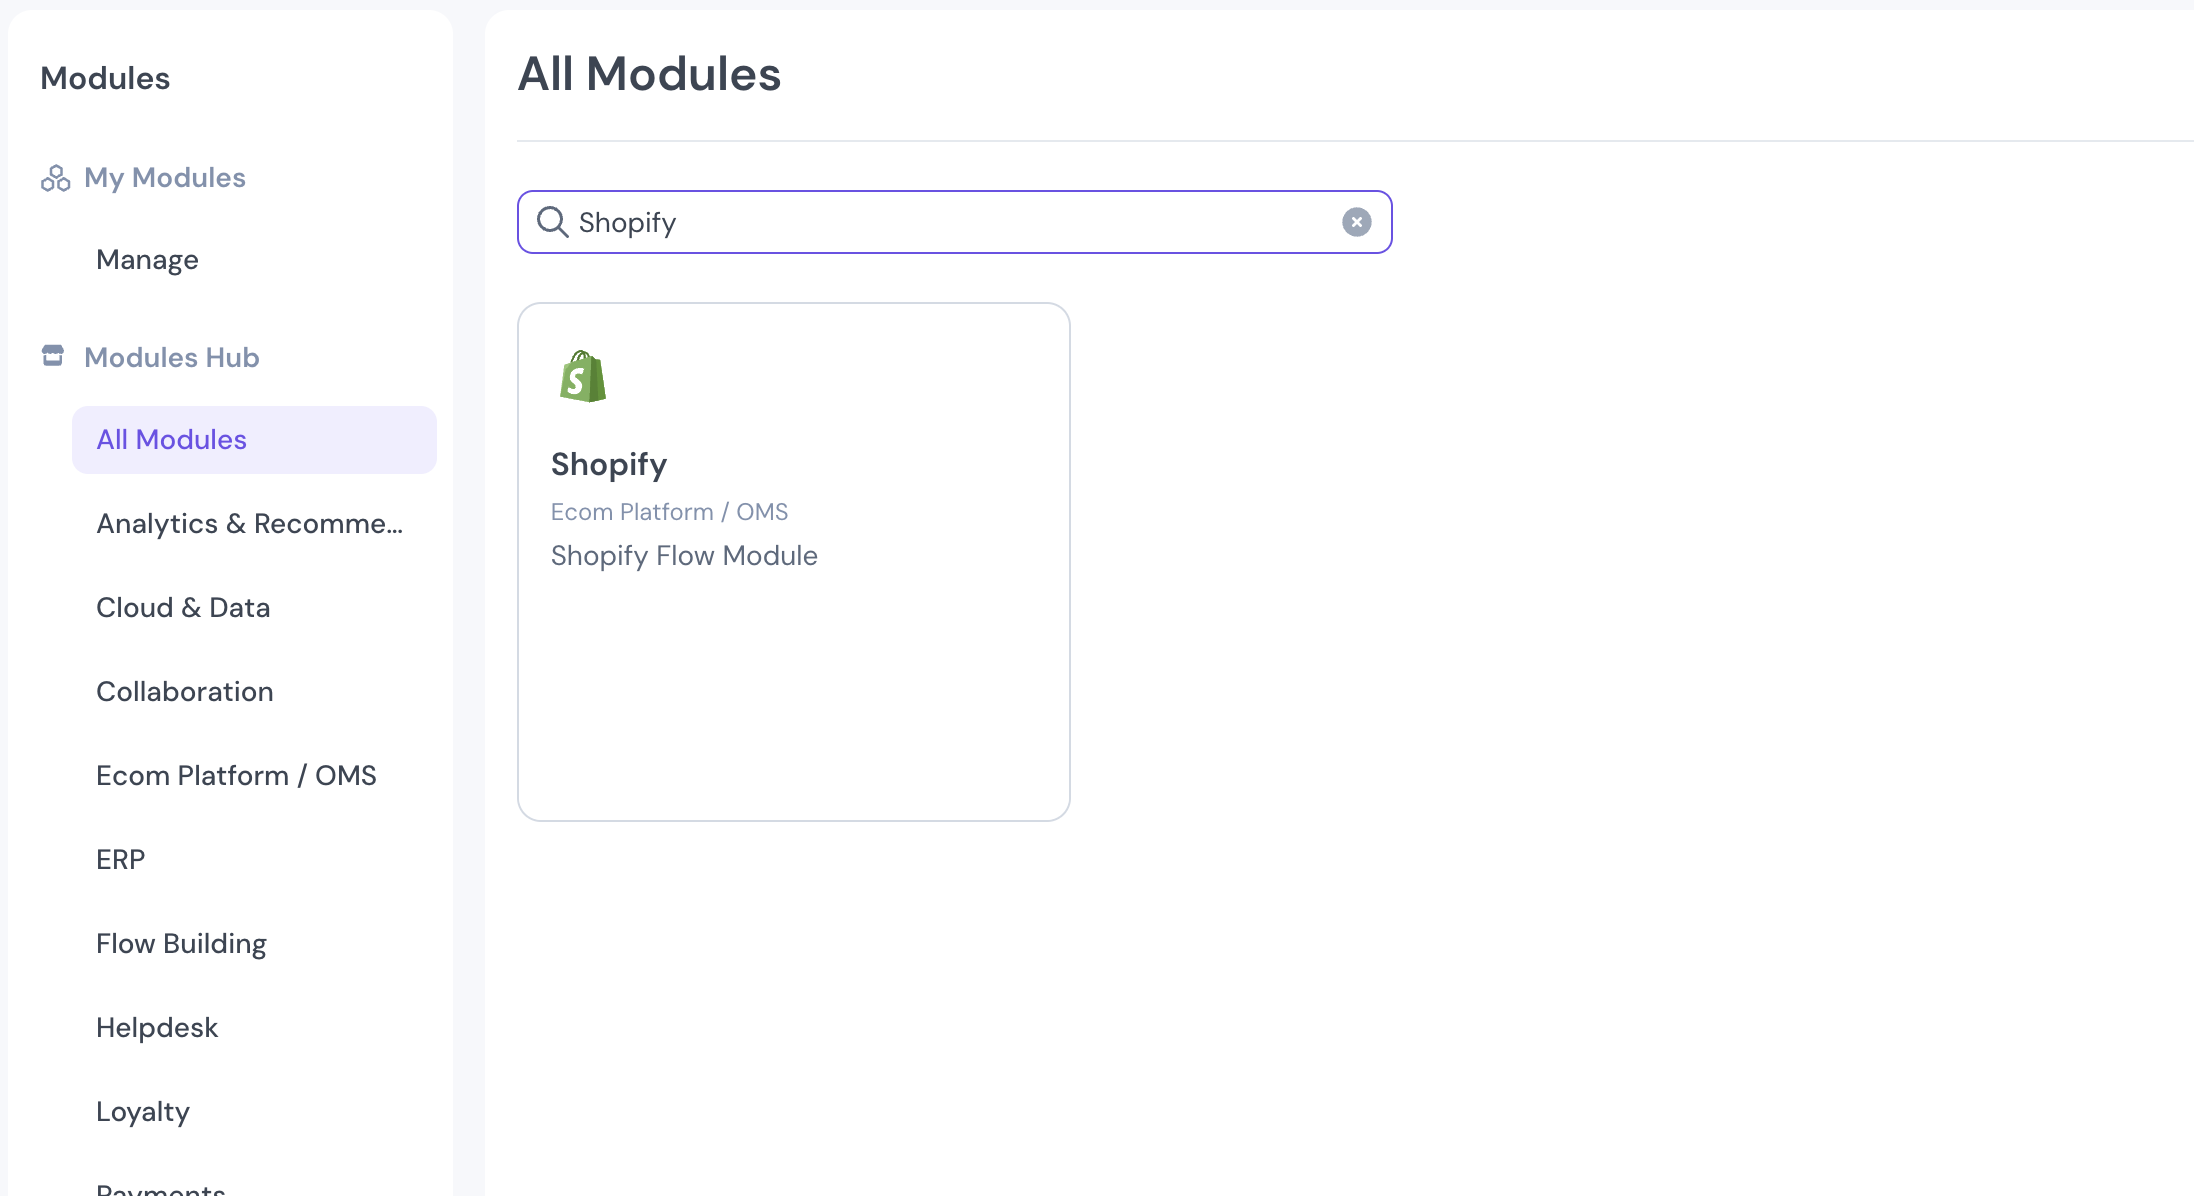
From the URL in your browser, copy the {STOREID} part. This is the unique identifier for your store. Next, navigate to your DG dashboard and log in with your credentials. Once logged in, go to Modules (you can find it on the side menu on the left) , selecr All Modules, Search for "Shopify" to find the Shopify module and click on Shopify:
-
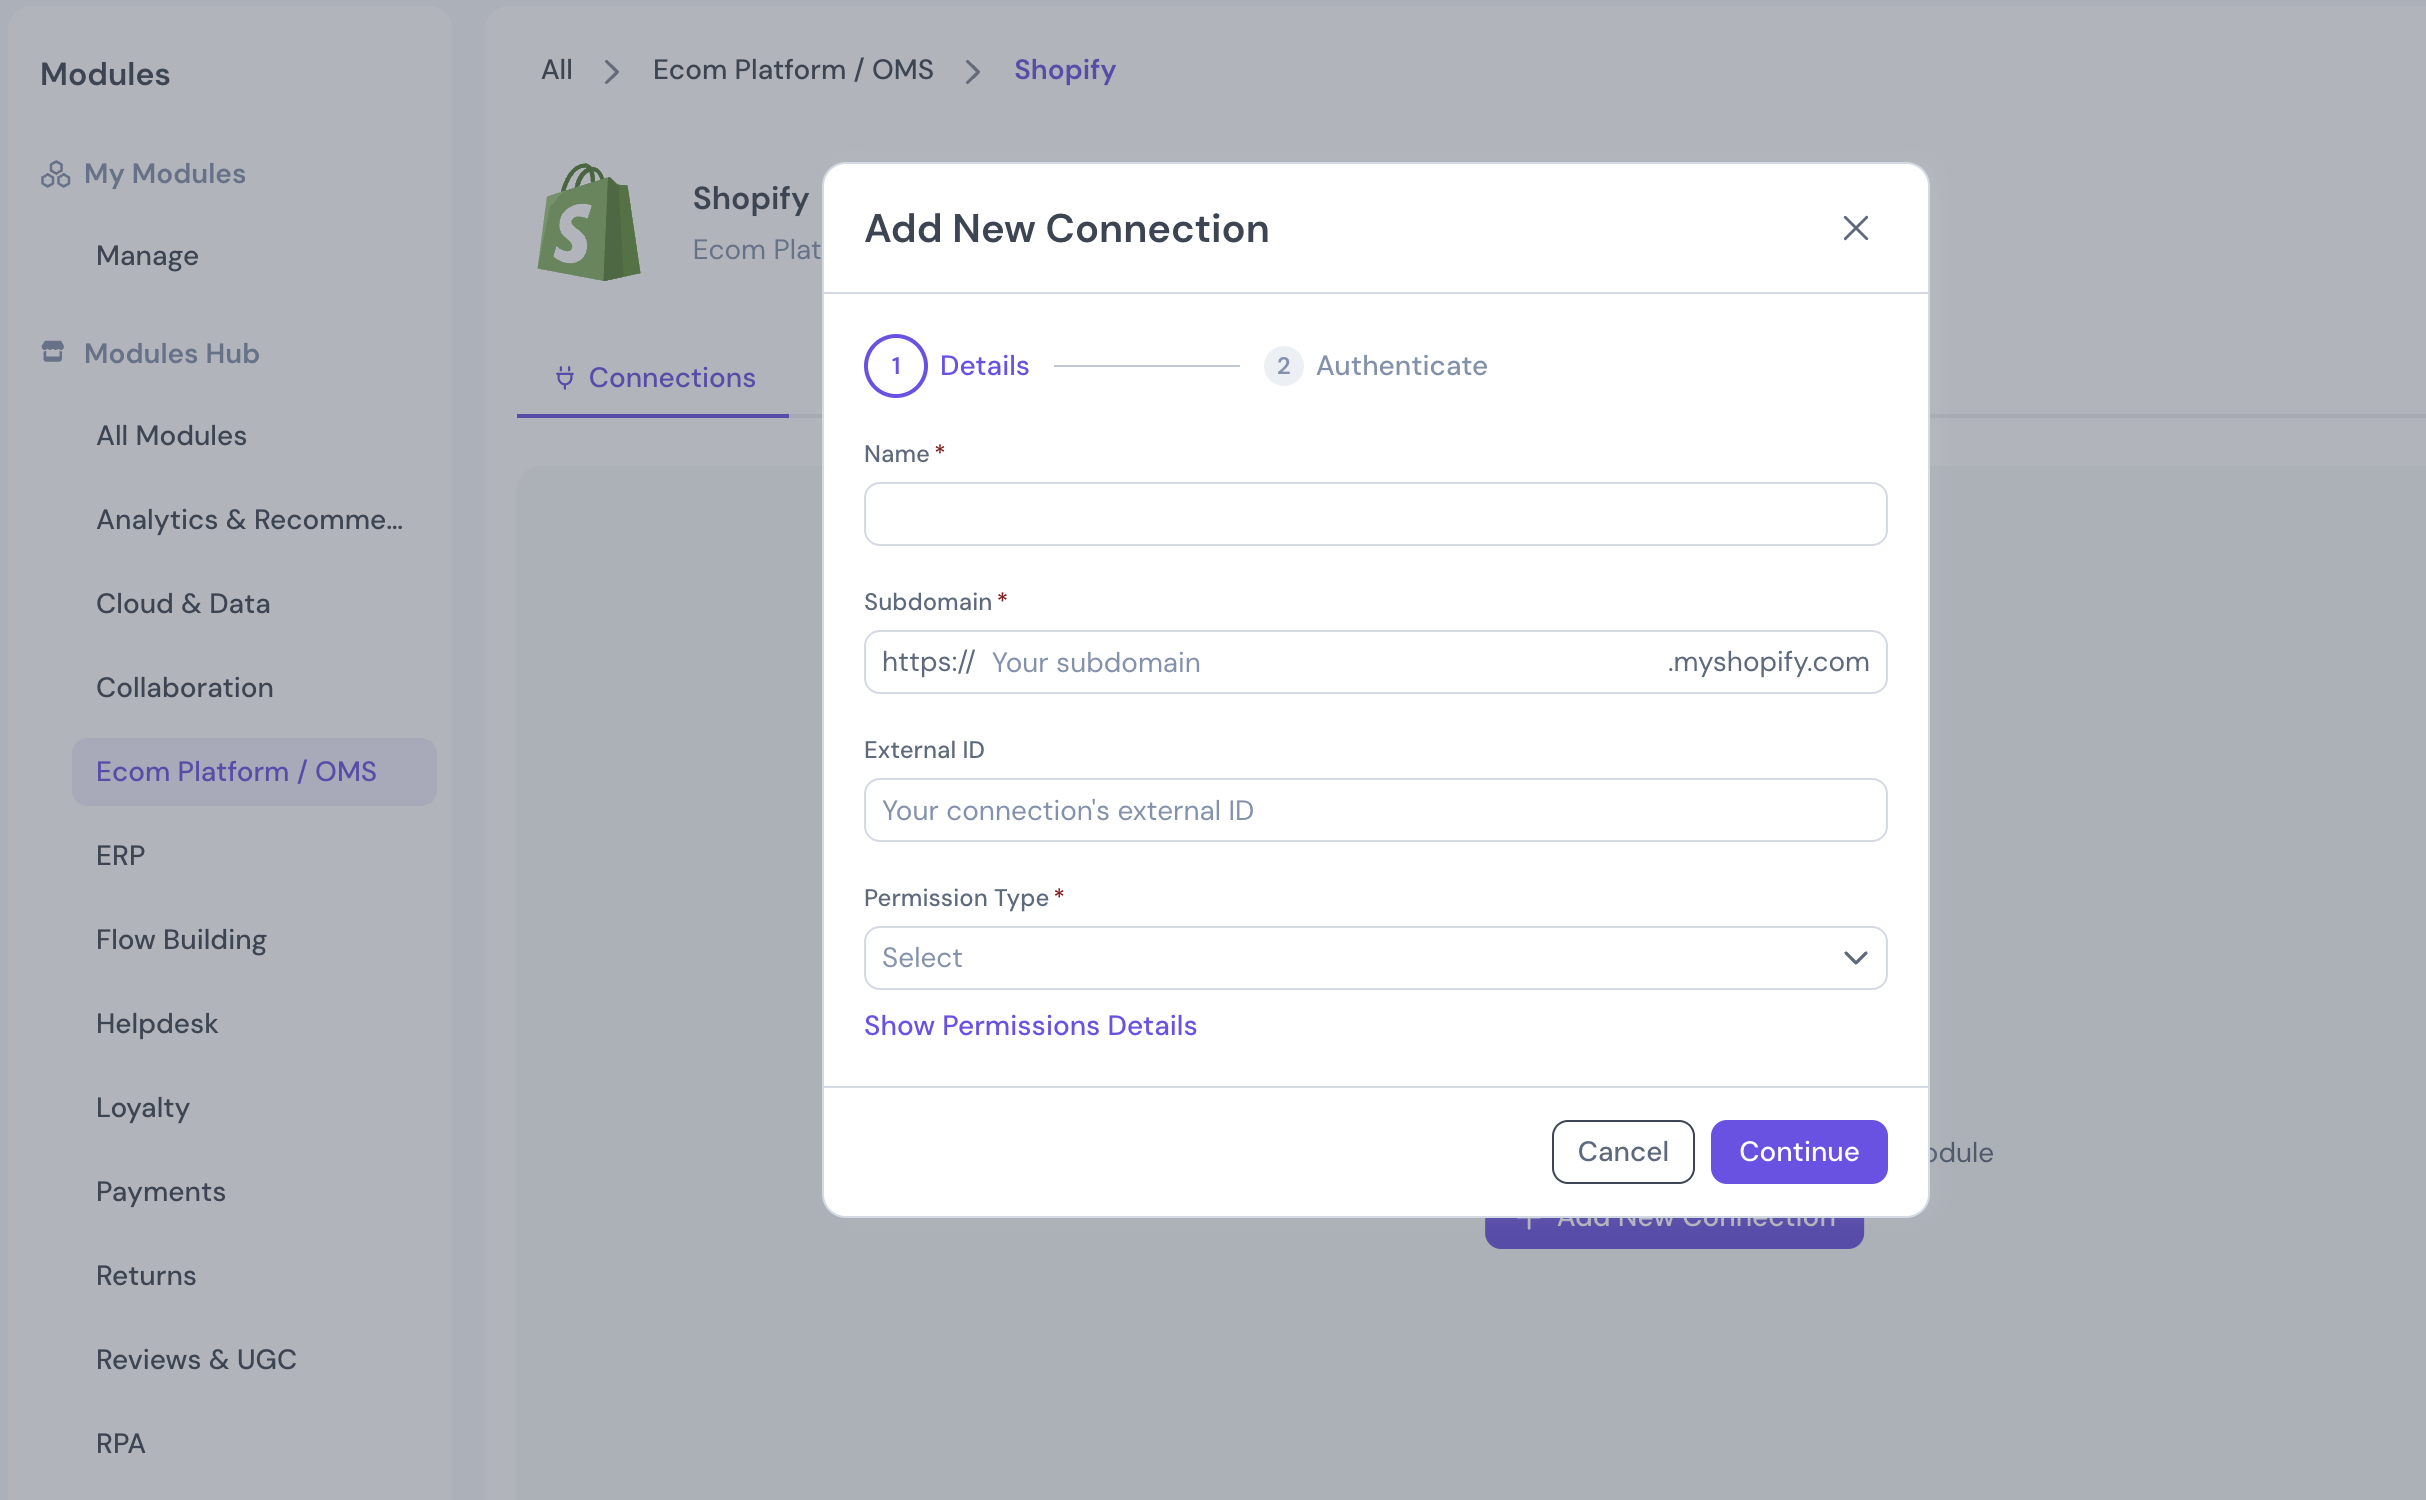
Inside the Shopify Module, click on Add Connection, add a name, and add your STORE_ID retrieved in Step 1 as the subdomain and external ID (not mandatory).
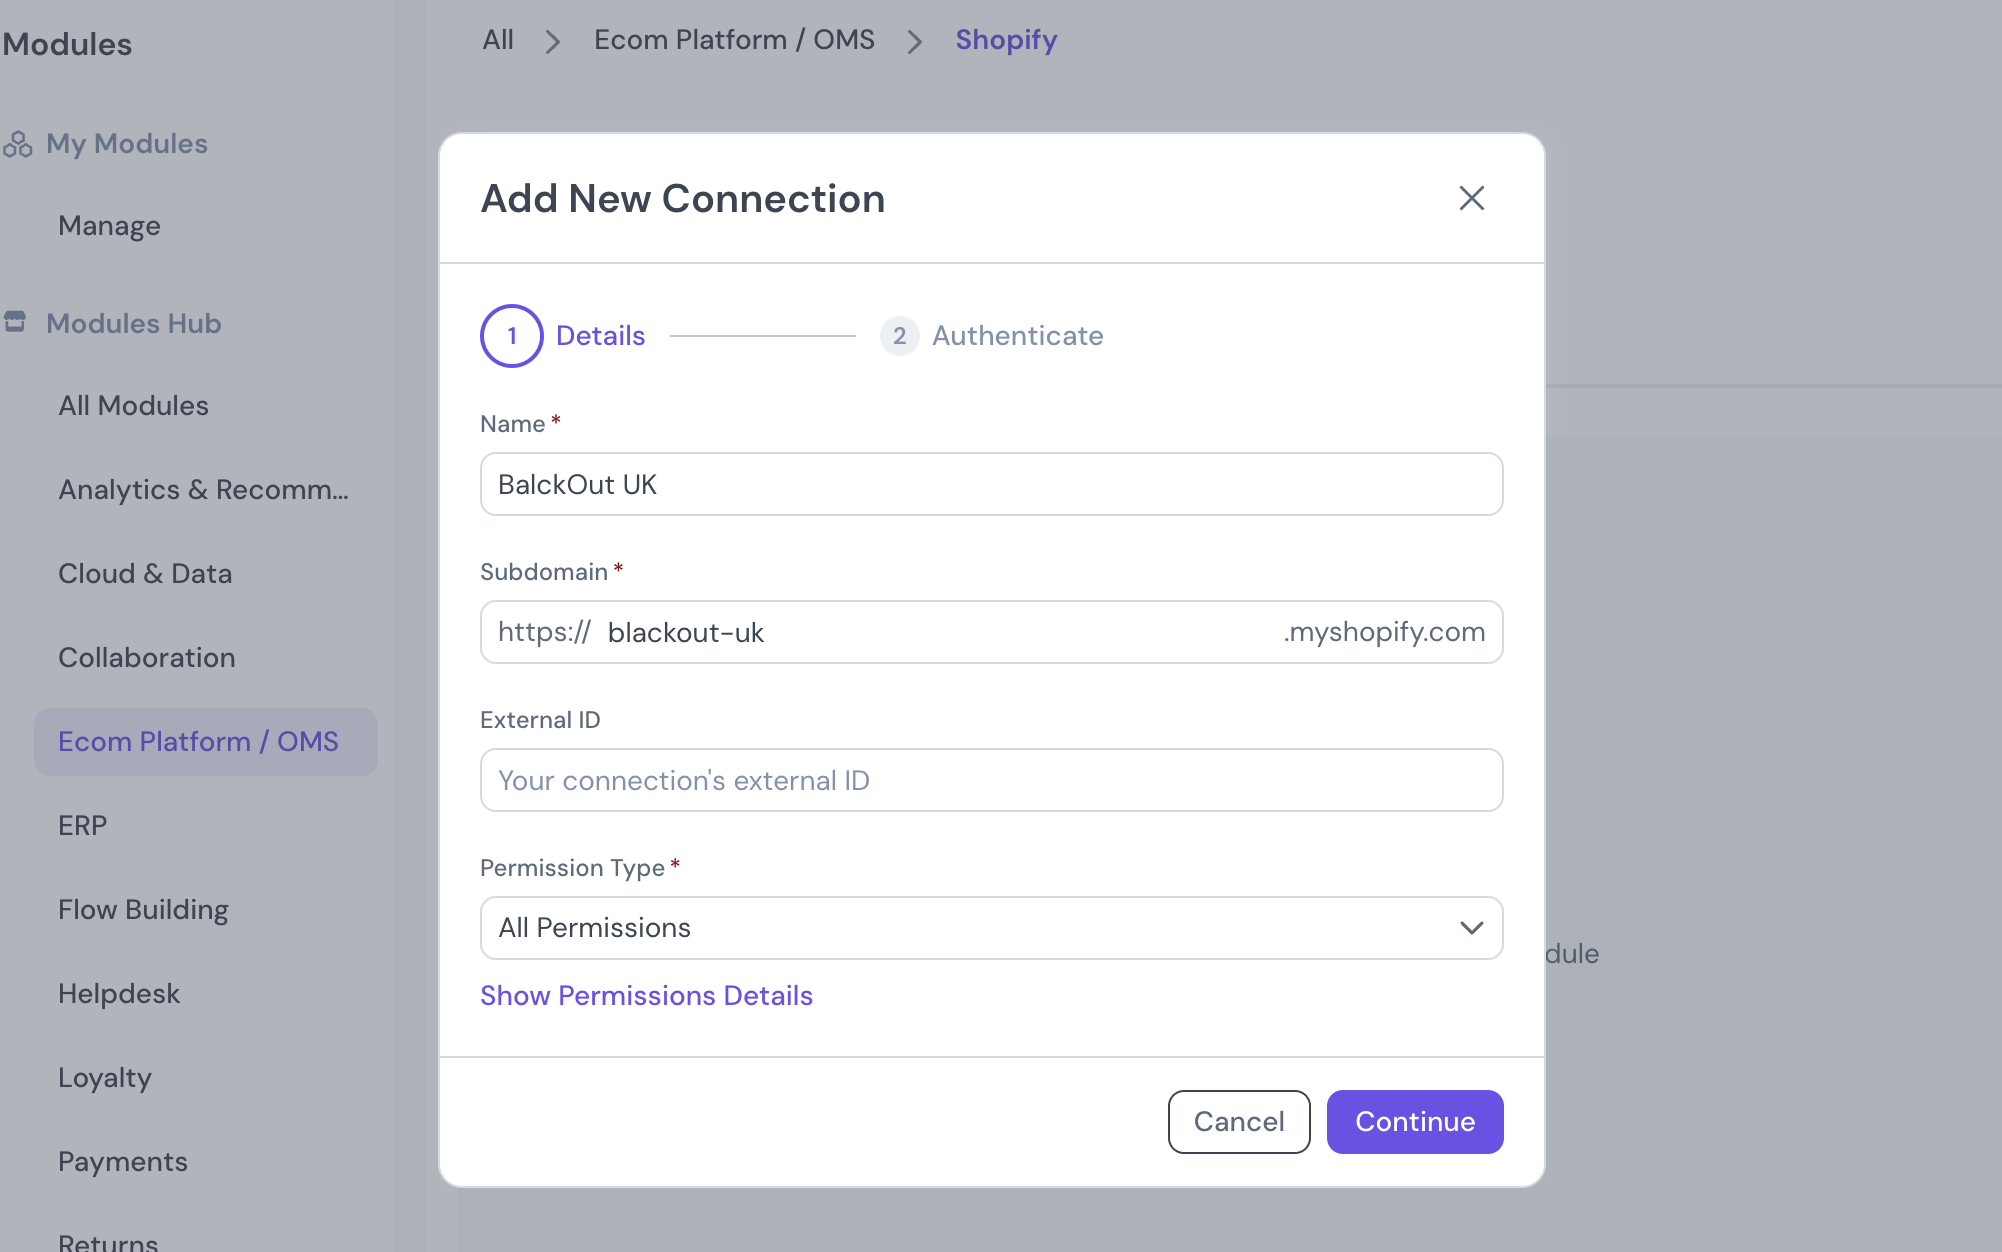
So, for example, if your store name is BlackOut UK, this is how you need to populate the fields:
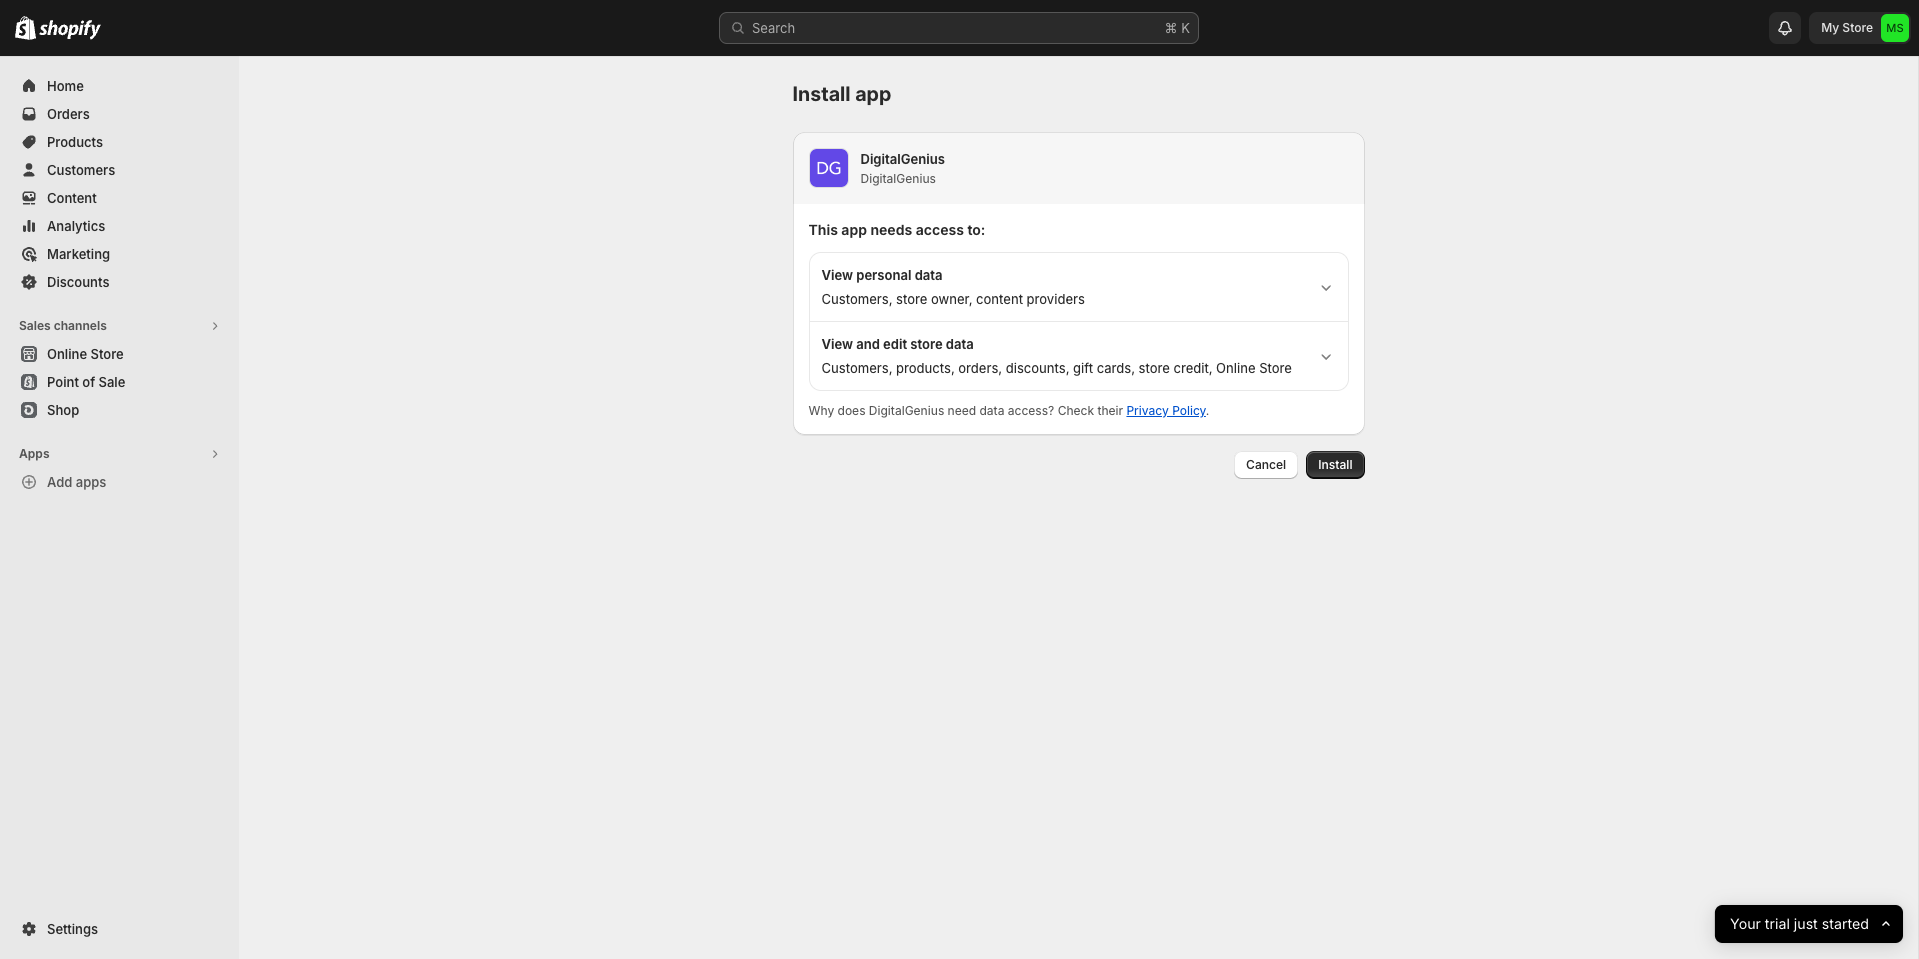
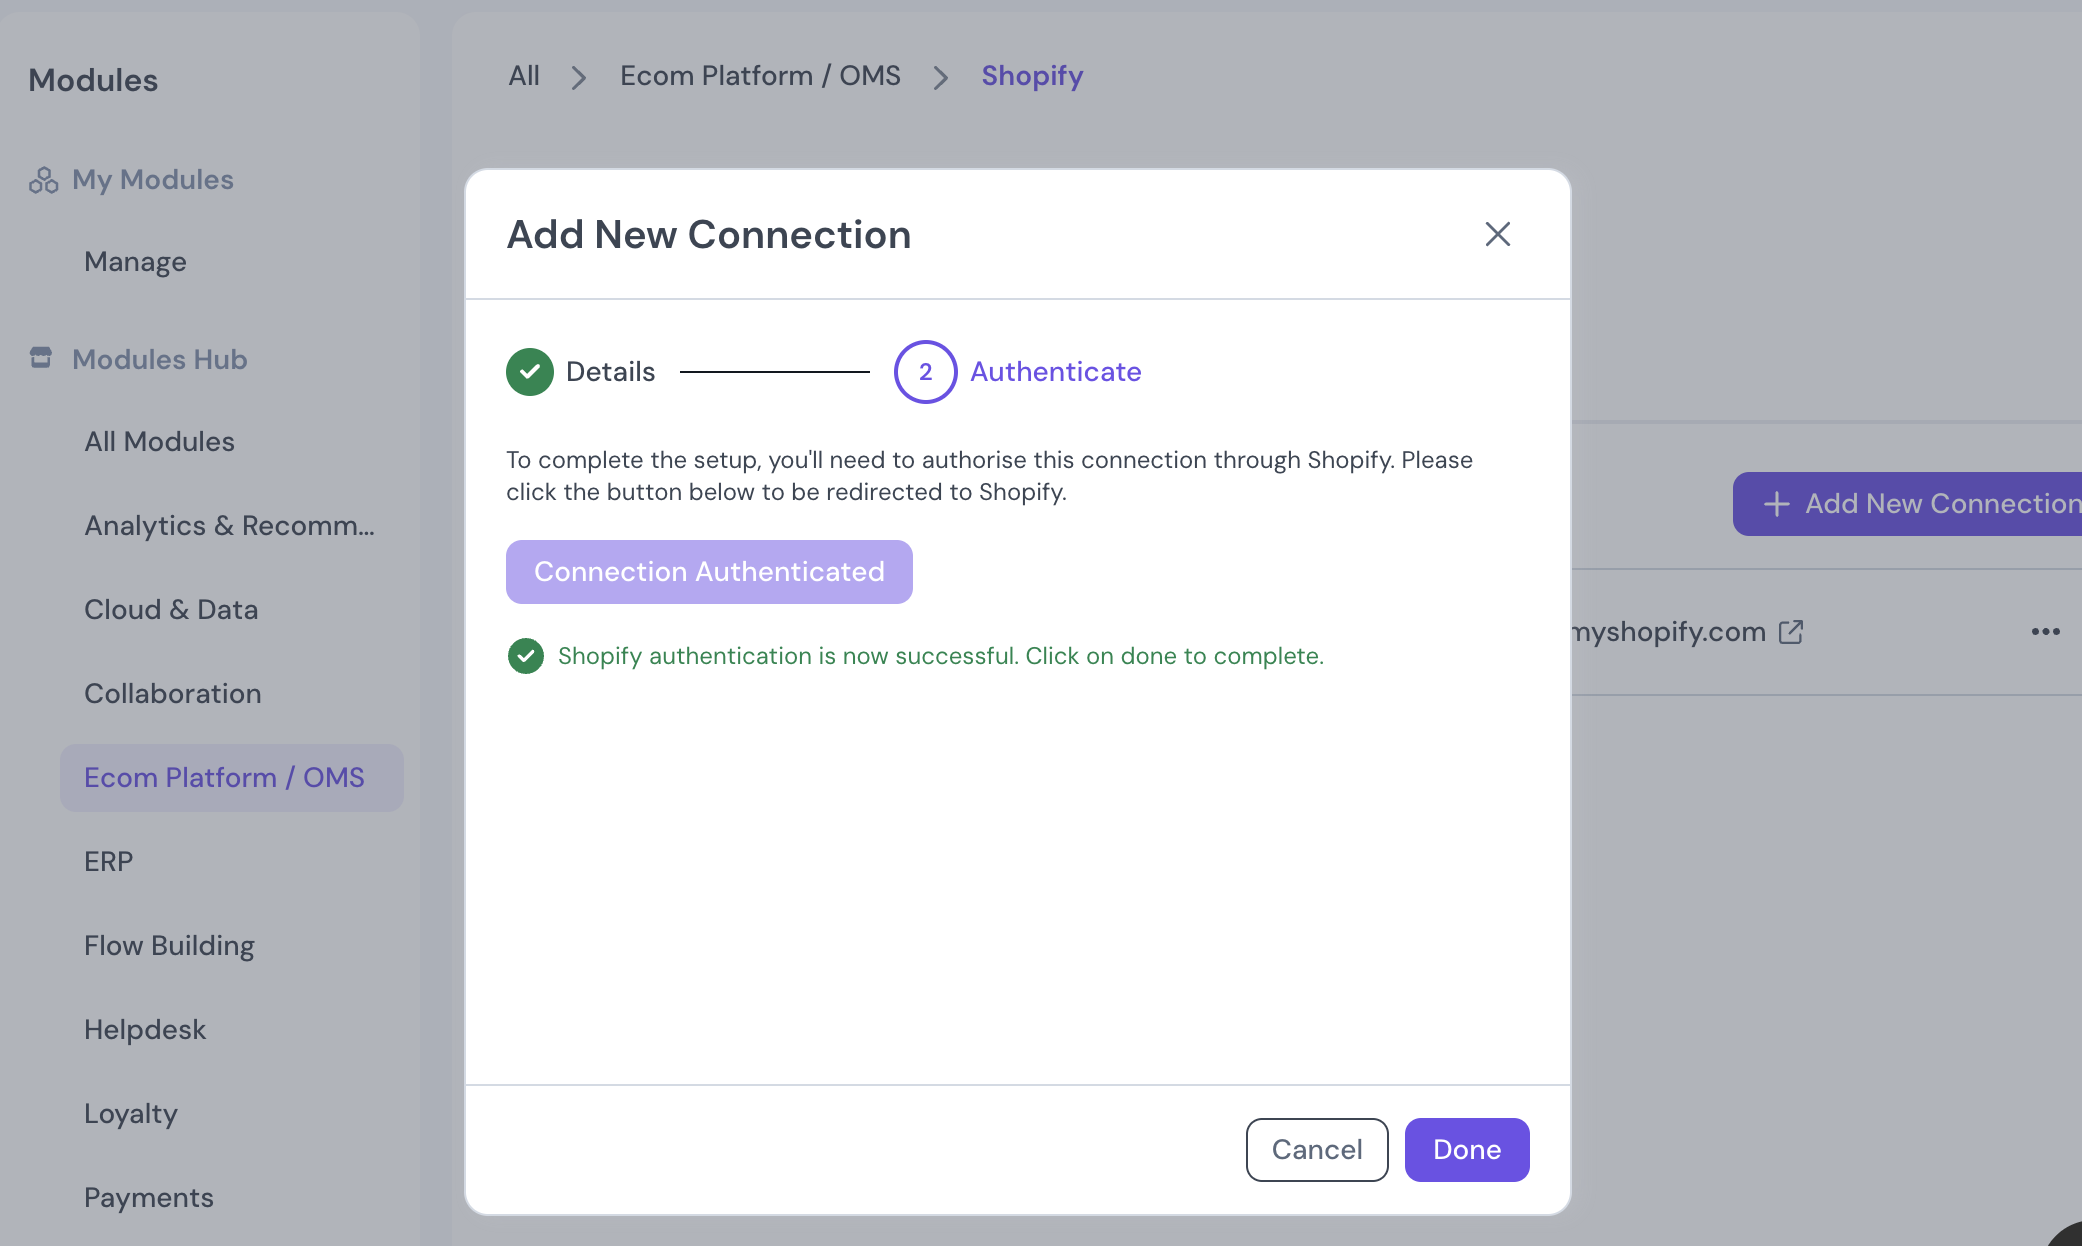
- After adding your store connection, you will be directed to the Shopify App installation page. Here, you need to authorize DG to manage your store's data. This step is crucial for enabling the integration and allowing DG to access the necessary information from your Shopify store:
Once the app is installed, your new store connects to the DG dashboard. You need to click "Done" to complete.
Updated 3 months ago