Package Configuration
In this section we are going to configure the installed package. In your salesforce org go to App Launcher, and open DigitalGenius AI app.
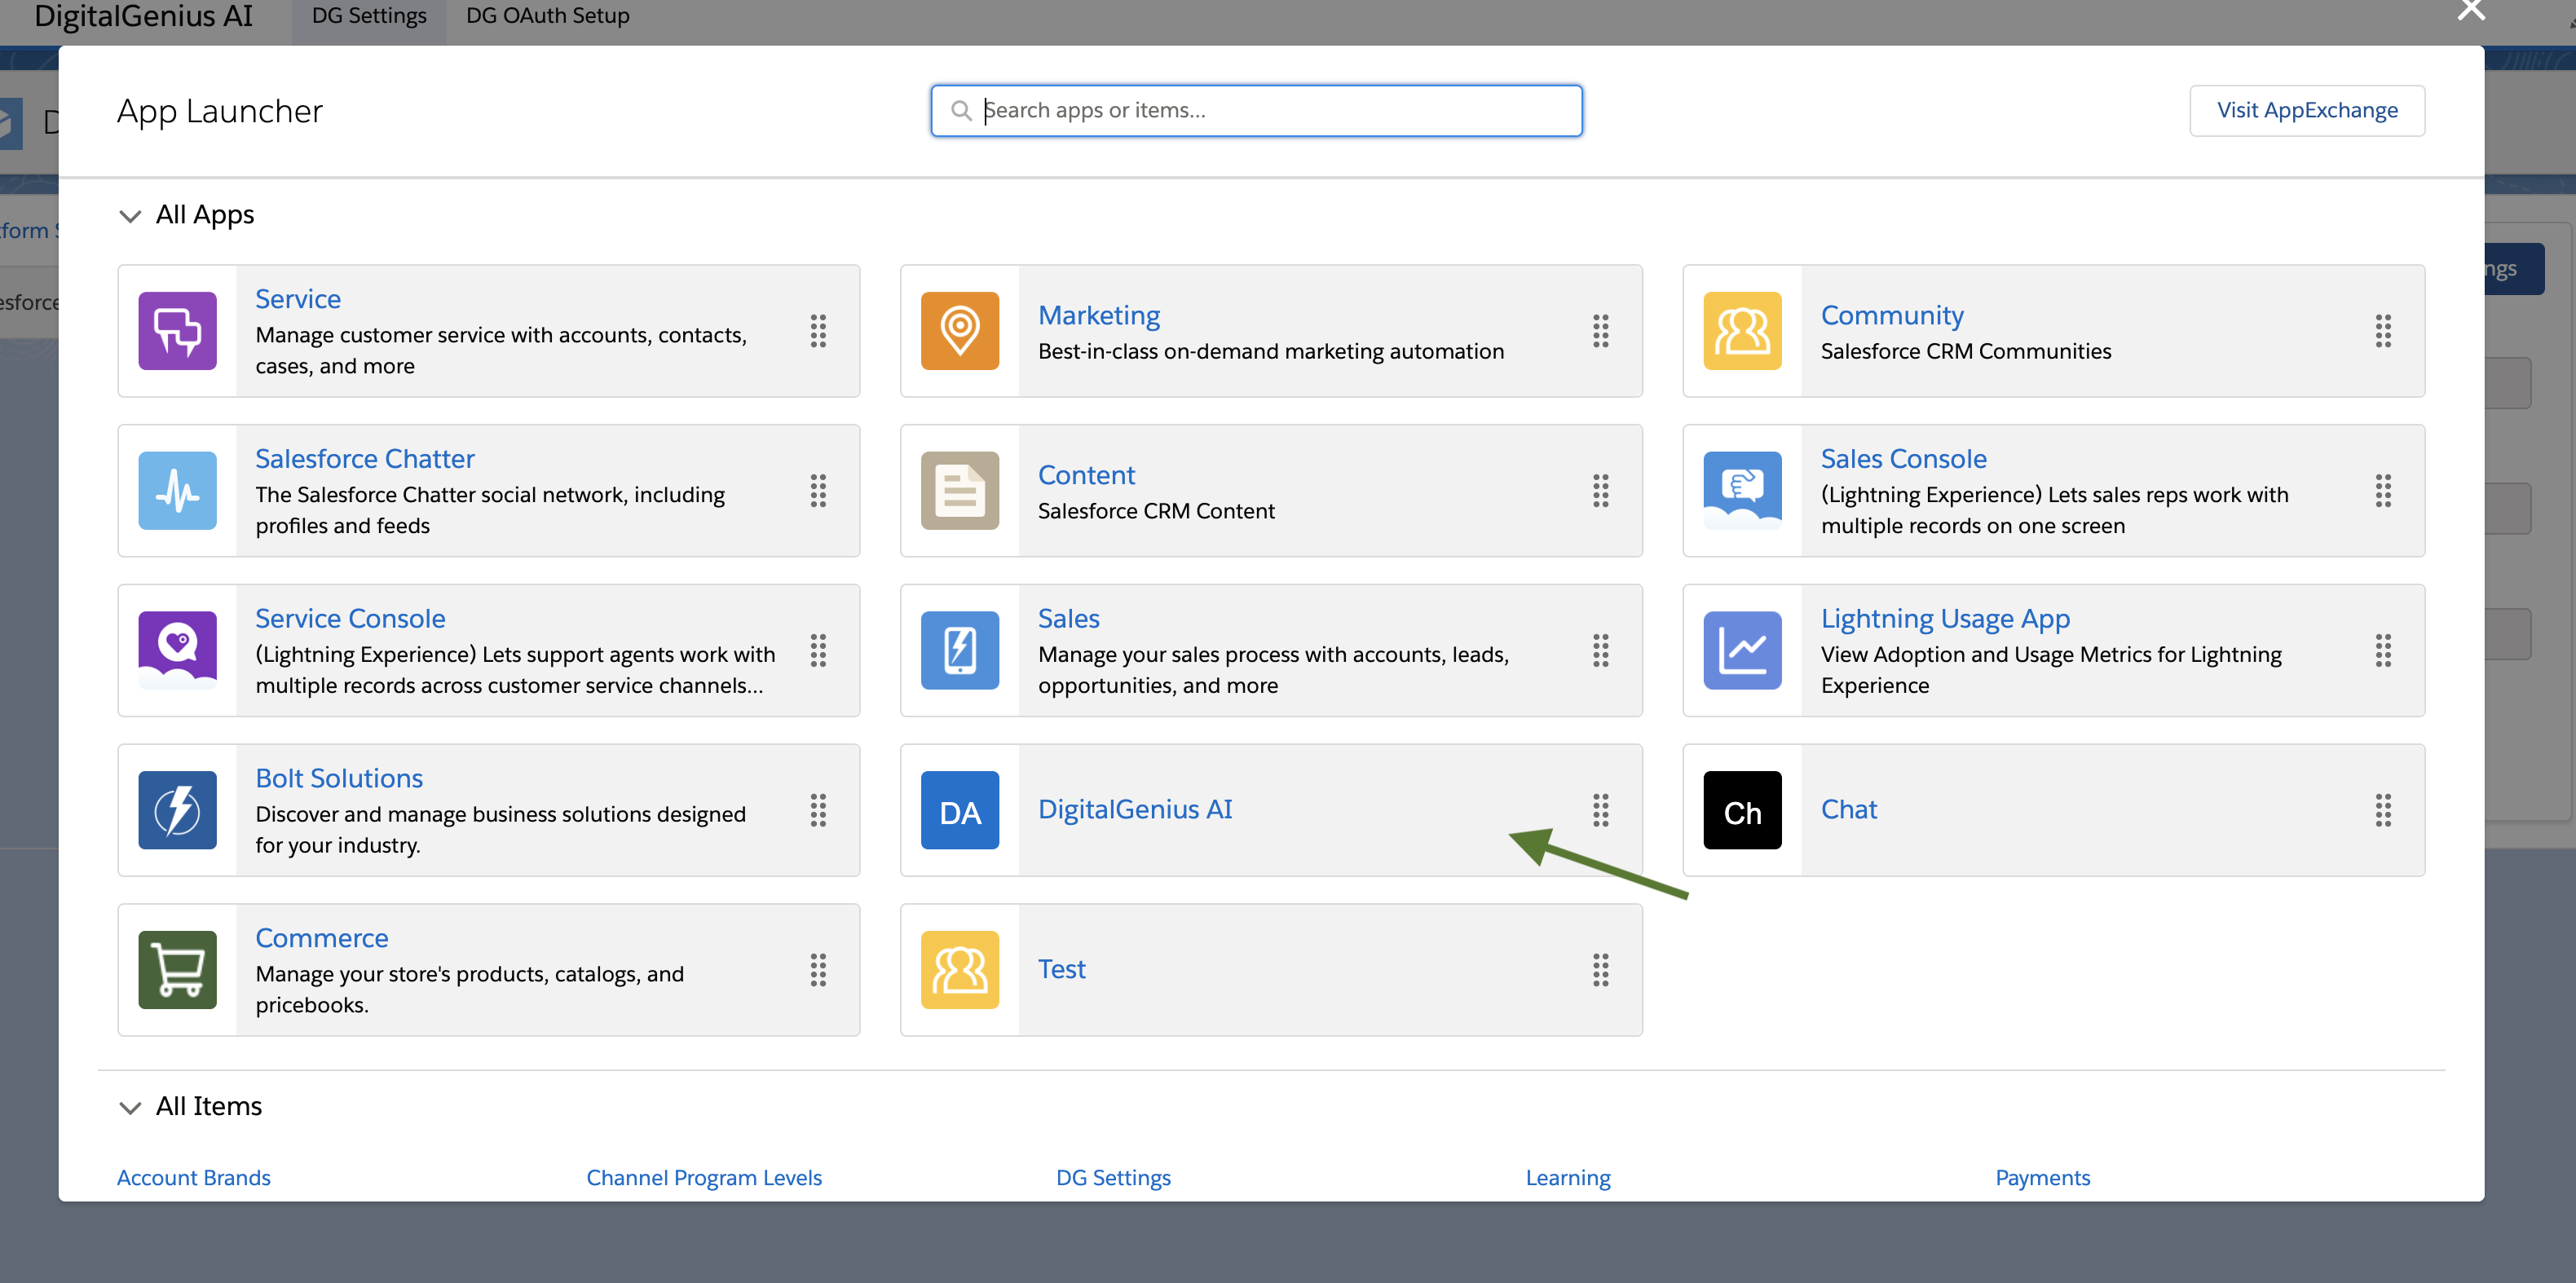
Open DigitalGenius AI App
Platform Settings
On the Platform Settings tab click Edit and update the API Host to either:
https://prod-flow-api.dgdeepai.com or https://prod-flow-api.eu.dgdeepai.com depending on whether you use us.digitalgenius.com or eu.digitalgenius.com account respectively.
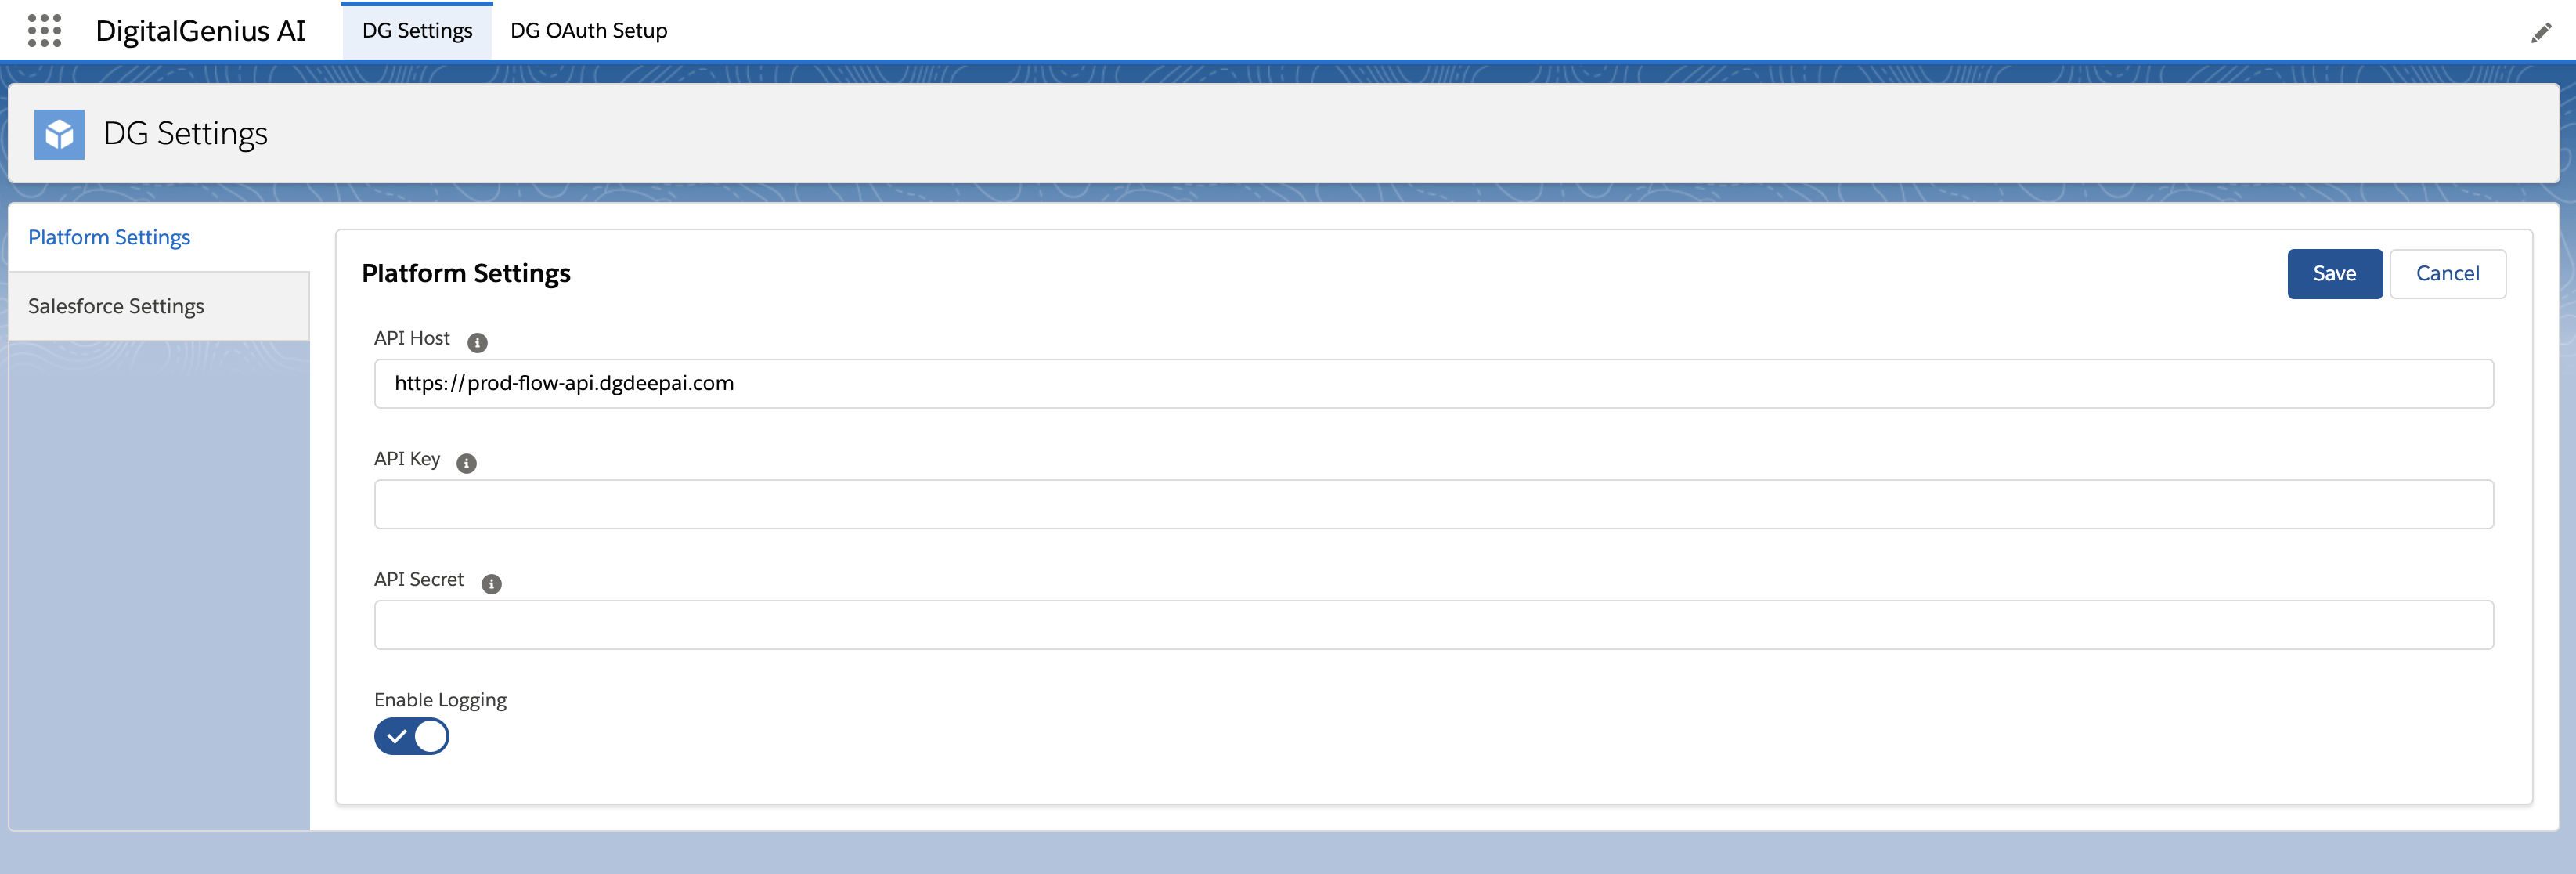
Update the API Key and API Secret fields with the API Key/Secret from your DigitalGenius account.

Update API Key and API Secret
Toggle the Enable Logging to be on.

Put Enable Logging to on.
Save the settings.
Salesforce Settings
Click on the Salesforce Settings tab below Platform Settings. Ignore the Email tab and click on the Social tab. You should see the below screen.

Update the Flow Social Action ID field with the ID of the Social Batch Flow created in the previous step Social Batch Flow.
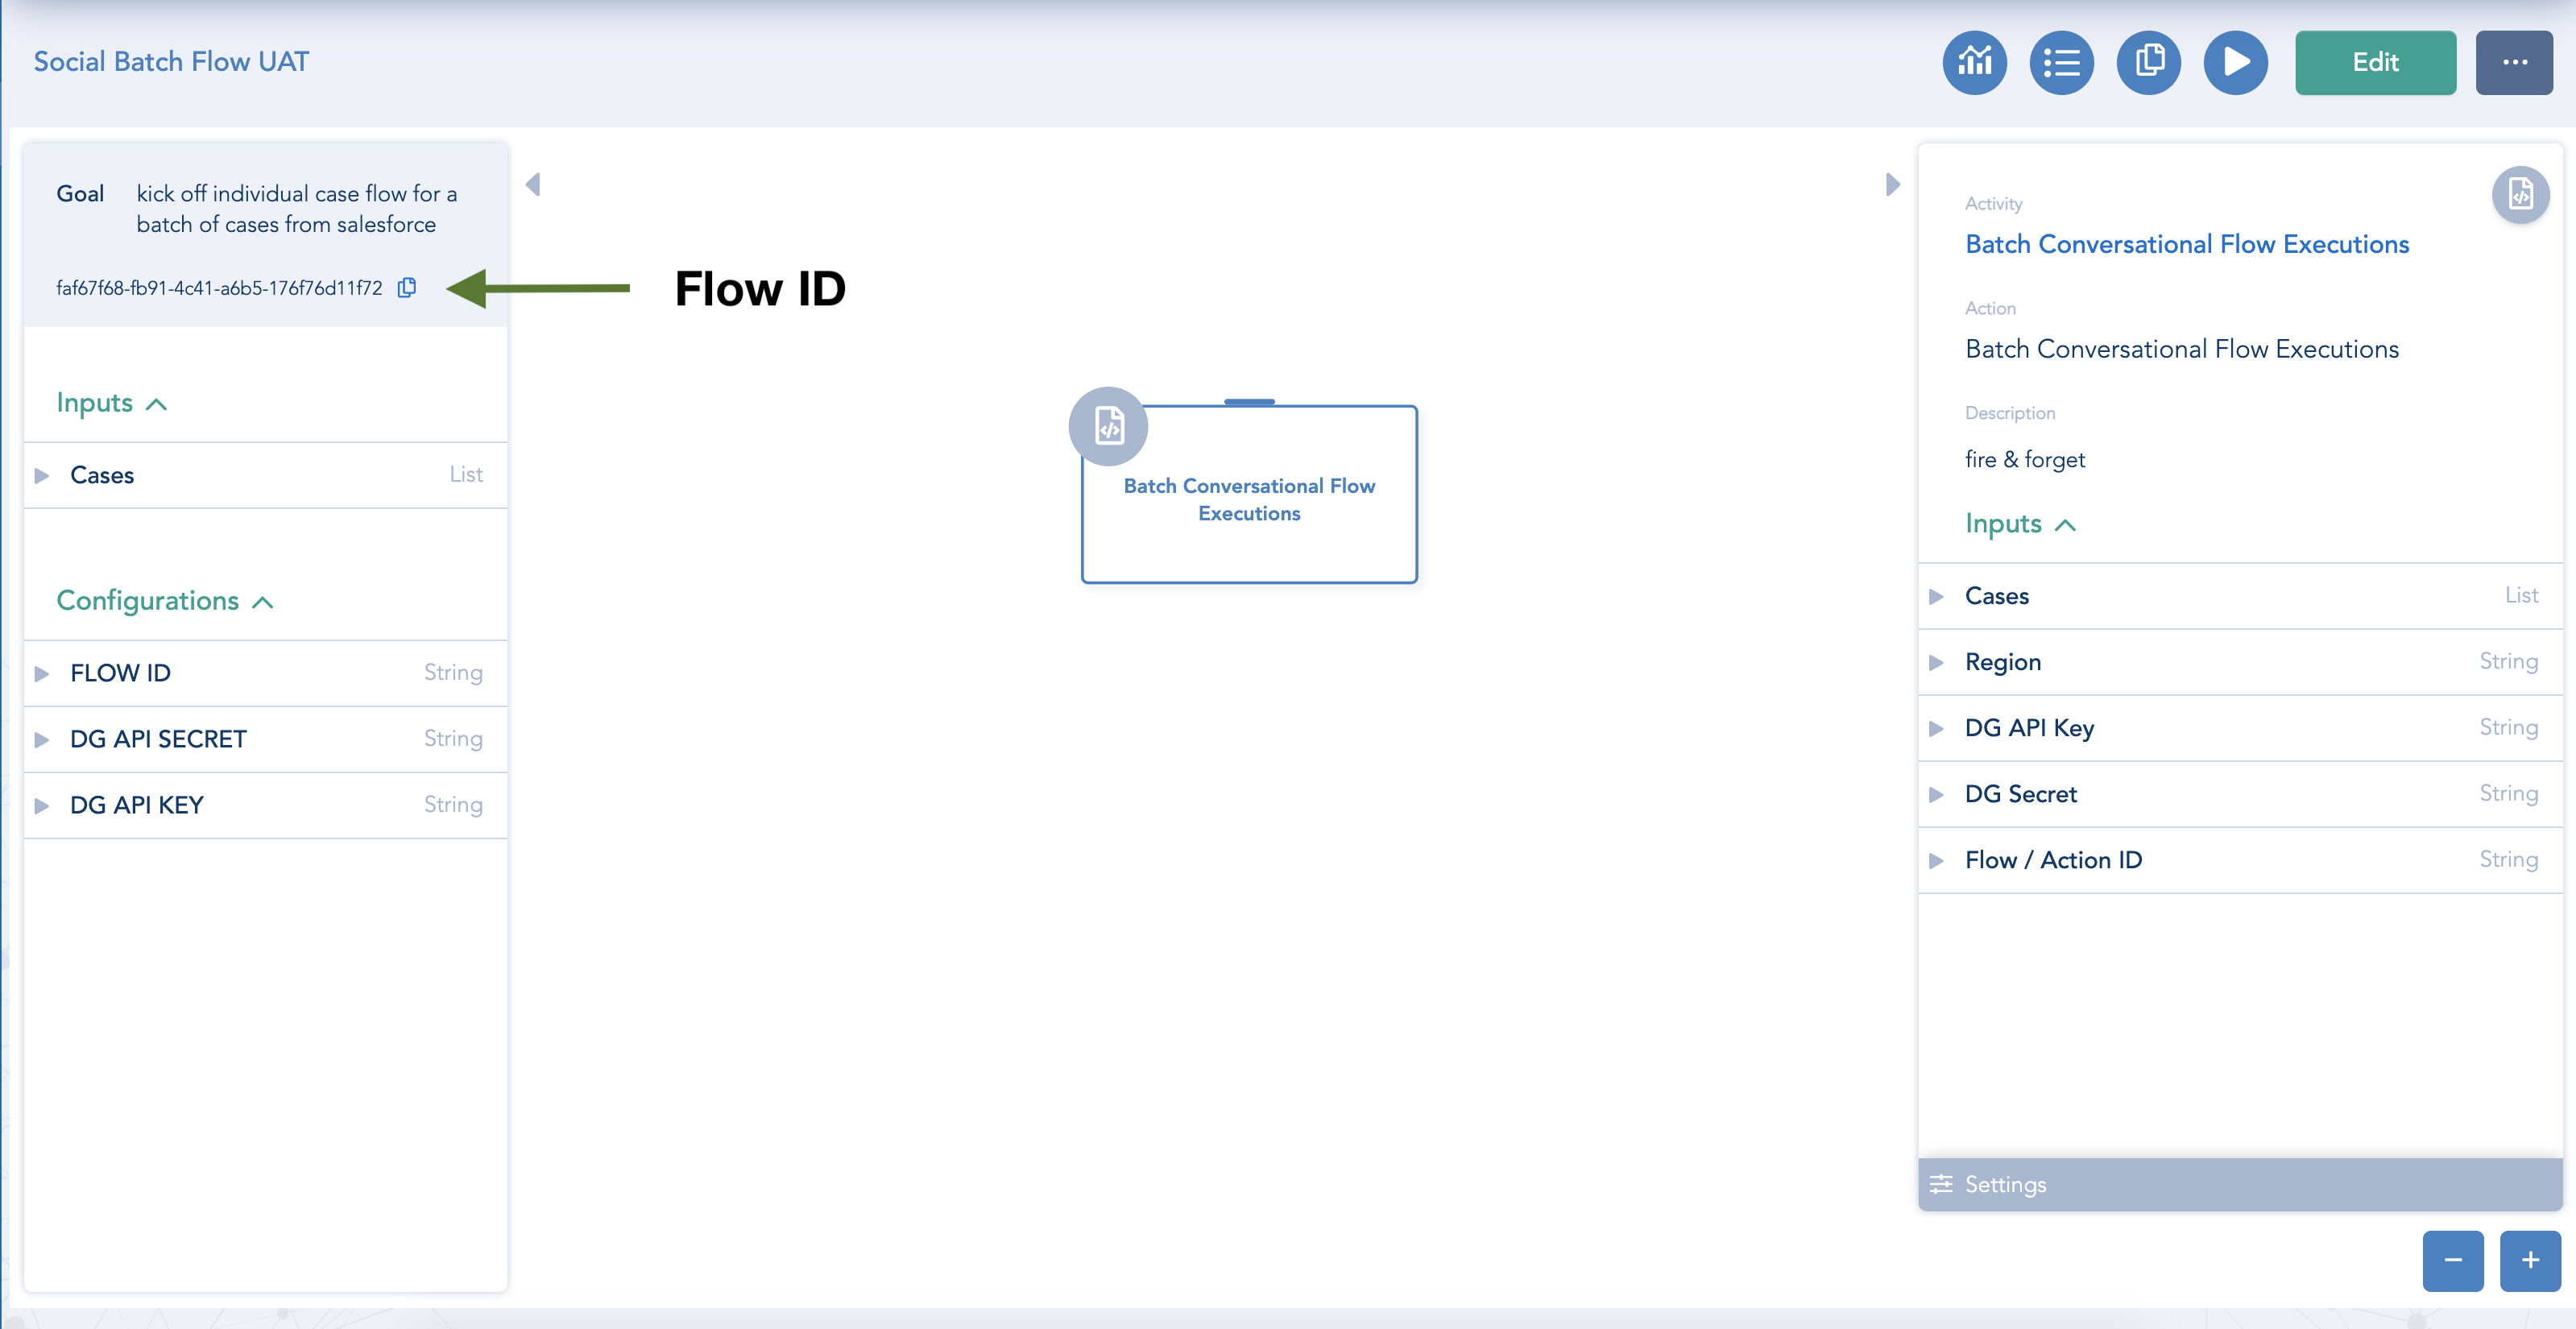

Update the Flow Social Action ID
Multiple Salesforce OrganisationsMake sure for every org to use a separate Social Batch Flow.
Toggle the Enable Social Trigger to on. This will enable a trigger on SocialPost object, so whenever there is a new record of SocialPost it will be sent to DigitalGenius Flow that you have specified in the Flow Social Action ID field.

Toggle the Enable Social Trigger to on.
Click Save.
Check Incoming Posts
Send some social messages on a channel connected to this salesforce org.
Go the Social Batch Flow you connected and click on the Check Executions button.
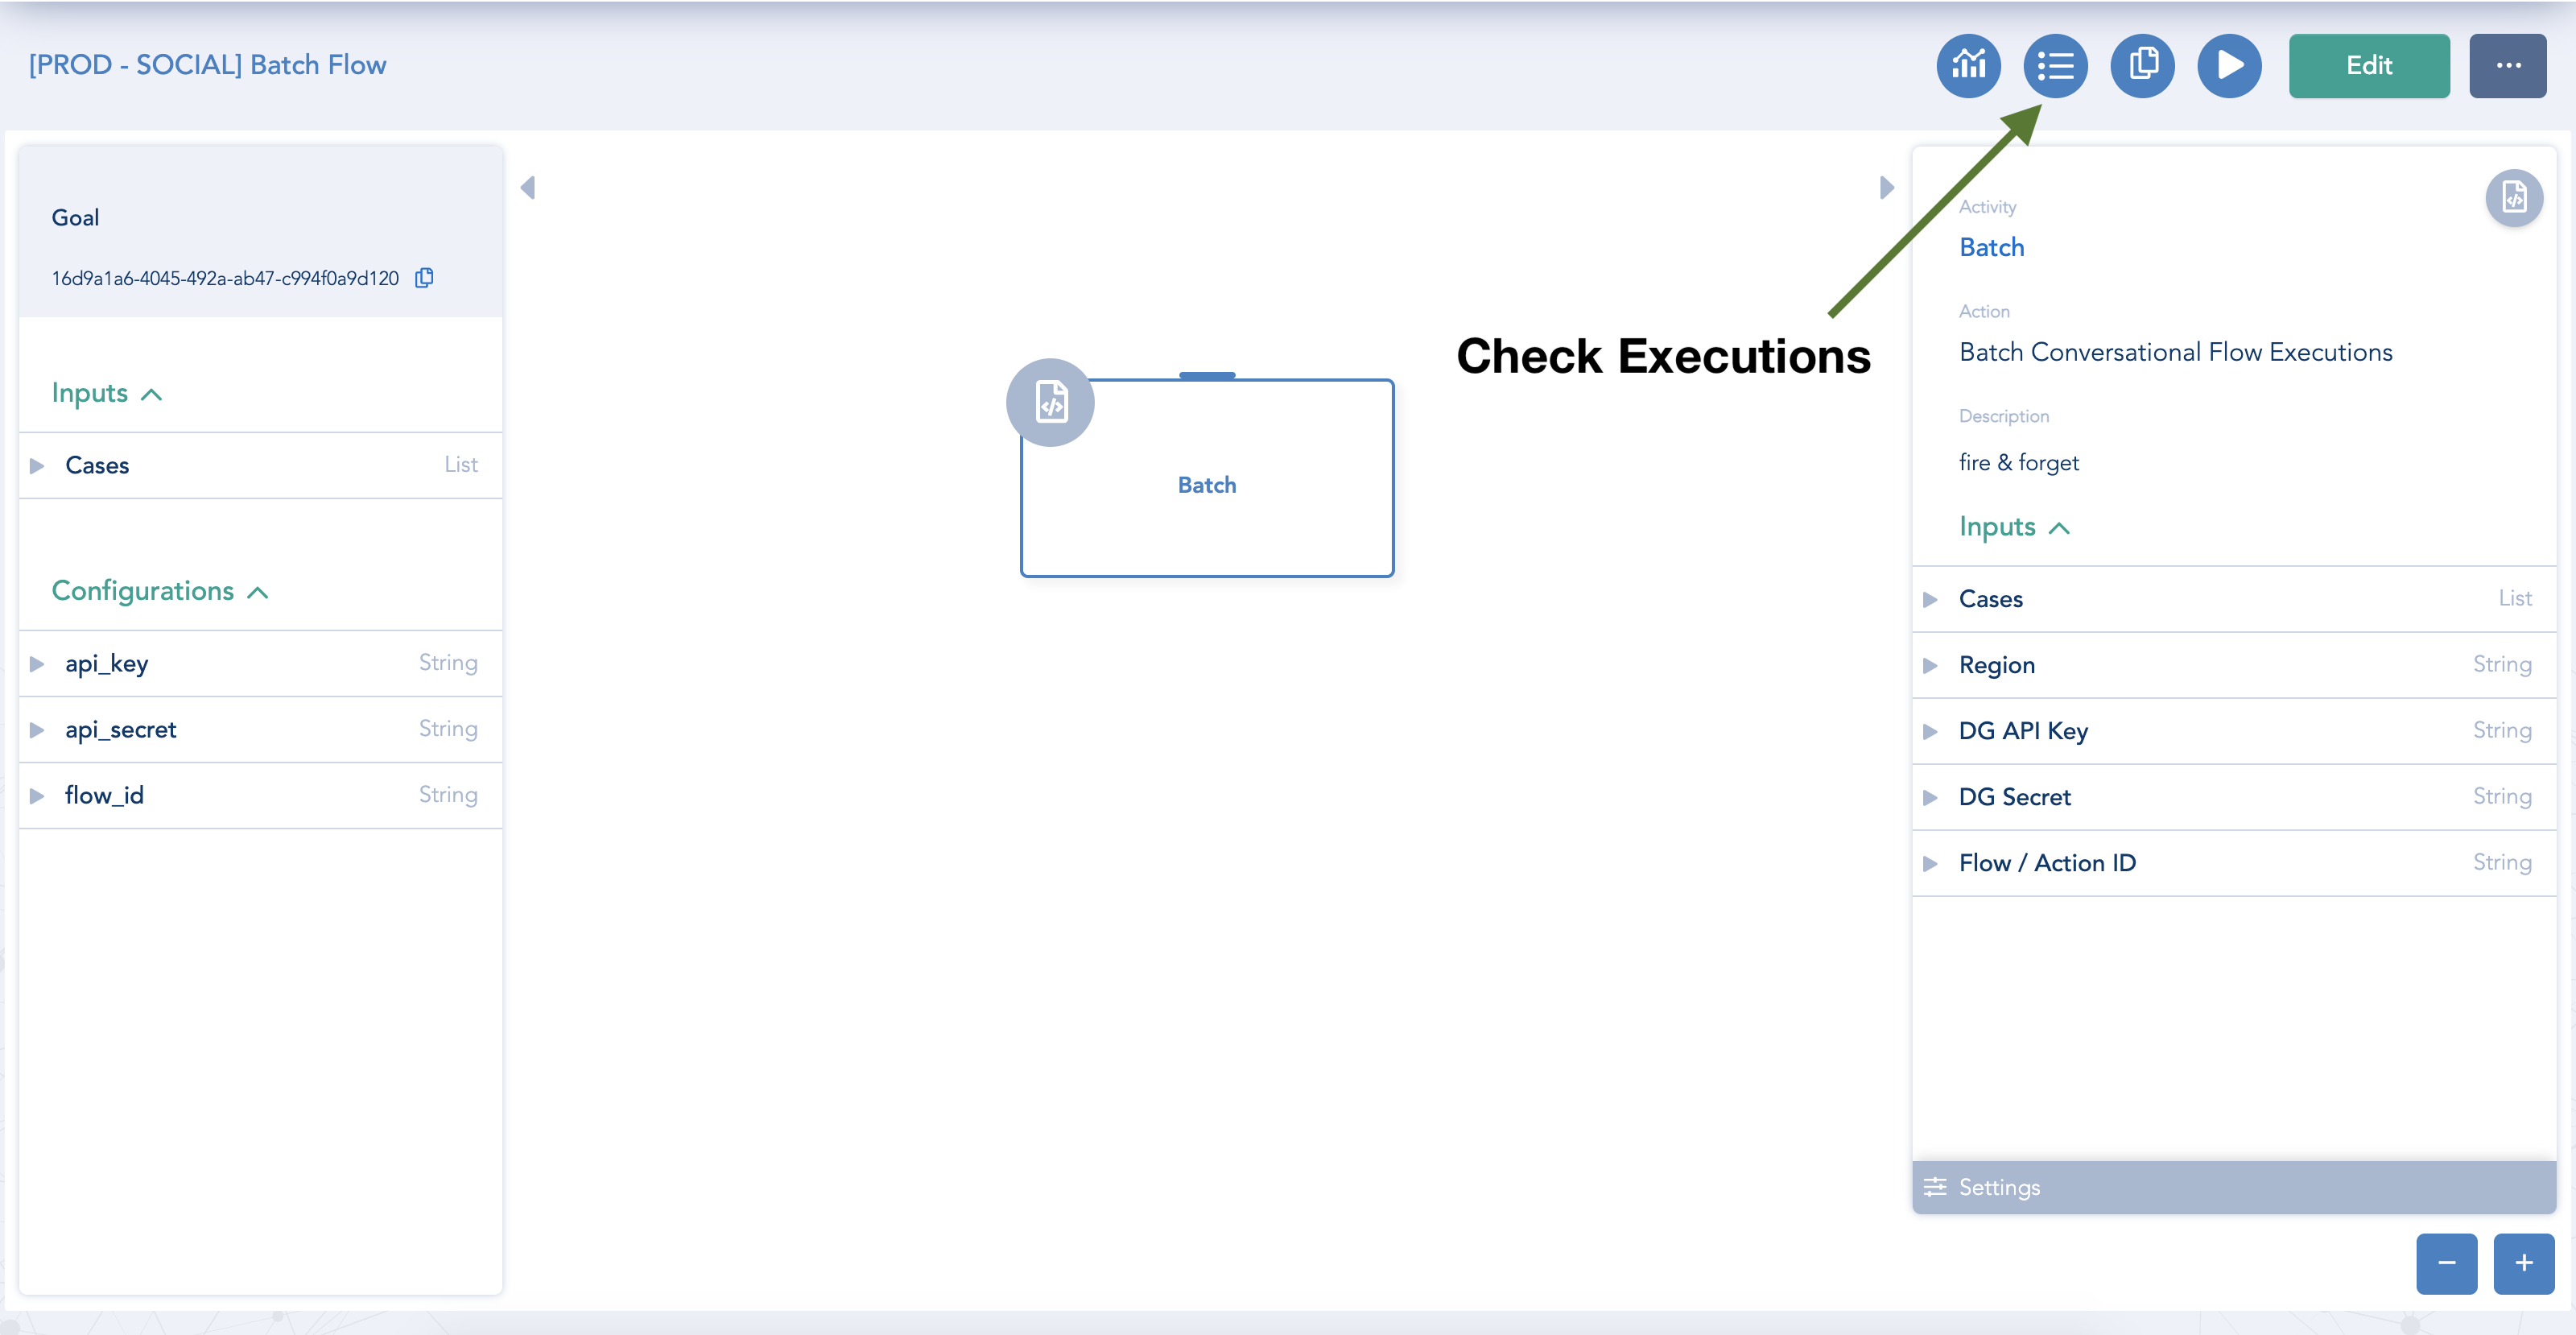
This will open Tracker with executions of the selected Social Batch Flow. If everything was connected successfully you should see some executions with the messages you sent.
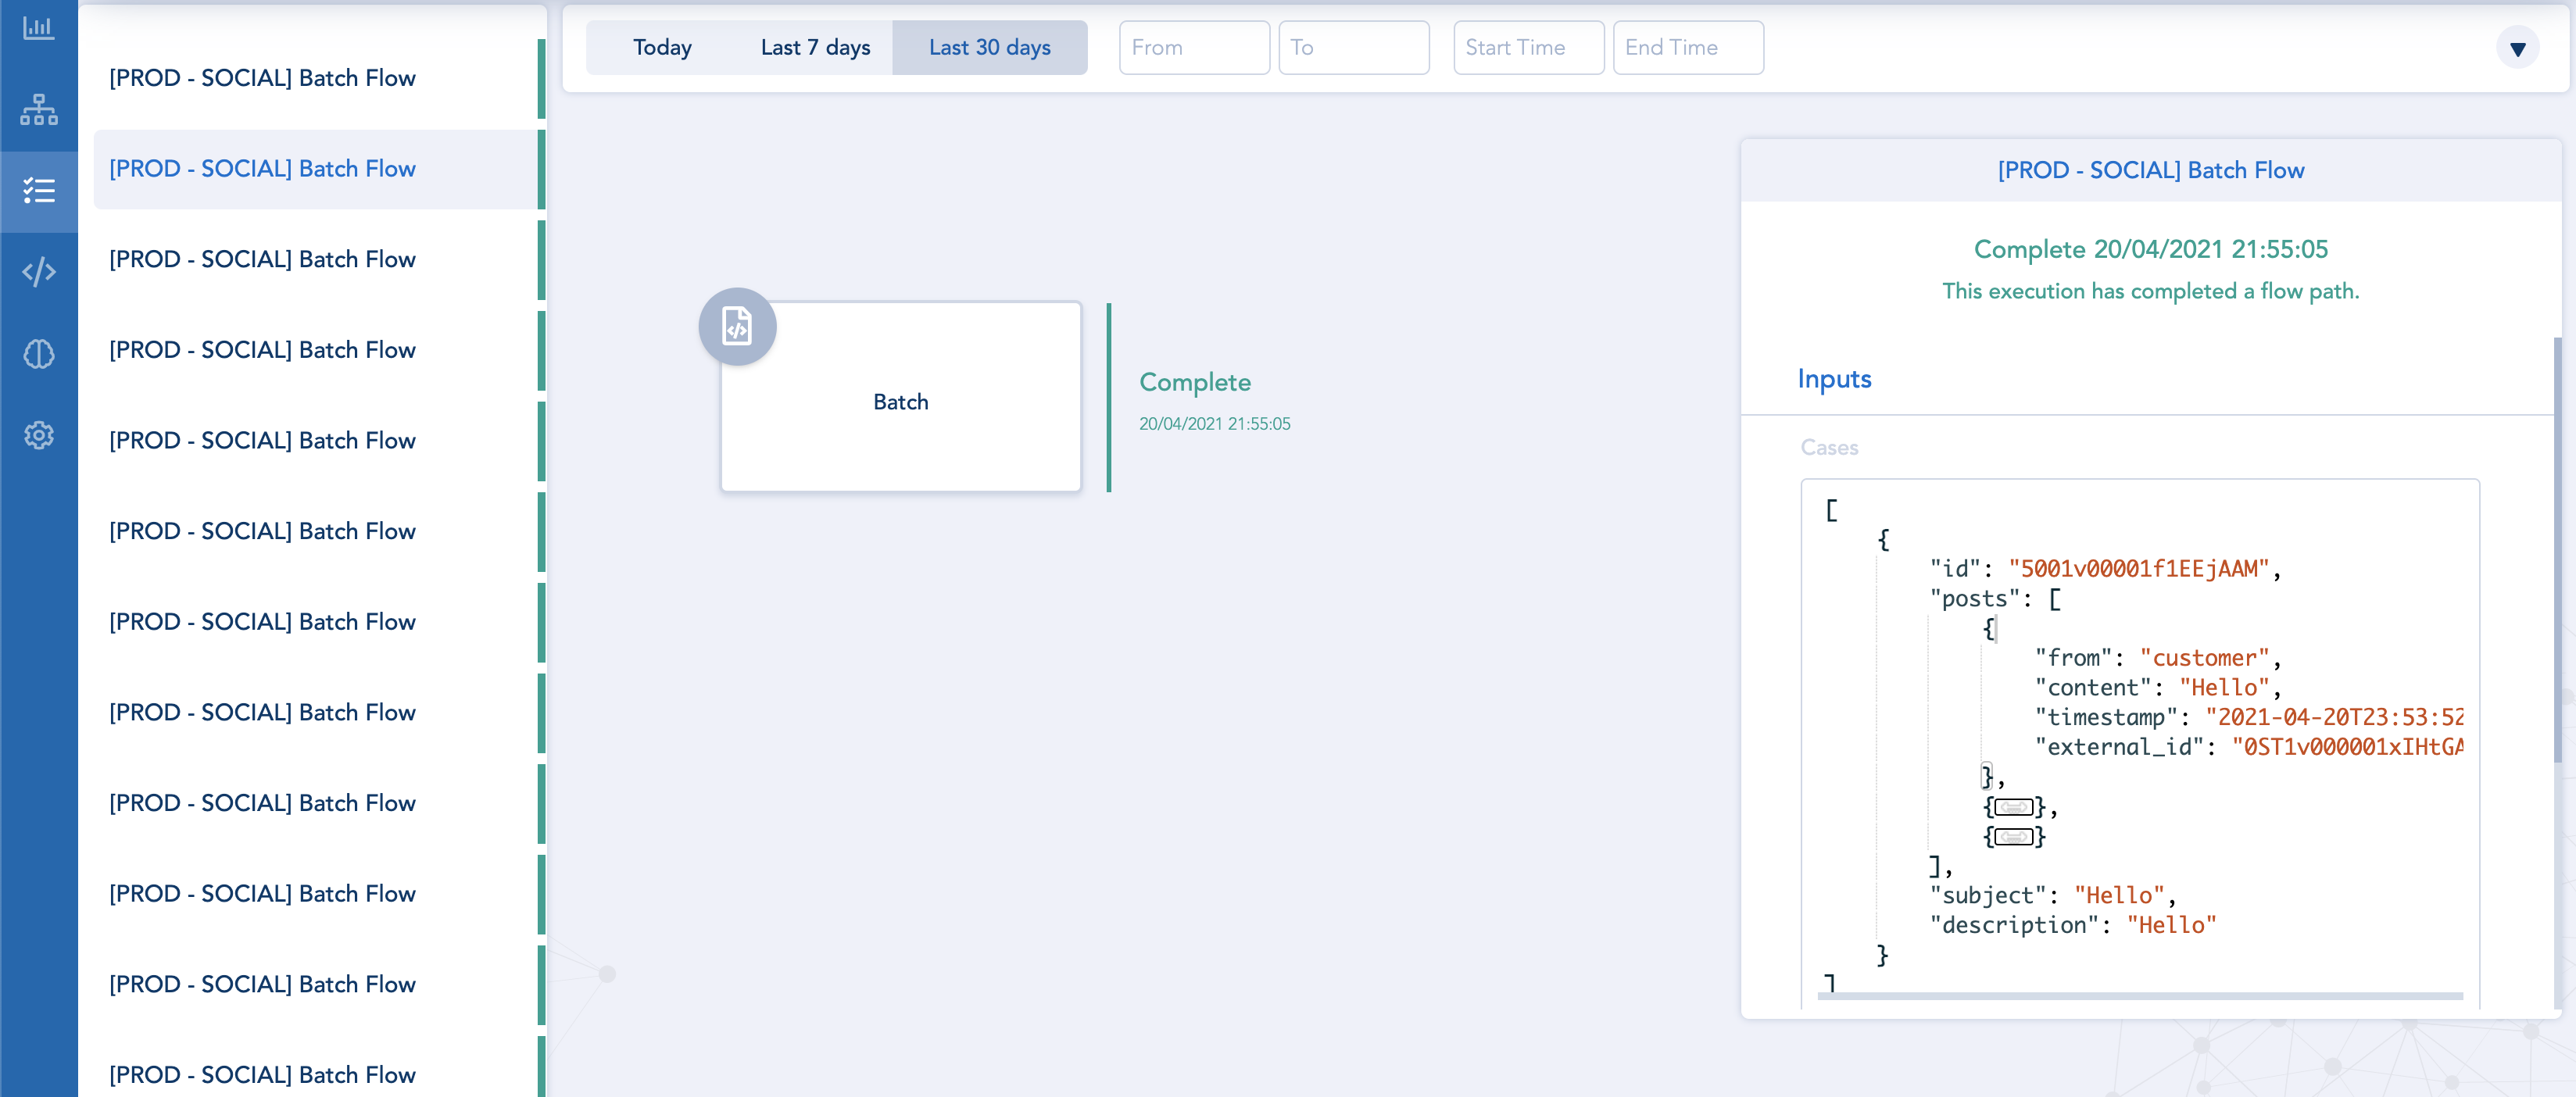
Posts in Tracker
DelayUsually there is a small delay between you sending messages and them arriving in Salesforce and eventually hitting Flow so if you don't see your messages immediately, refresh the Tracker page in a minute or so.
Updated 3 months ago