Add DigitalGenius Kustomer Webhook (Master)
Open Kustomer Outbound Webhooks
In your Kustomer account open Settings > Platform > Outbound Webhooks:
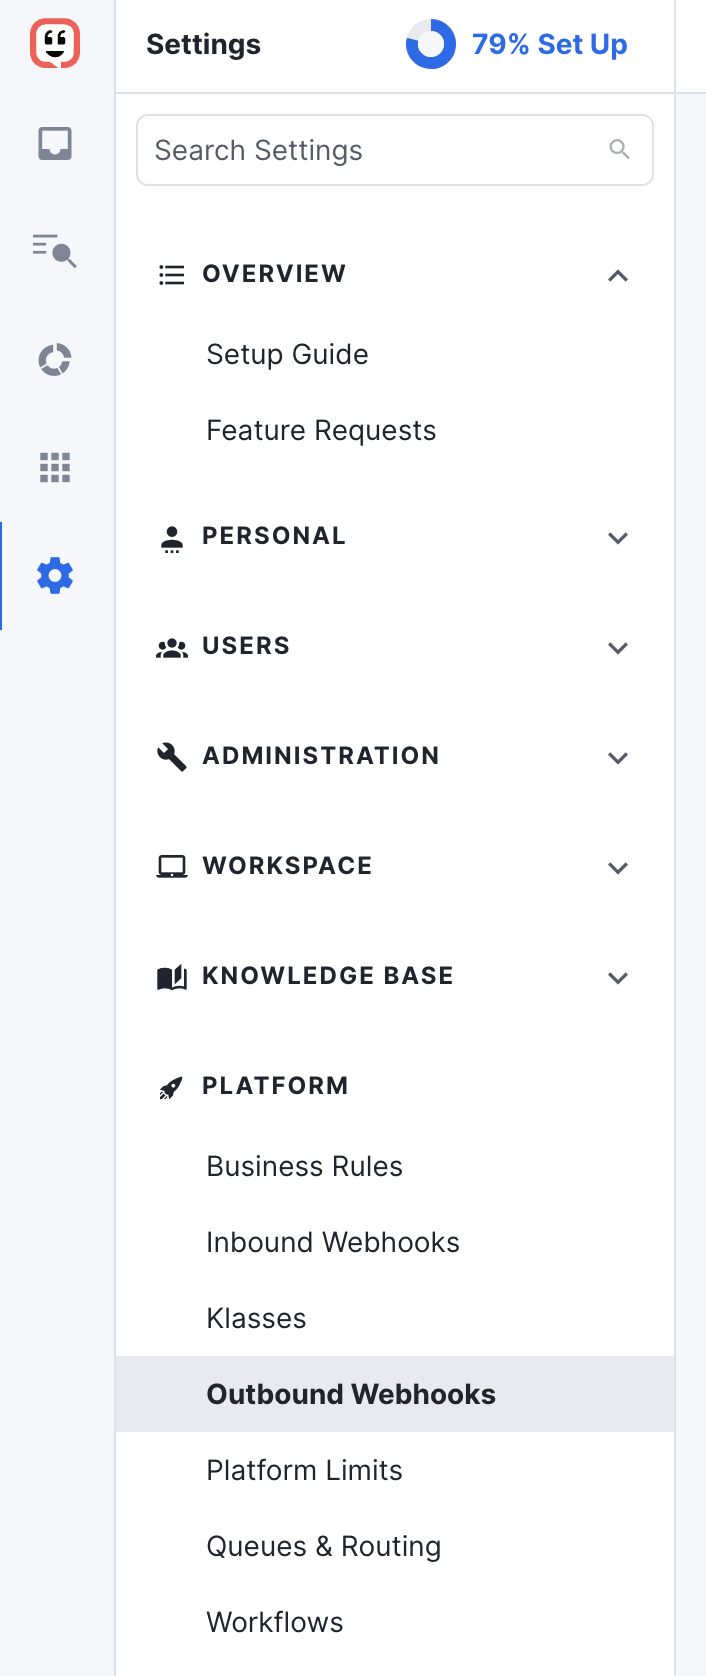
Add Outbound Webhook
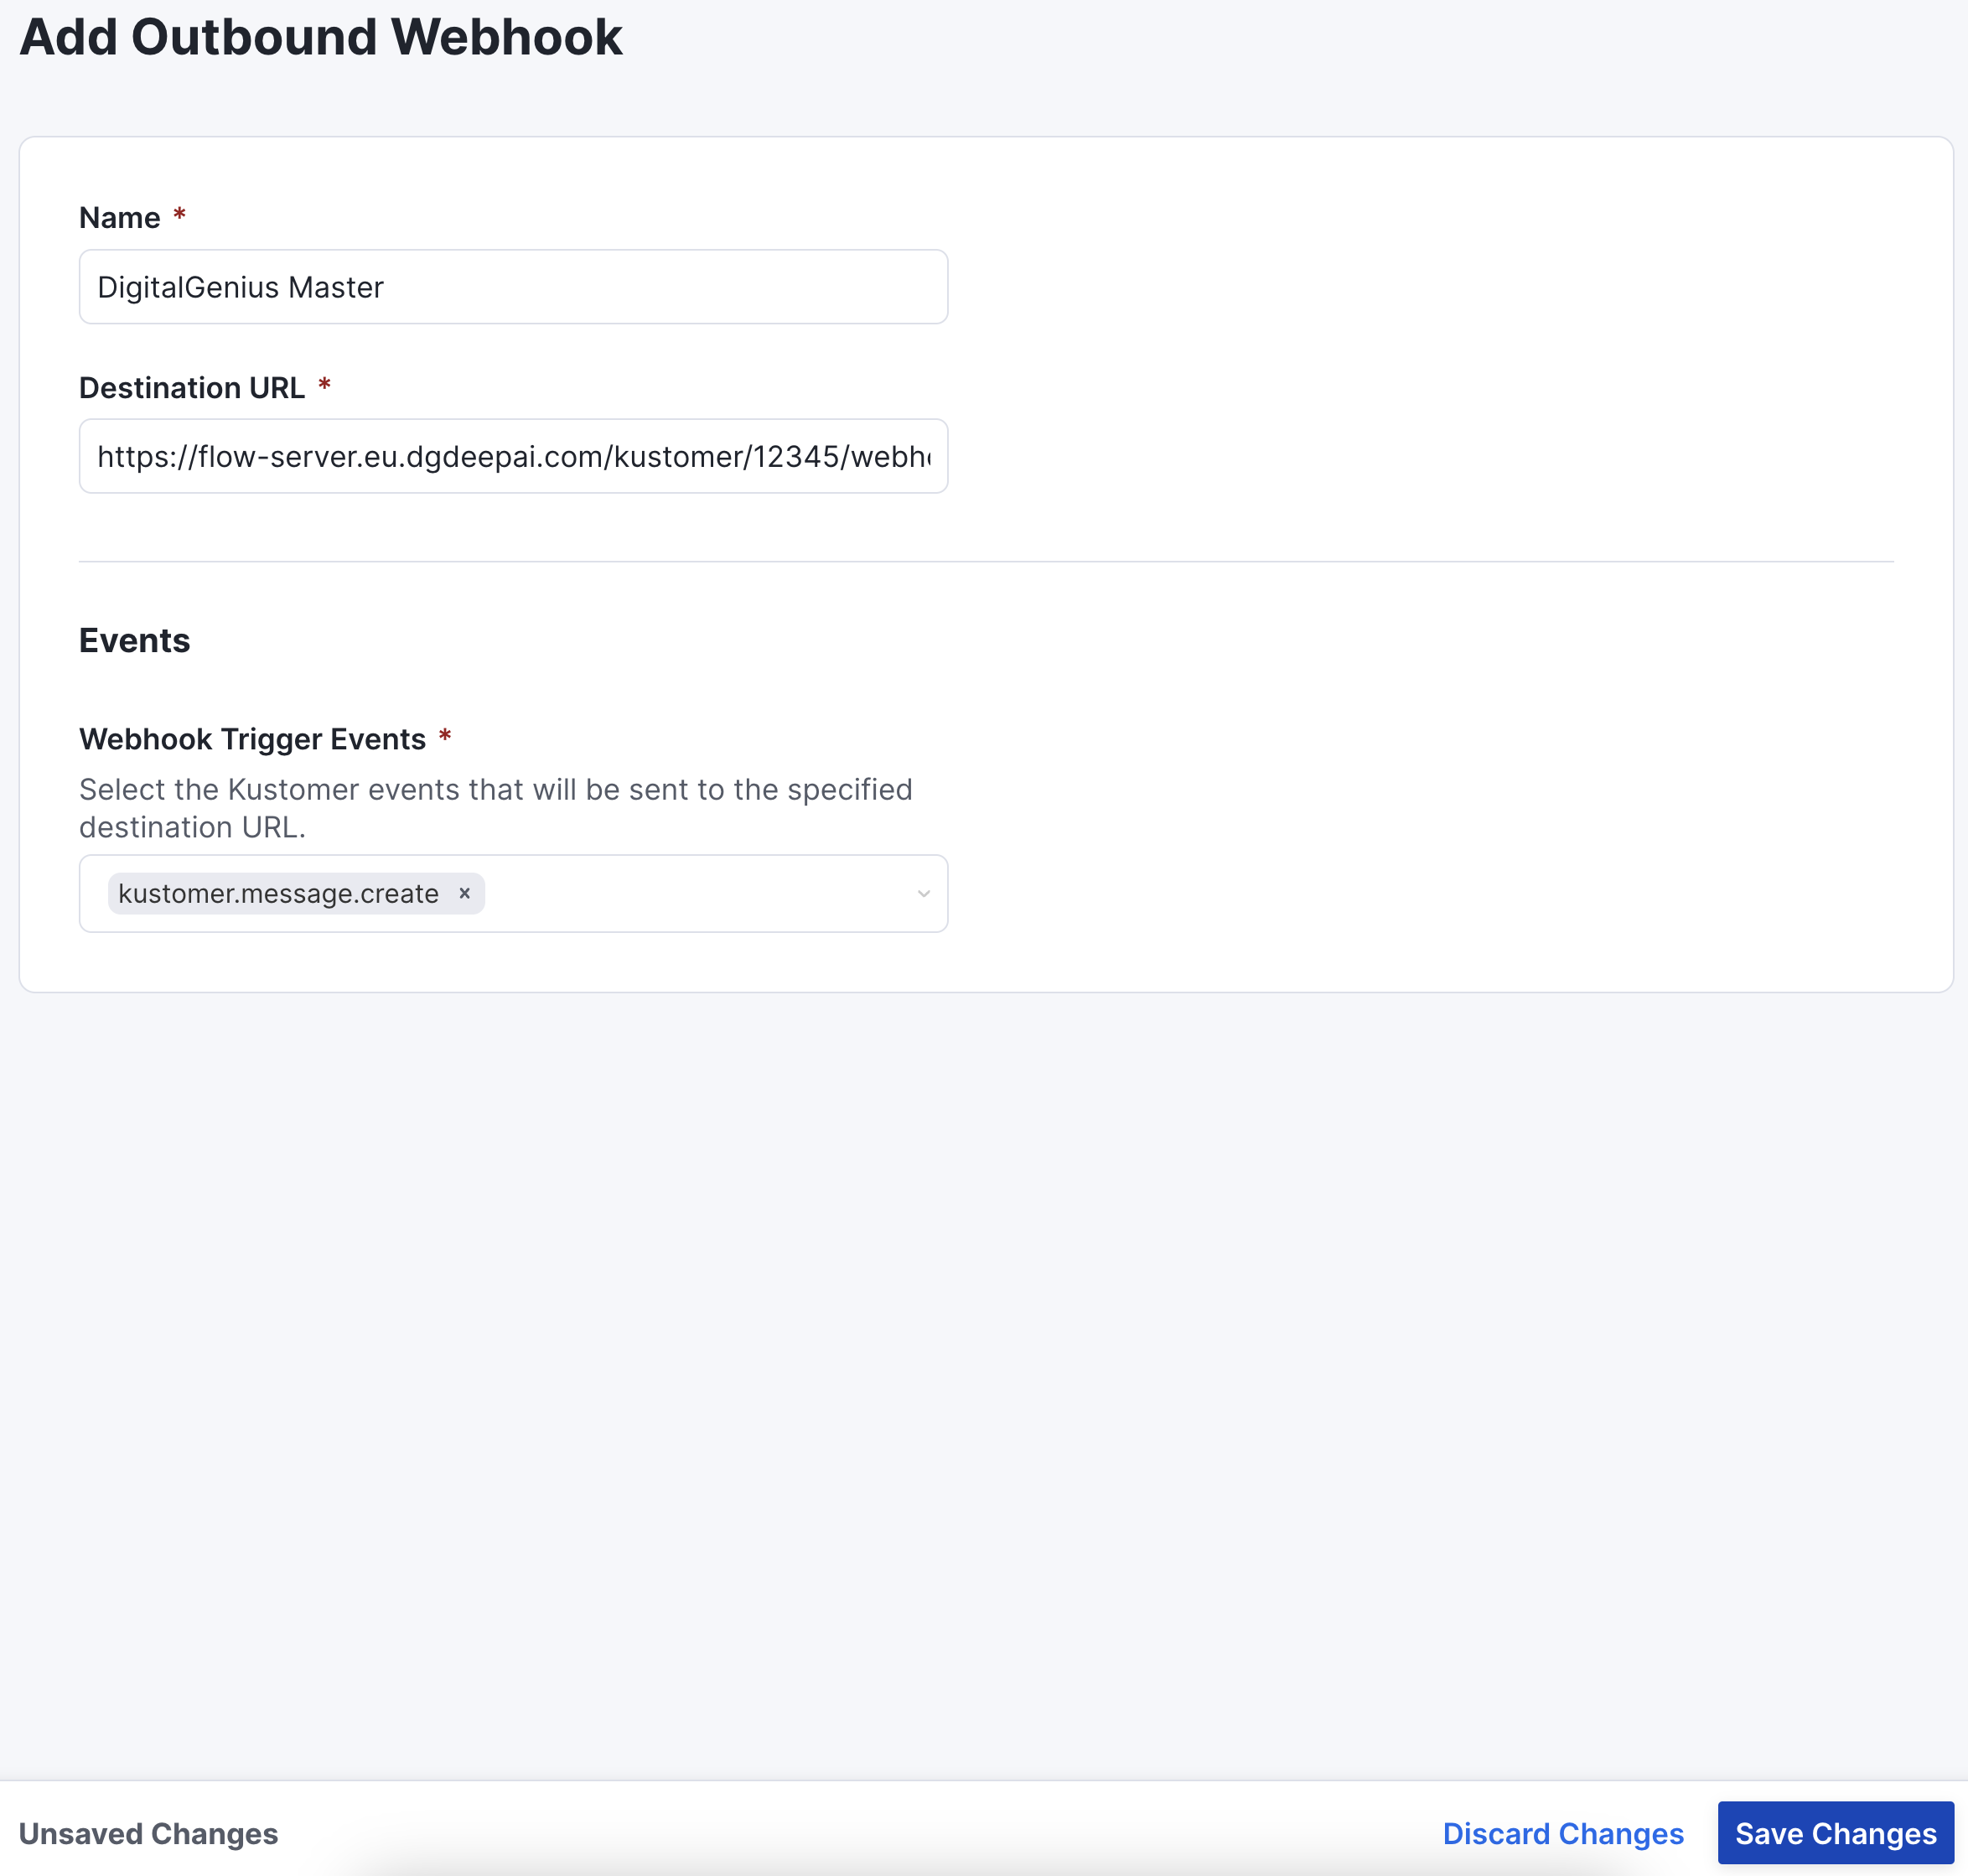
Click Add Outbound Webhook to add one for DigitalGenius:

Configure your webhook as follows:
Name: DigitalGenius Master
Webhook URL: https://flow-server.{{REGION}}.dgdeepai.com/kustomer/{{FLOW_ID}}/webhook replacing {{REGION}} with either eu or us depending on the location of your DigitalGenius account and replacing {{FLOW_ID}} with the ID of the DigitalGenius flow that will be the main (Master entry) flow for Kustomer conversations; e.g. an example URL could look similar to this: https://flow-server.eu.dgdeepai.com/kustomer/12345/webhook
Events: kustomer.message.create
This should look similar to the following:
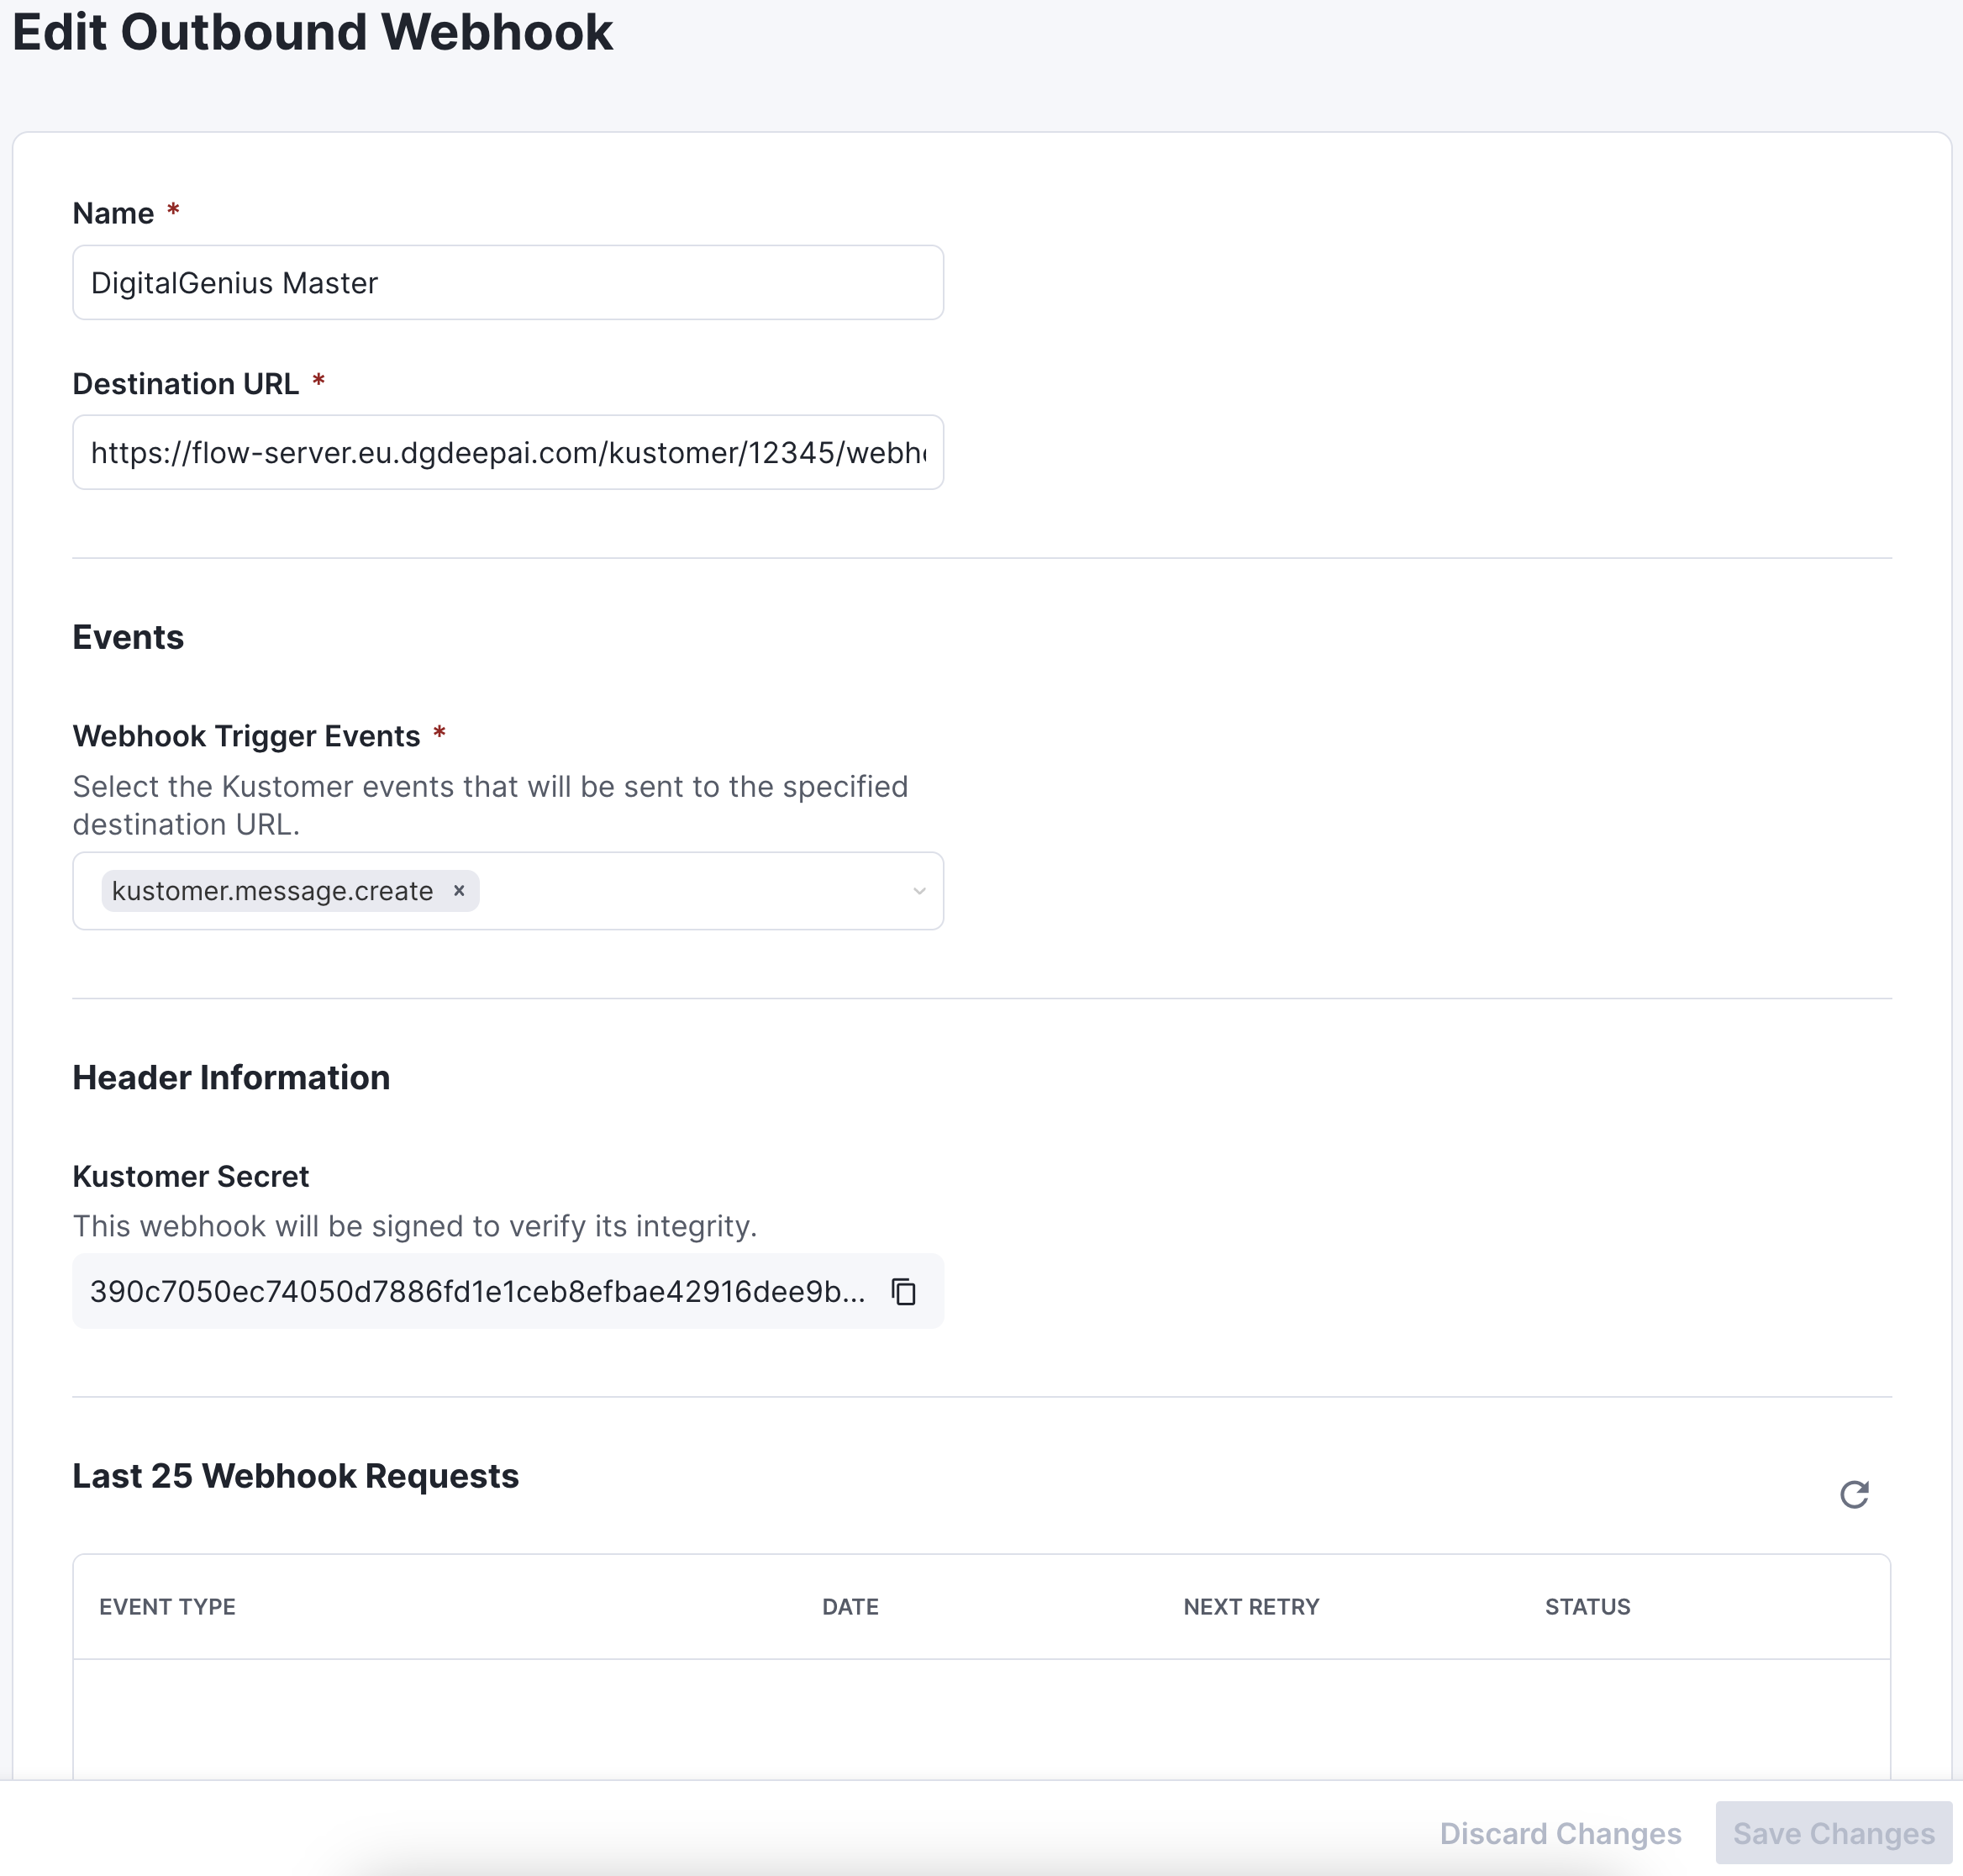
After Save Changes for the above, Manage Outbound Webhooks should appear as follows (make sure the toggle is enabled for this to be active):

Click Edit Outbound Webhook and you should see the following (take note of the Kustomer Secret as this will be needed in the Master flow for verifying the webhook!):
Verify Webhook
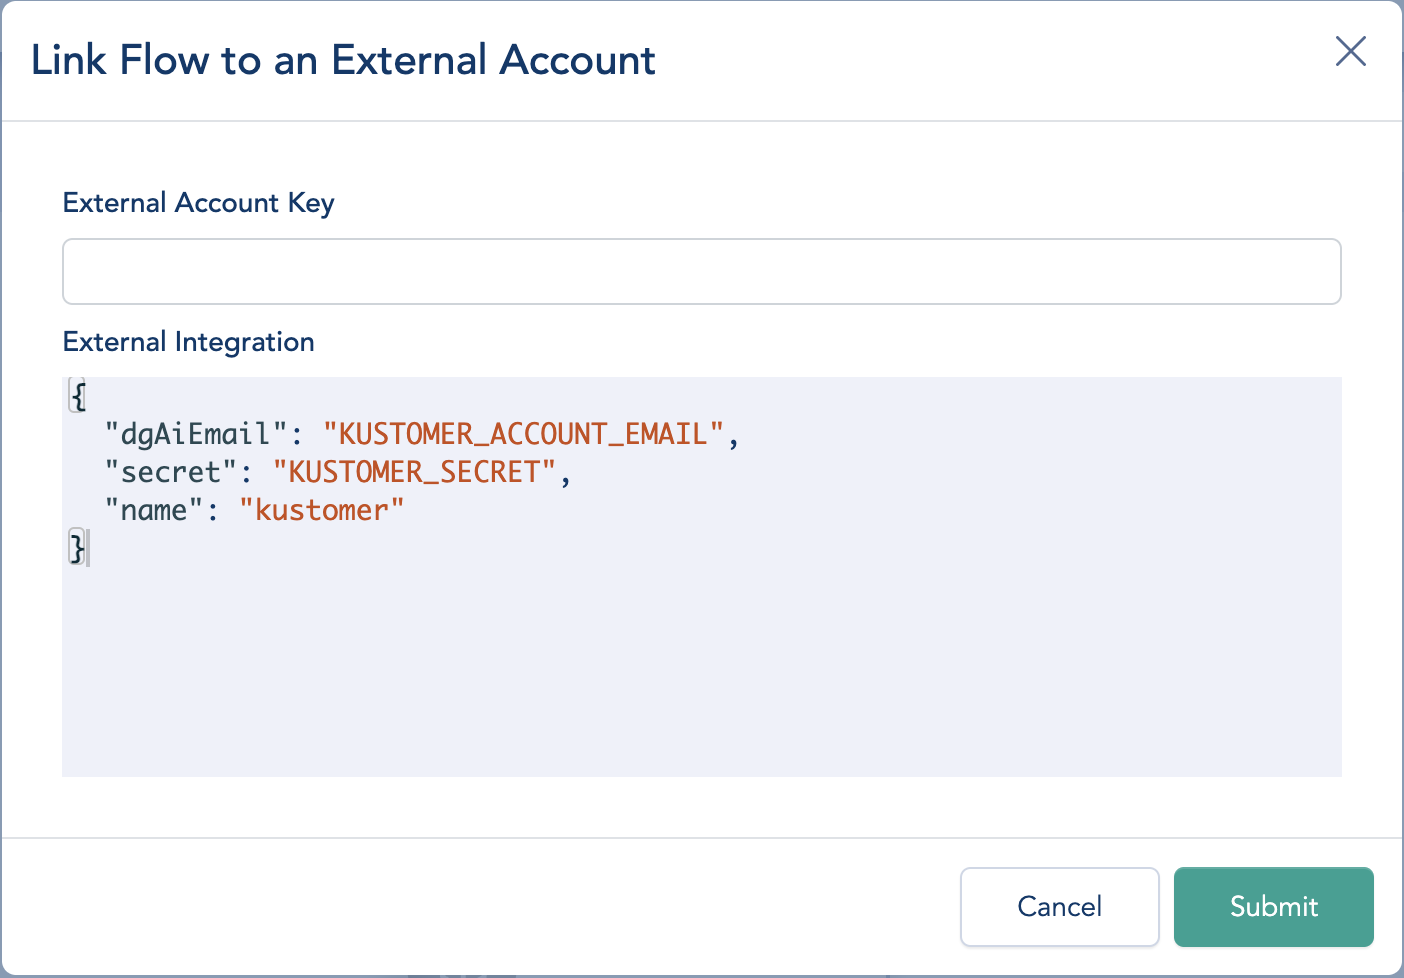
In your DigitalGenius Master flow open the External Key section:
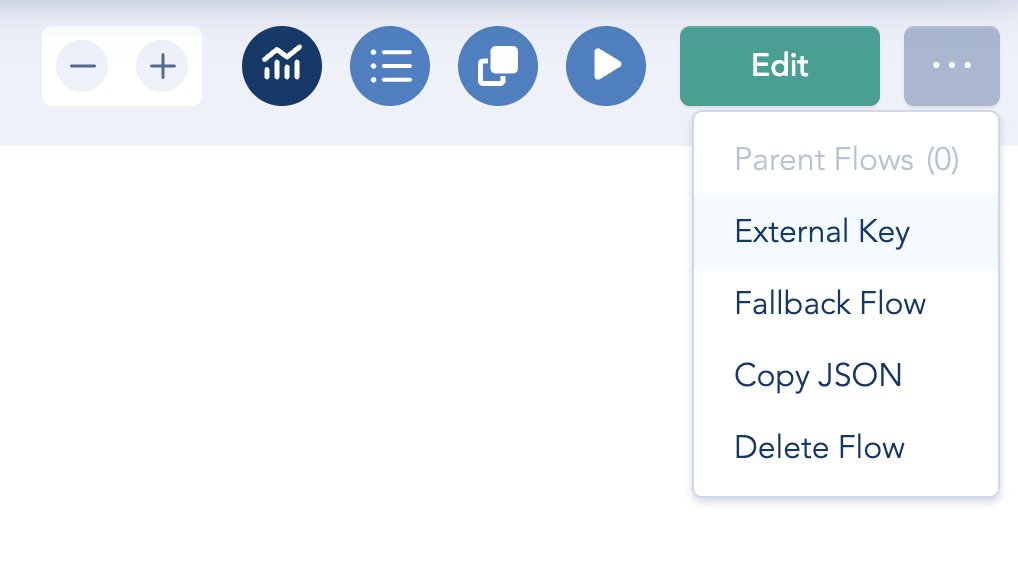
Under External Integration copy in the following configuration snippet (replacing the placeholders with your account-specific details):
{
"dgAiEmail": "{{DigitalGenius Kustomer email address}}",
"secret": "{{Kustomer Secret from webhook}}",
"name": "kustomer"
}
This should look similar to the following:
Congrats!If you see Success status for events in the webhook you created then well done! You have successfully connected Kustomer to DigitalGenius flows.
Kustomer Outbound Webhook Retry policyIf you notice your webhook re-setting to disabled, please double check your configuration settings. Kustomer has a Retry policy that turns off outbound webhooks after a number of unsuccessful attempts within a set timeframe. For details, refer to the Kustomer help article here: https://help.kustomer.com/en_us/outbound-webhooks-rkUQvela8
Updated 3 months ago