
Sunshine Conversations
OAuth integration with Sunshine Conversations
The following two steps will guide you on how to integrate Zendesk Sunshine Conversations with DigitalGenius.
Step 1. Create the connection on DigitalGenius dashboard
From your DigitalGenius dashboard go to Modules section and click on the Sunshine Conversations module. Click on Add Connection.

Click on Add Connection
Install DigitalGenius app from Zendesk MarketplaceYou will be redirected to the same page if you click on the
Installbutton for DigitalGenius app in Zendesk app store.
Provide a name for your new connection and click on the Connect button.

Click on Connect
Next, you will need to specify your Zendesk subdomain and sign in.

Step 2. Authorize and test the new Sunshine Conversations connection
You will be asked to authorize the connection. After confirming it, you will be redirected back to the Sunshine Conversations Modules page where you can test your new DigitalGenius connection to Sunshine Conversations.

Click on Allow


Test the connection
If everything was set up correctly you should see a green check mark.
Step 3. Sunshine Conversations Integration Webhook
The URL for the webhook target is one from the below options based on your region.
You can copy the flow id from the Flow Builder UI.
EU: https://flow-server.eu.dgdeepai.com/sunshine/{{flow_id}}/messages
US: https://flow-server.us.dgdeepai.com/sunshine/{{flow_id}}/messages

QA: https://flow-server.qa.us.dgdeepai.com/sunshine/{{flow_id}}/messages
DEV: https://flow-server.dev.us.dgdeepai.com/sunshine/{{flow_id}}/messages
Use the webhook URL in order to create a new Sunshine Conversations integration:

Step 4. Configure the connection
Copy the Sunshine Conversations App Id from Zendesk Admin after you create the webhook integration and save it into the newly created connection.

Click on the connection box to open the Edit Connection view.
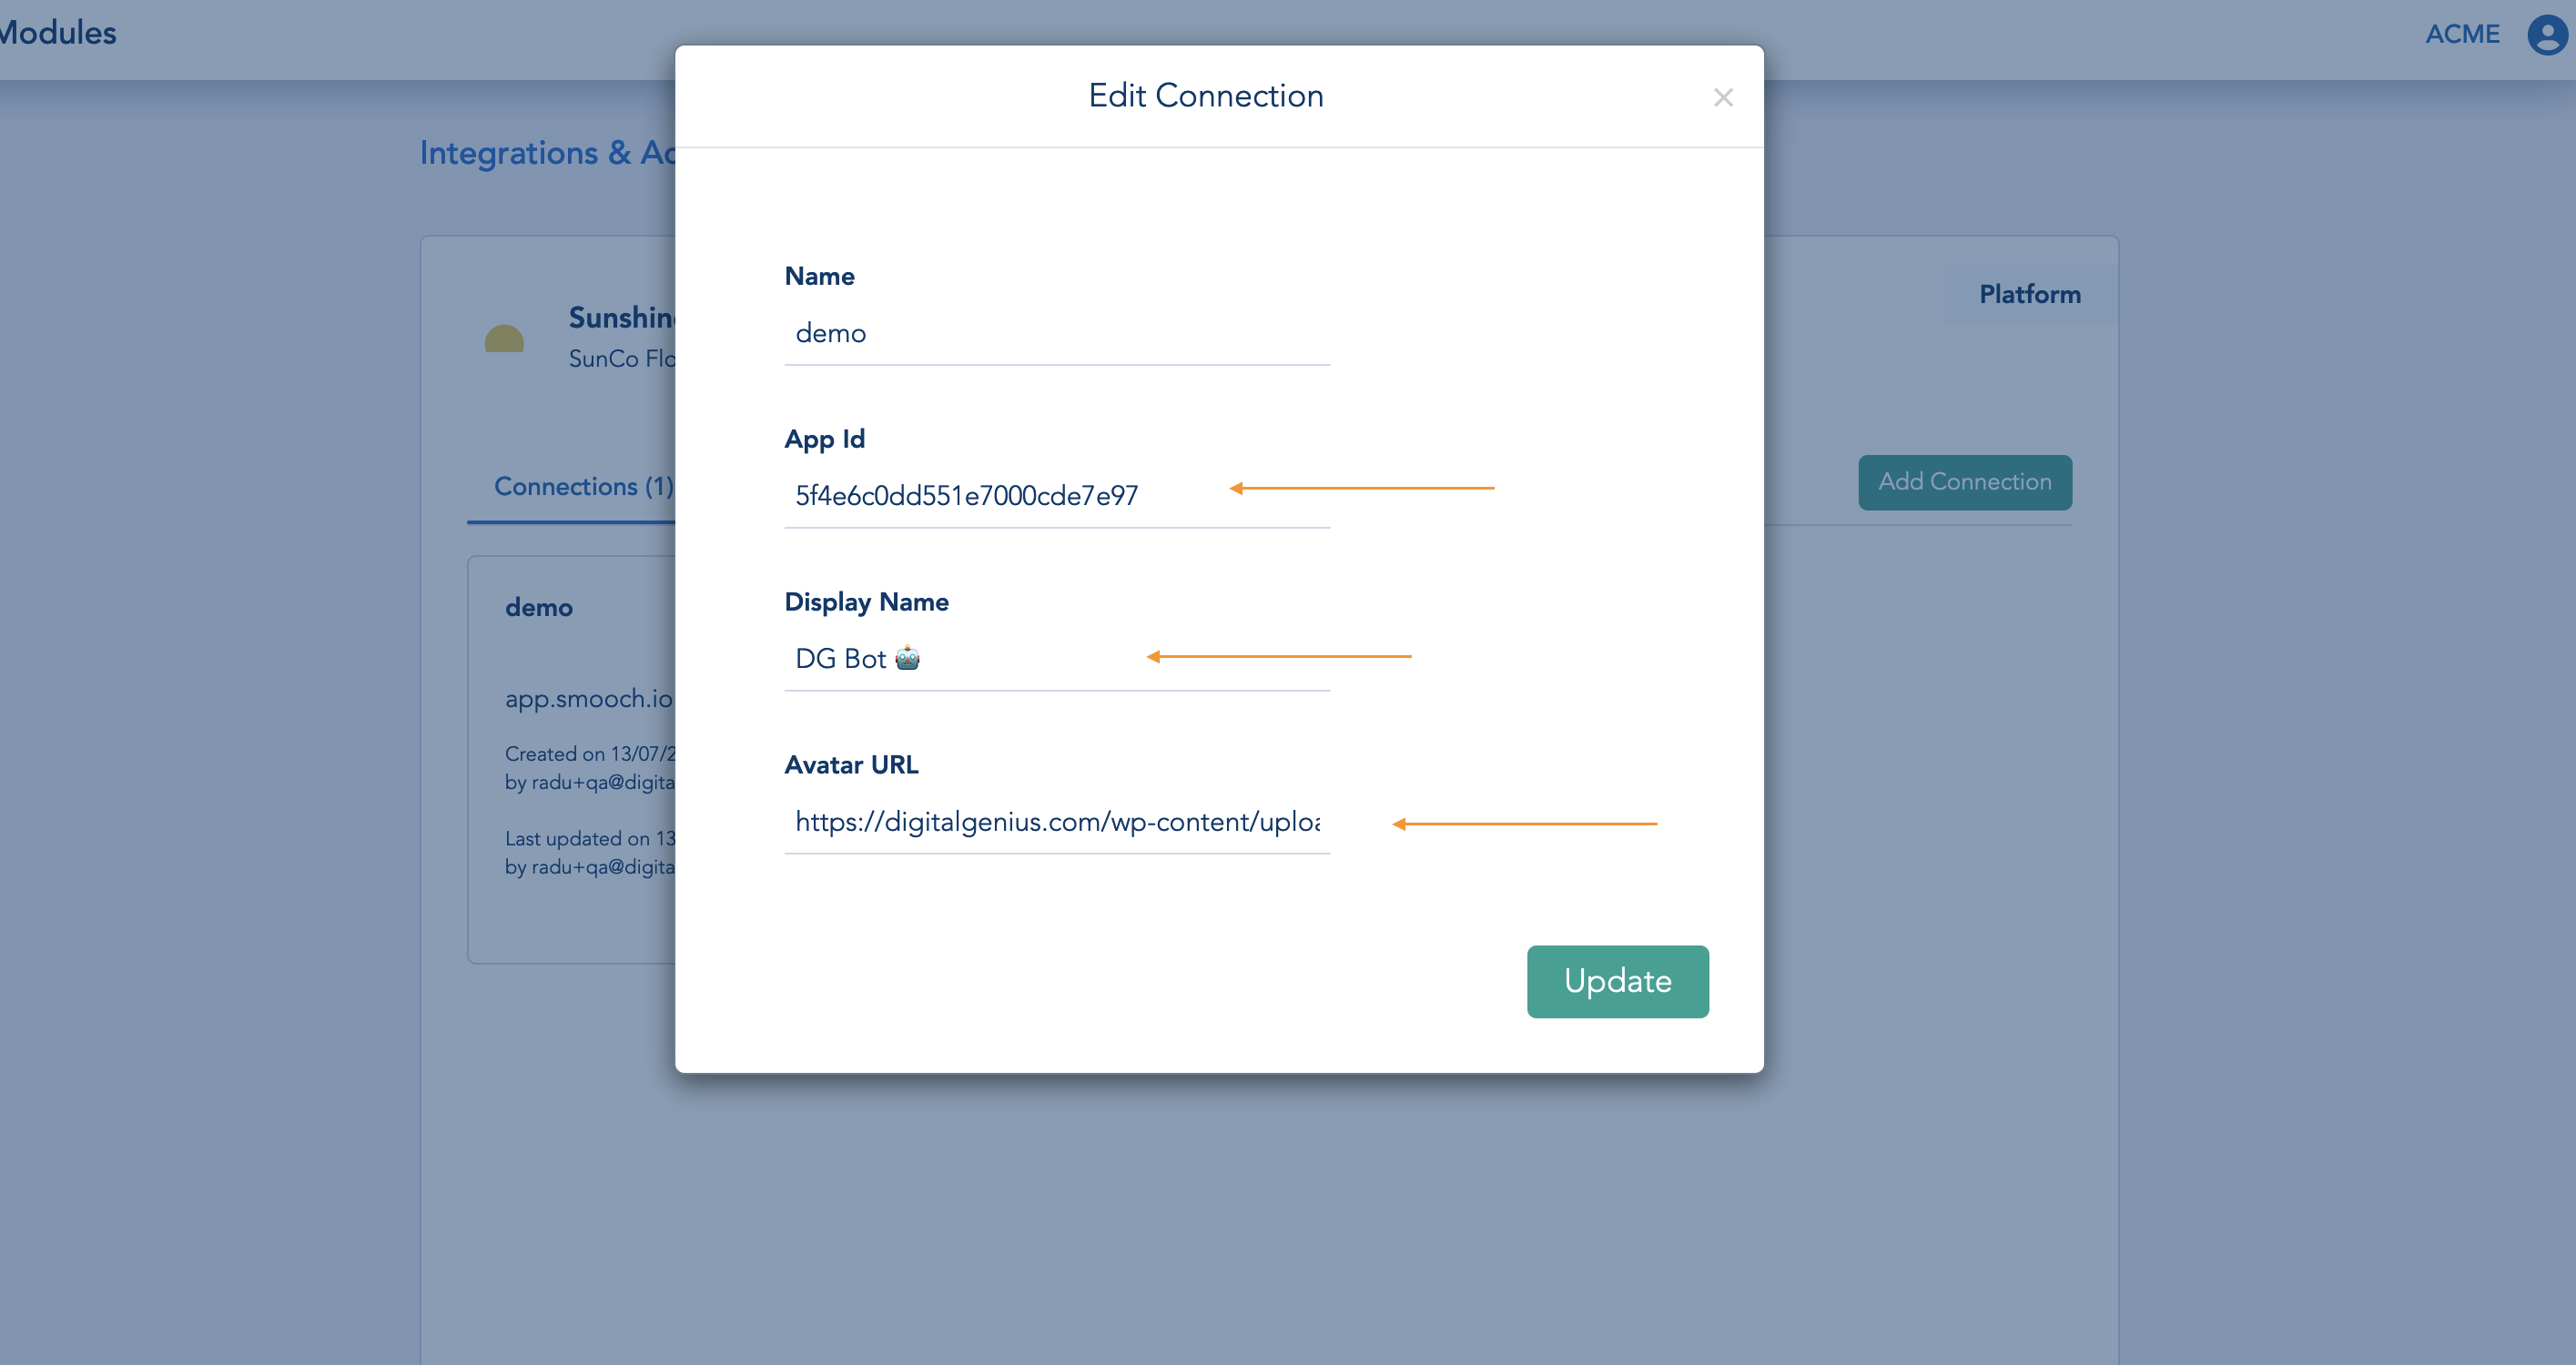
Add this step you can also define you bot avatar and display name.
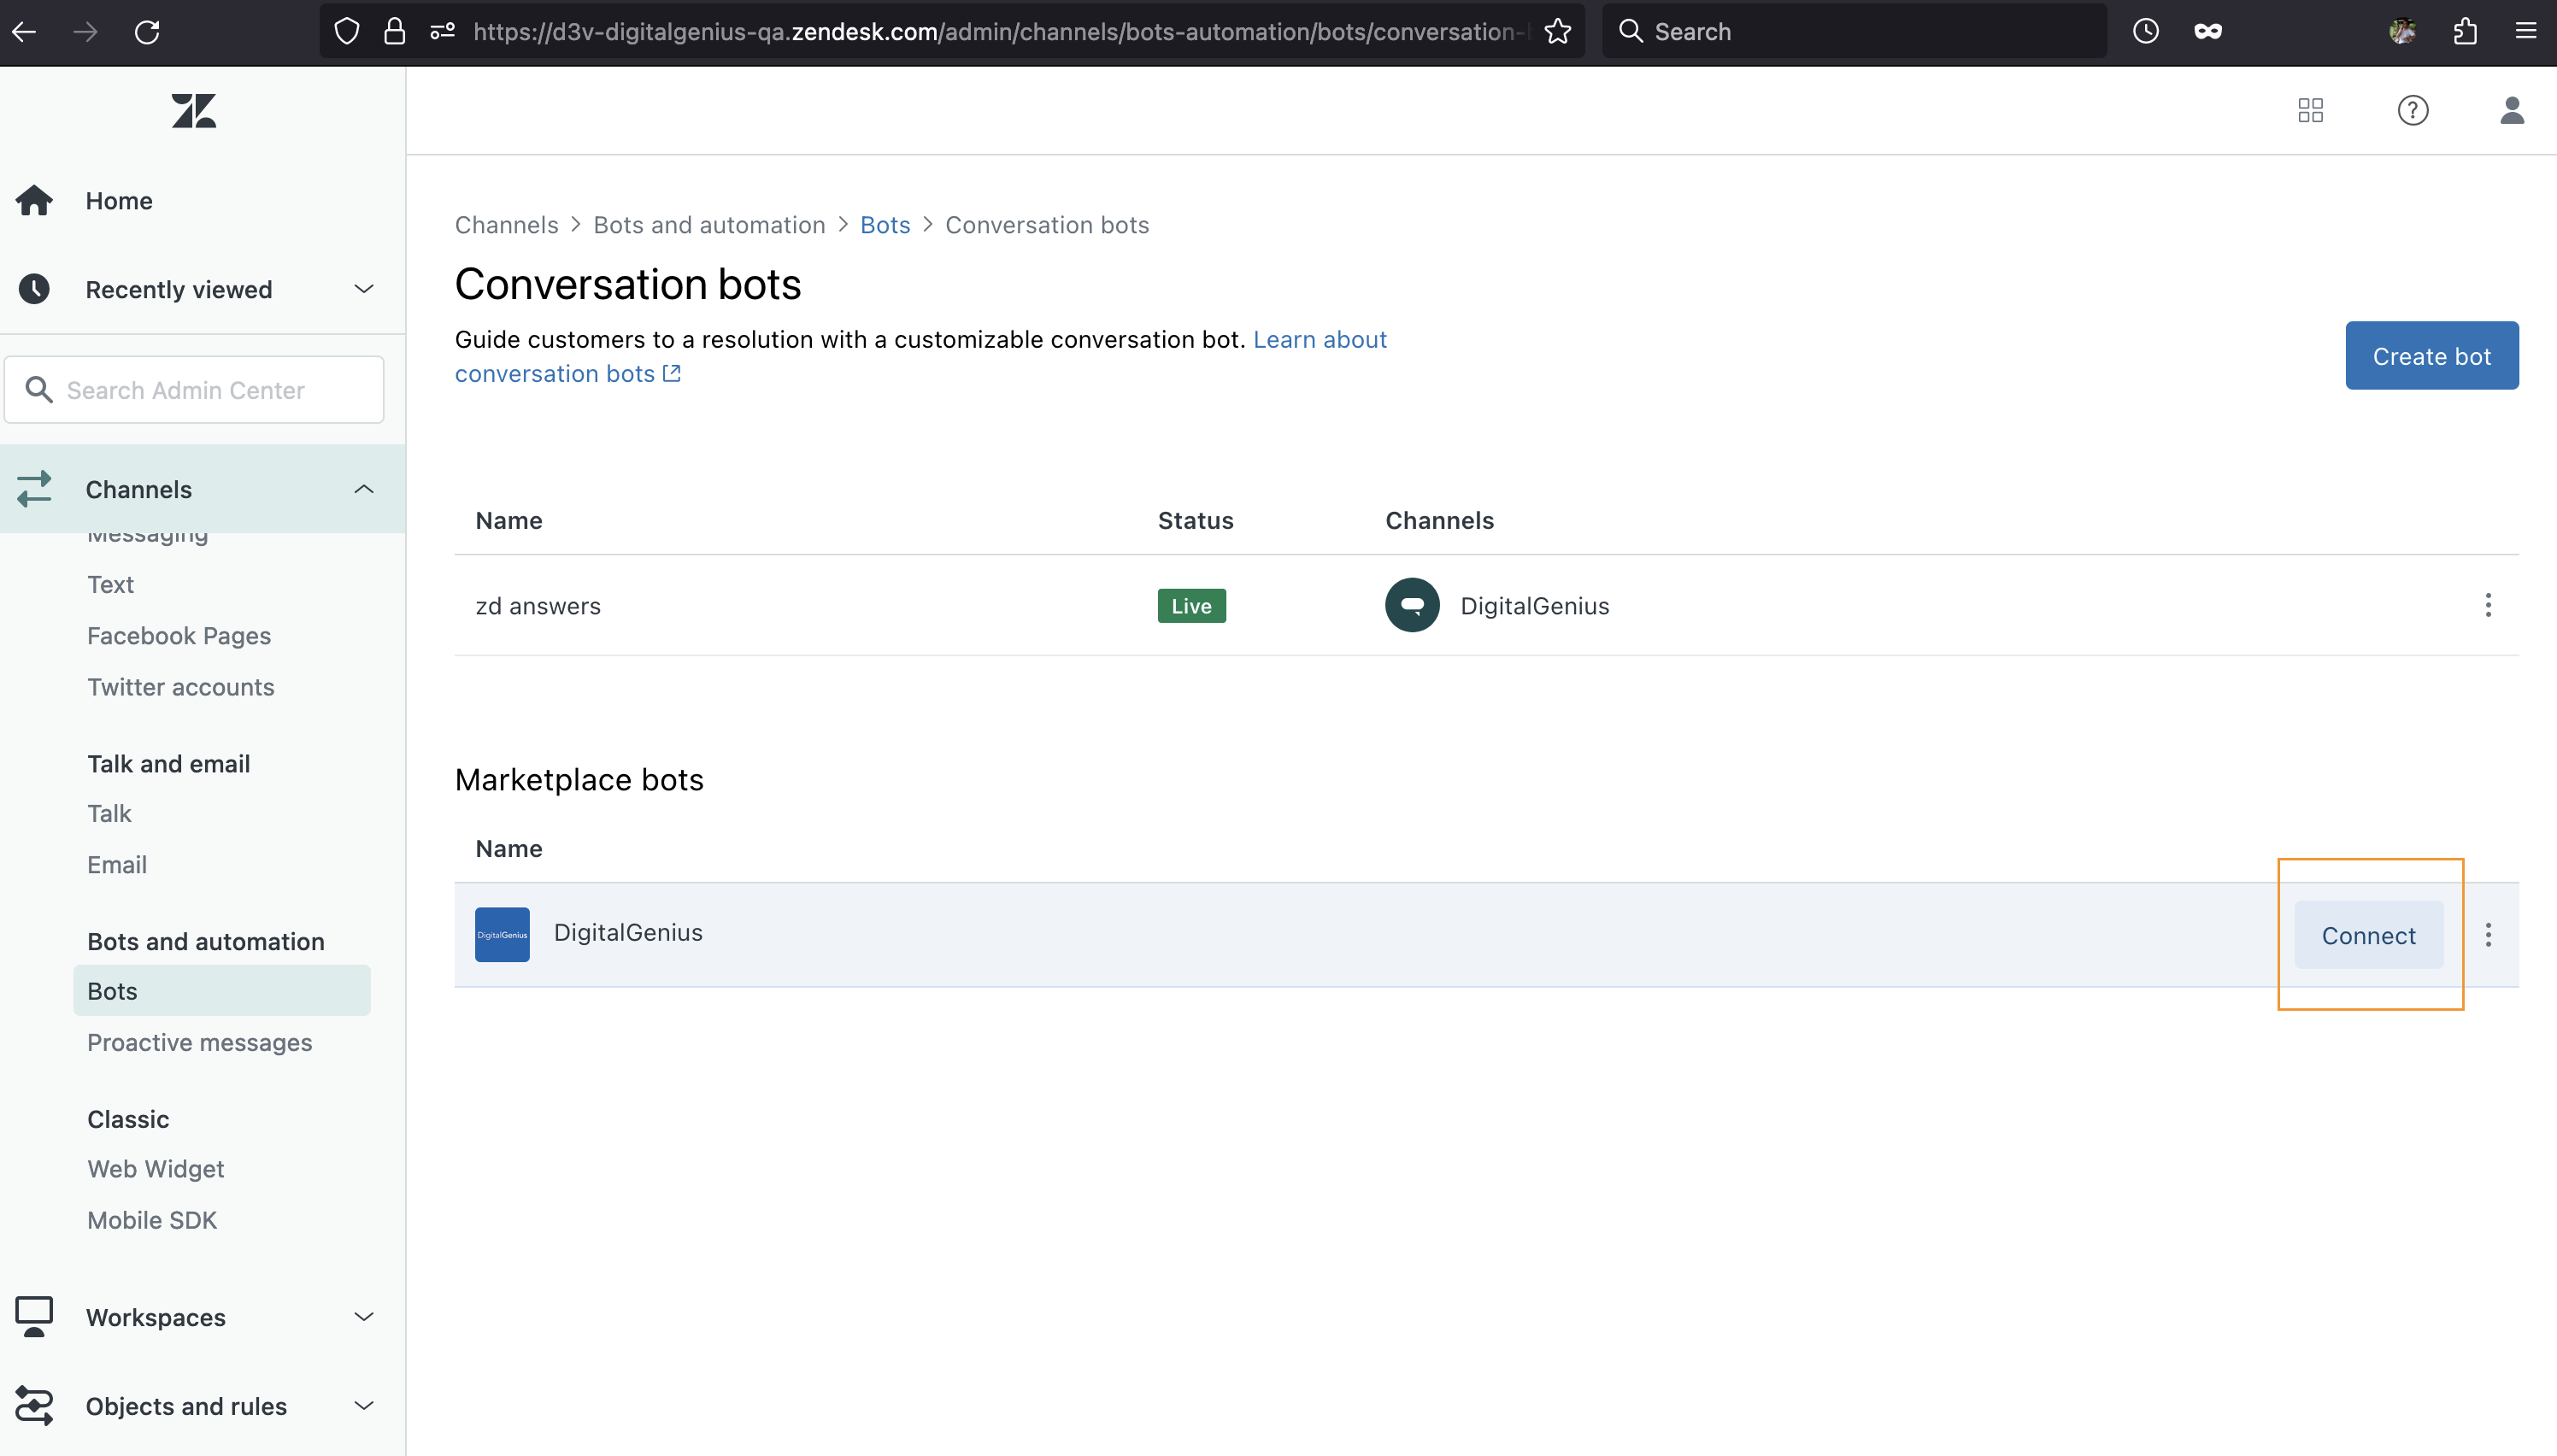
Step 5. Enable the DigitalGenius integration
Go to Zendesk Admin -> Channels > Bots and automation > Bots > Conversation bots and press on Connect in order to enable DigitalGenius as the first integration to reply to your users.
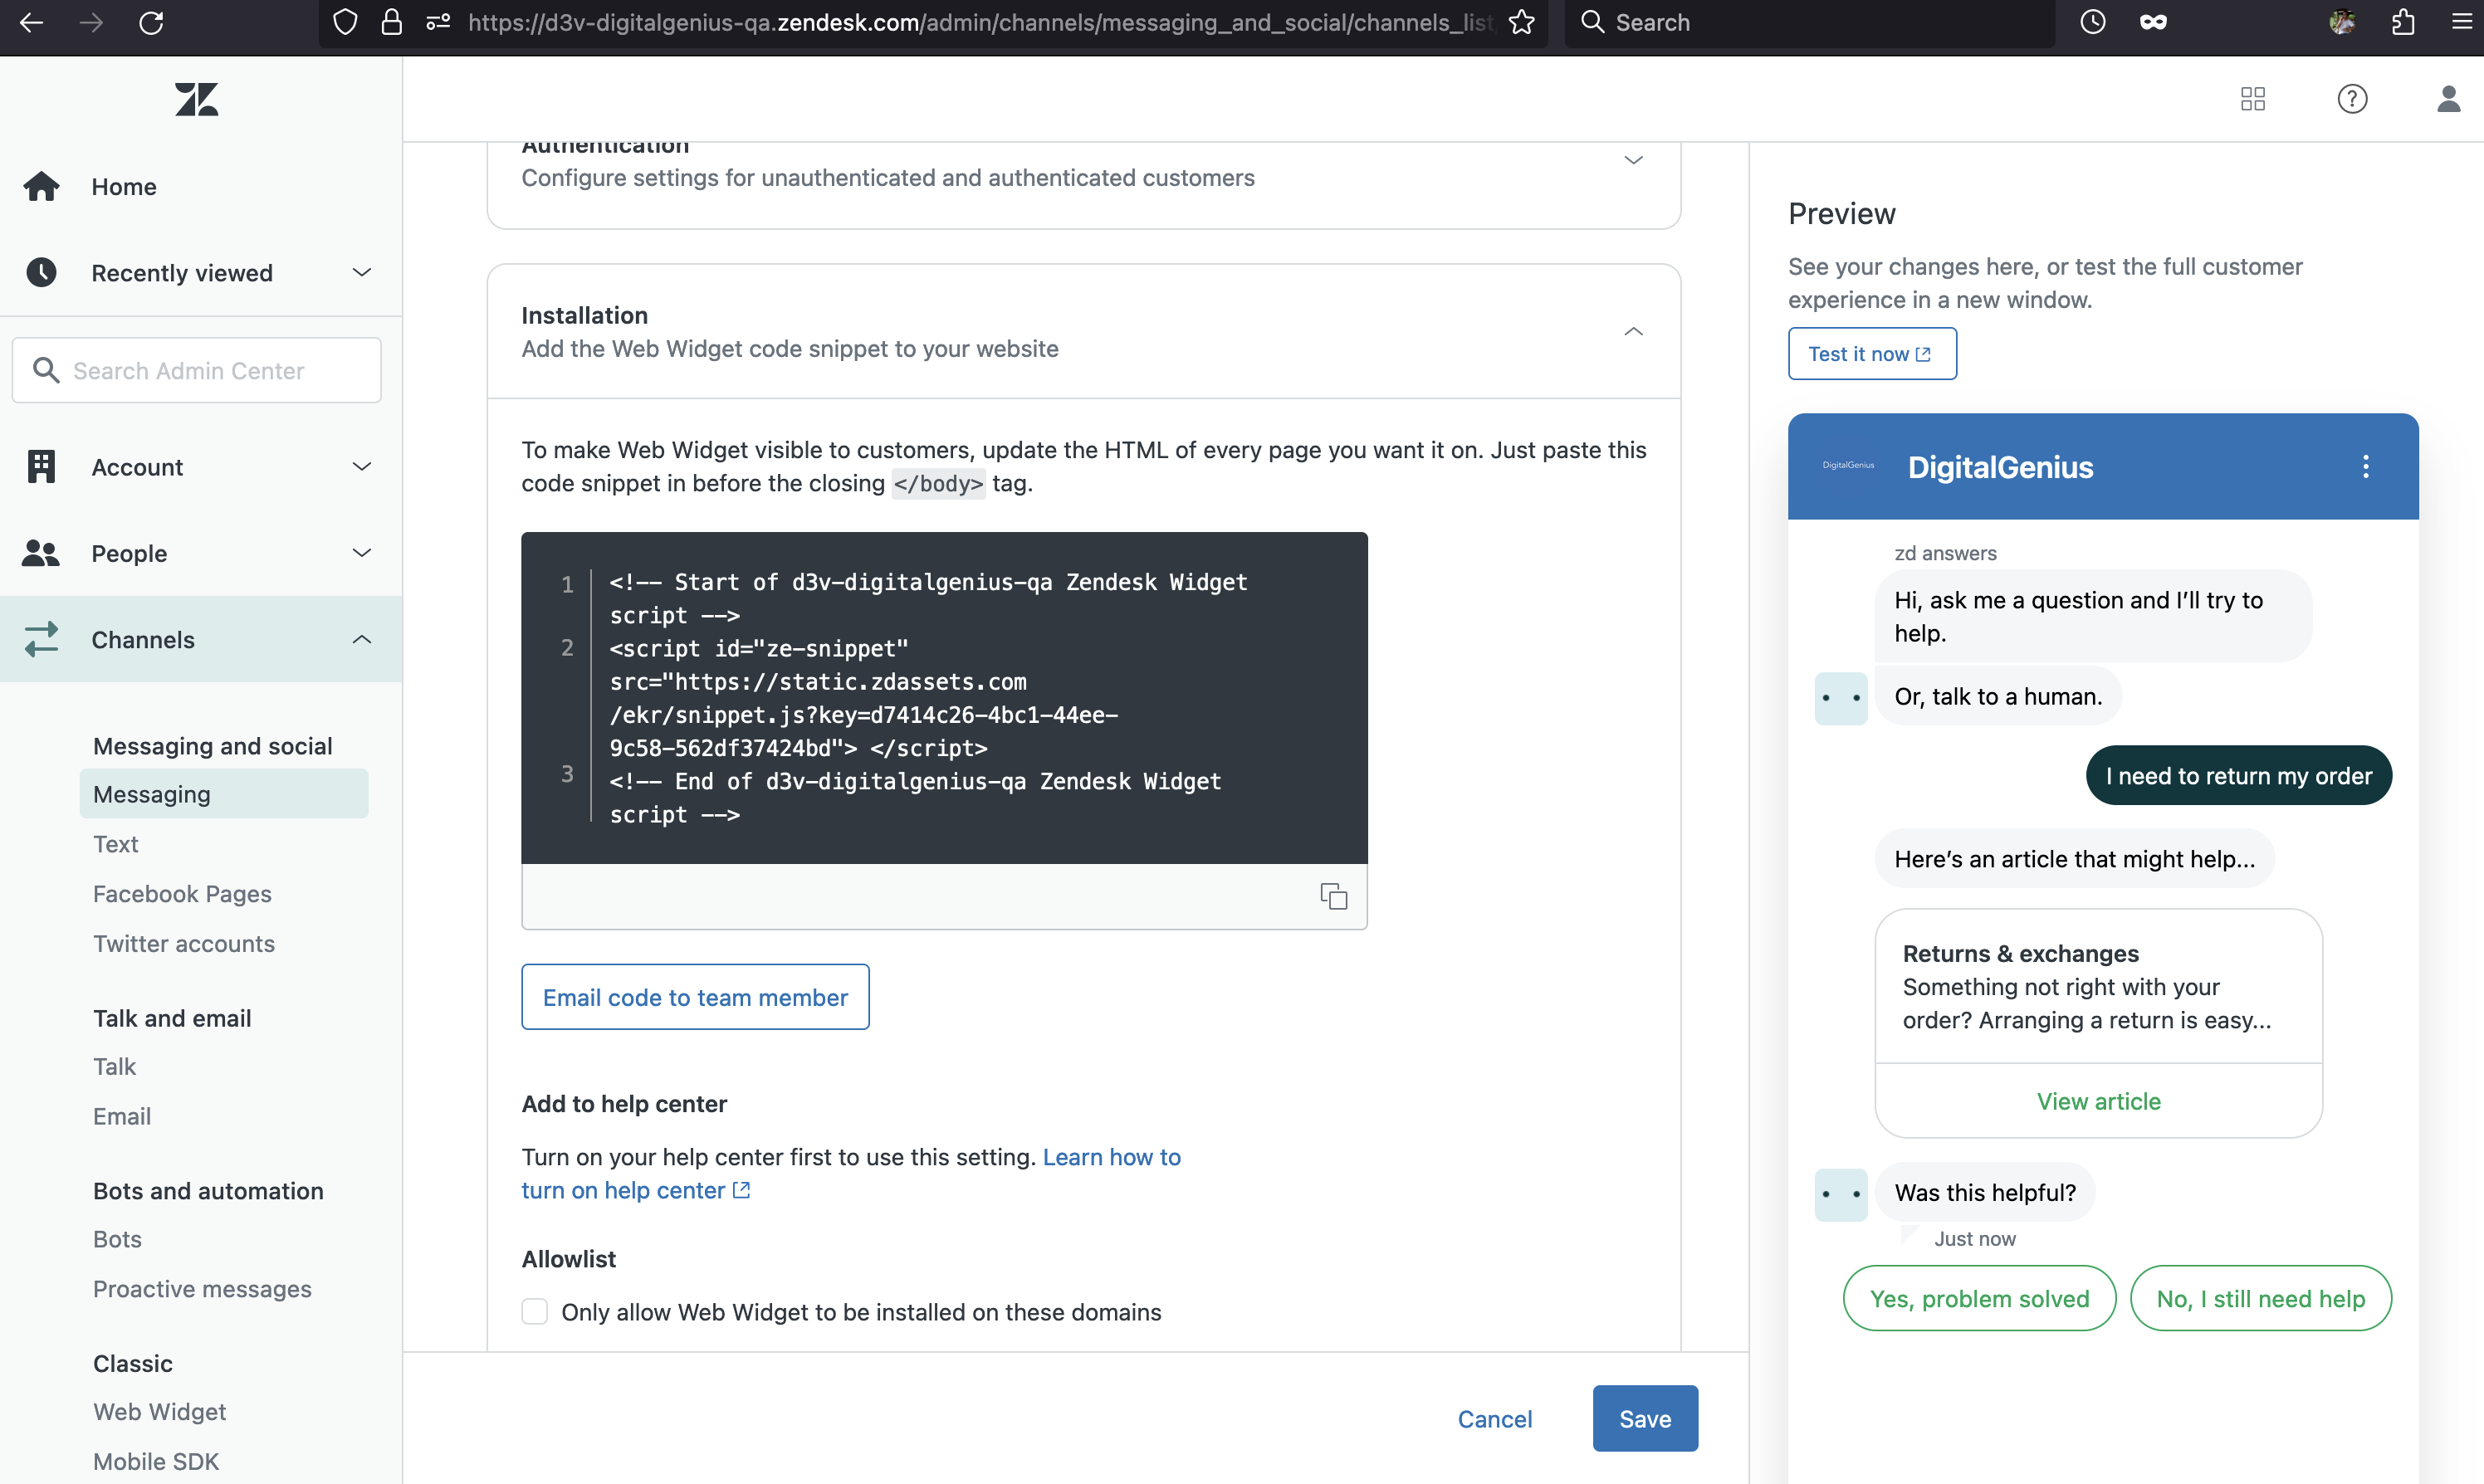
Step 6. Testing and/or deploying your new integration
You can go to Zendesk Admin > Messaging > DigitalGenius and install Sunshine Conversations web widget on a test website. Follow the instructions provided on the Zendesk Admin page for the installation.
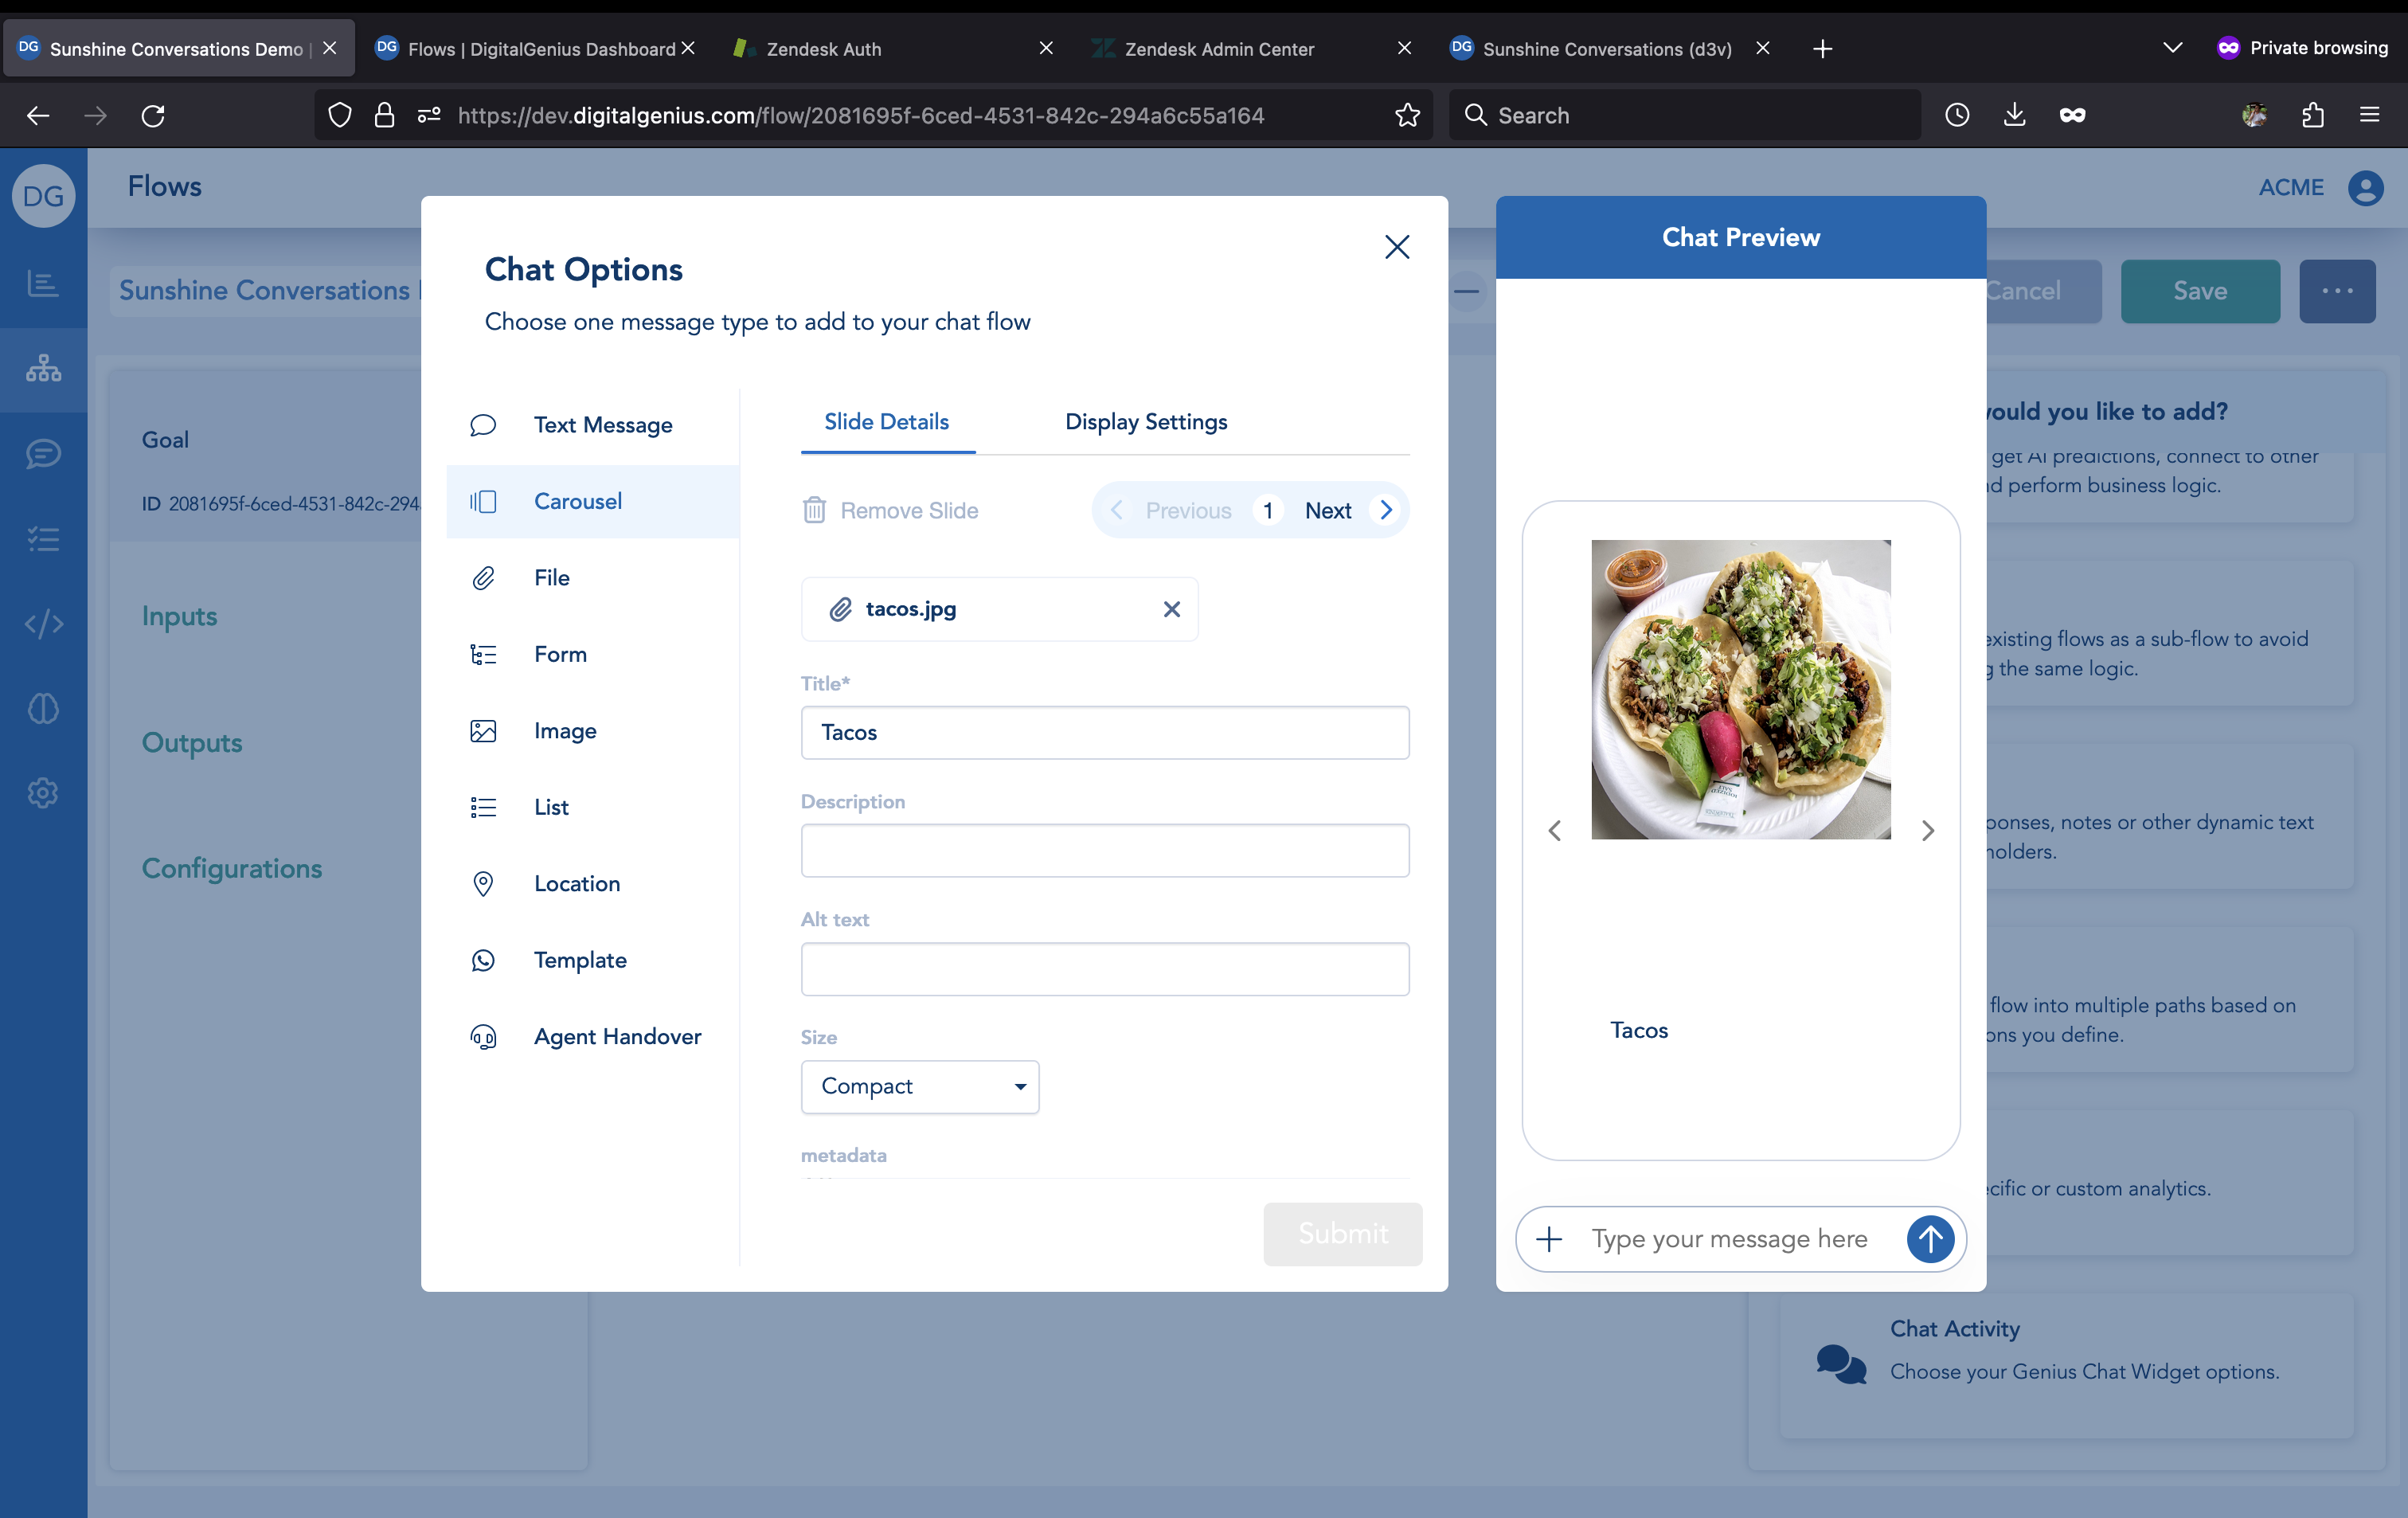
Step 7. Define the bot workflow using Flow Builder
You can now use Flow Builder to build the bot. DigitalGenius provides an UI to define all structured messages provided by Sunshine Conversations.
Updated 8 months ago